
 DE
DE
 English
 polski
 русский
 українська

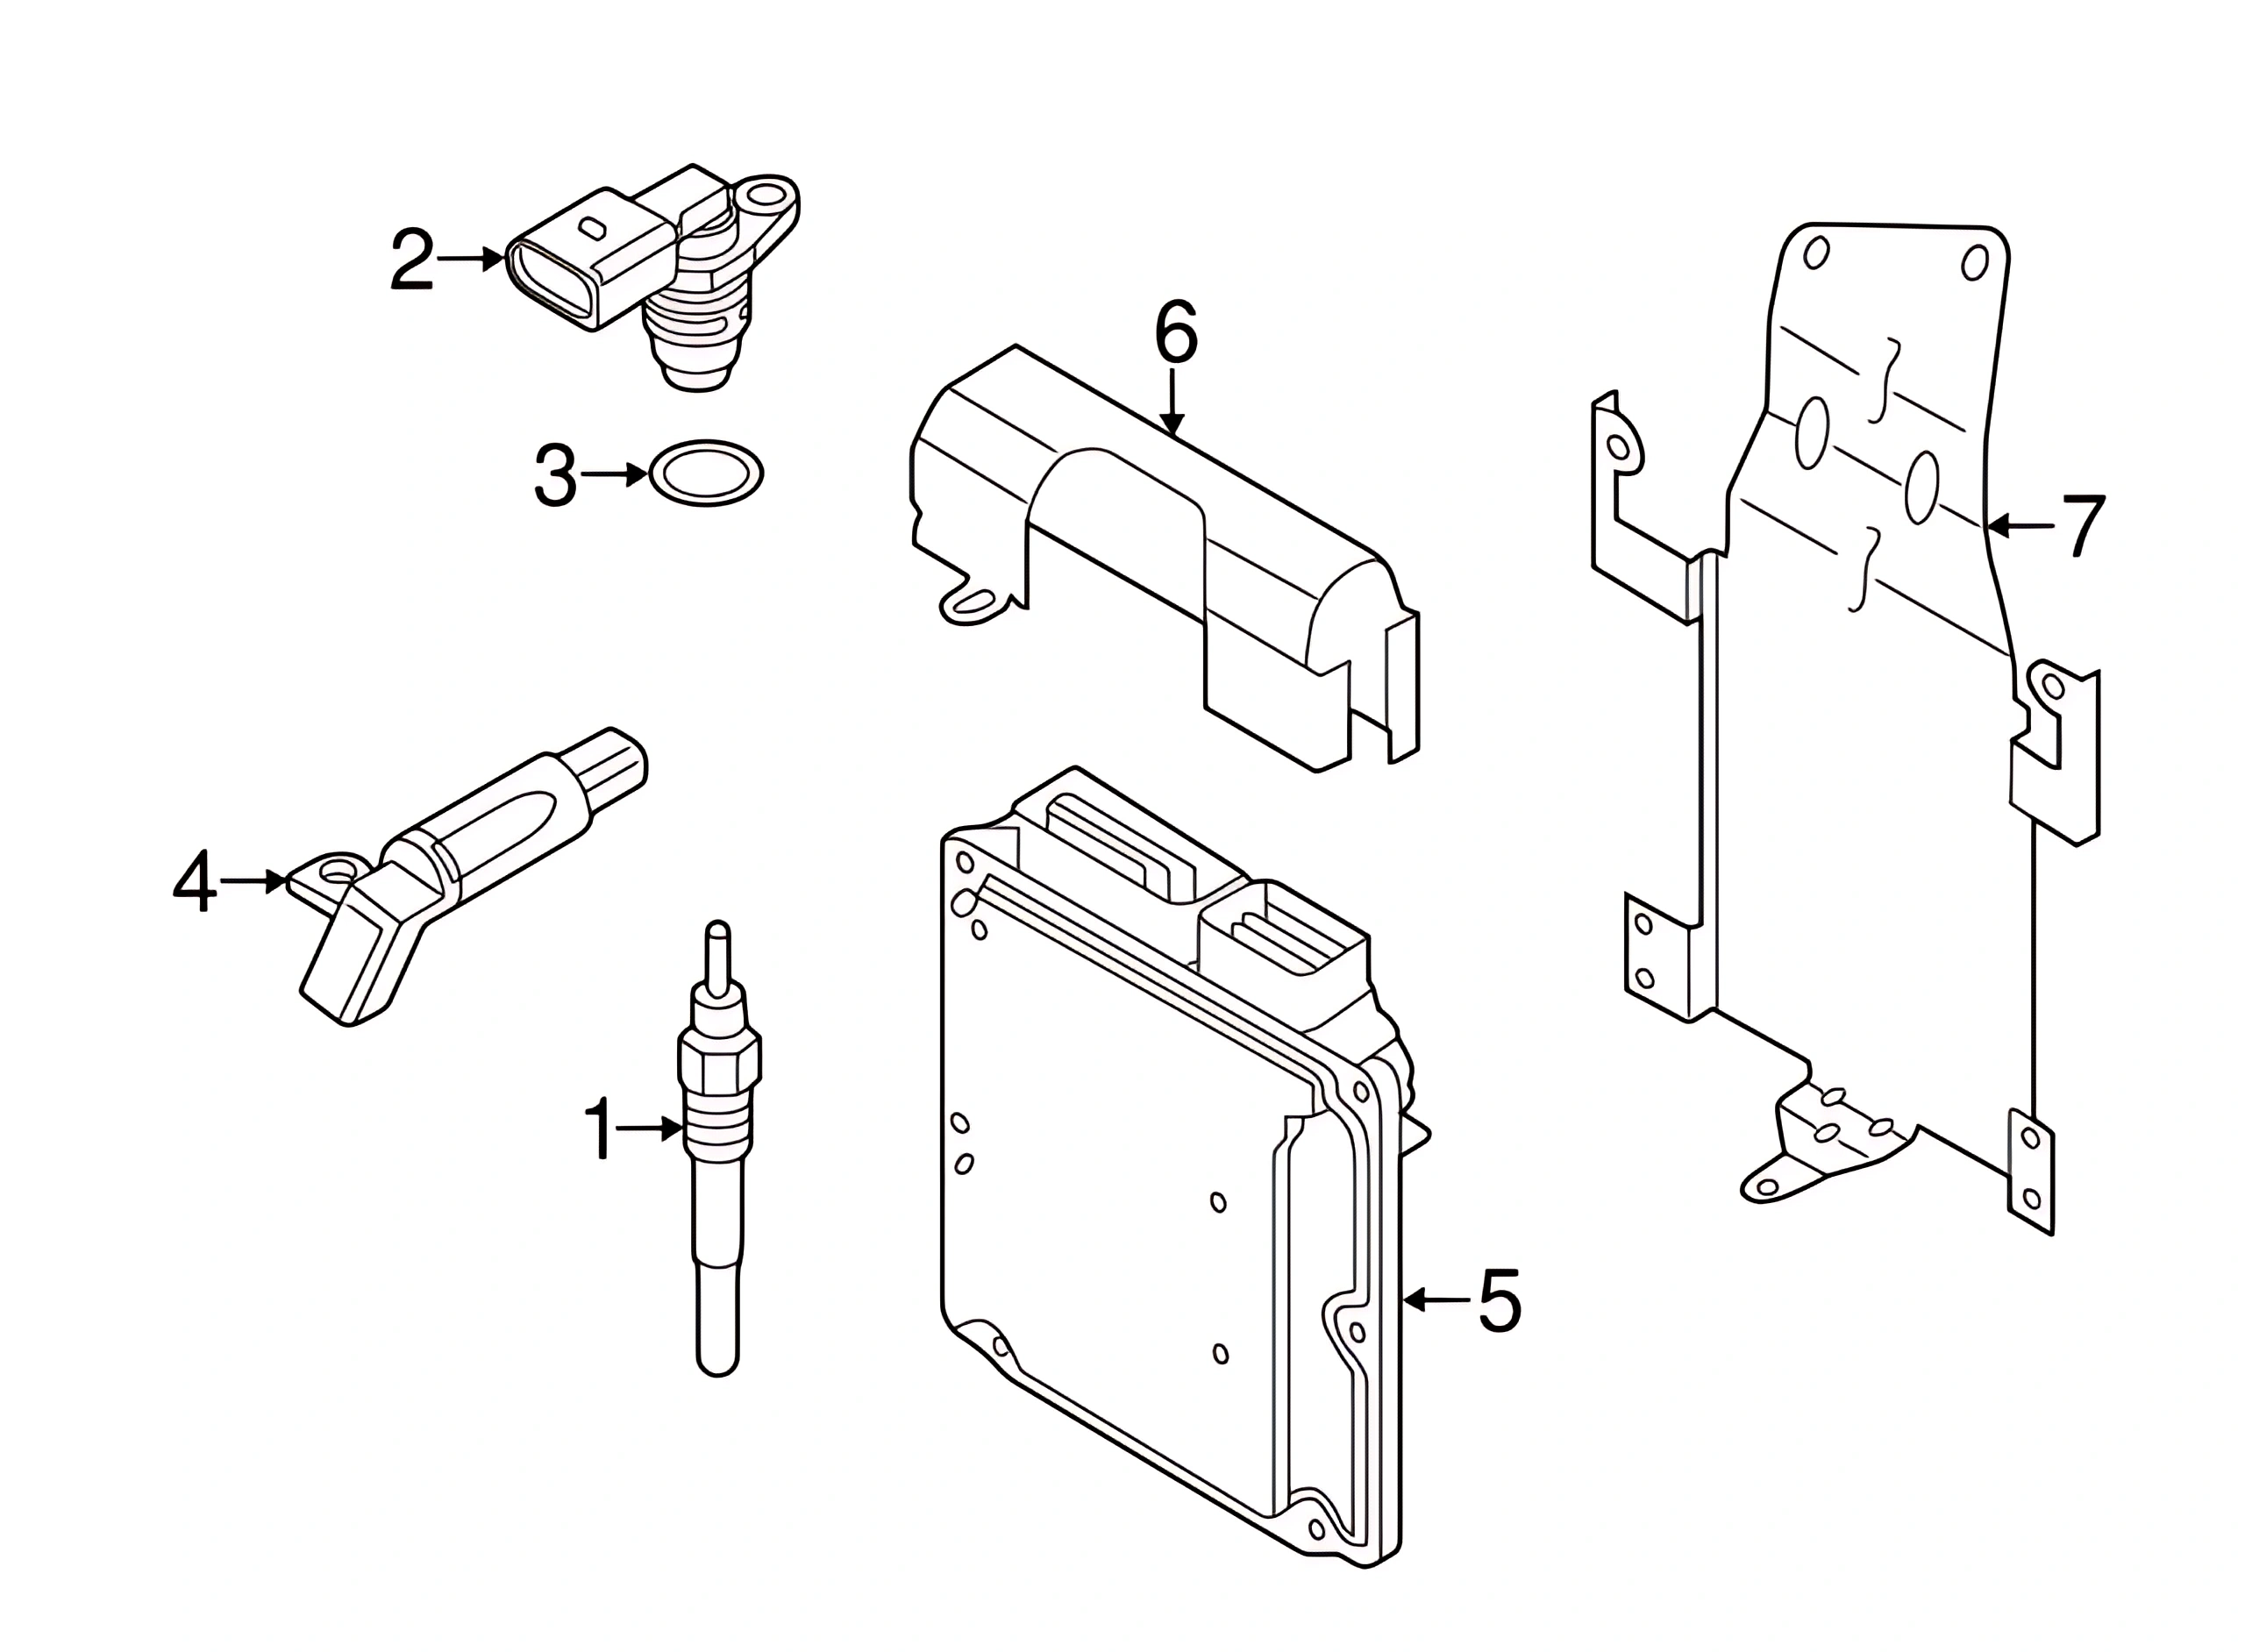

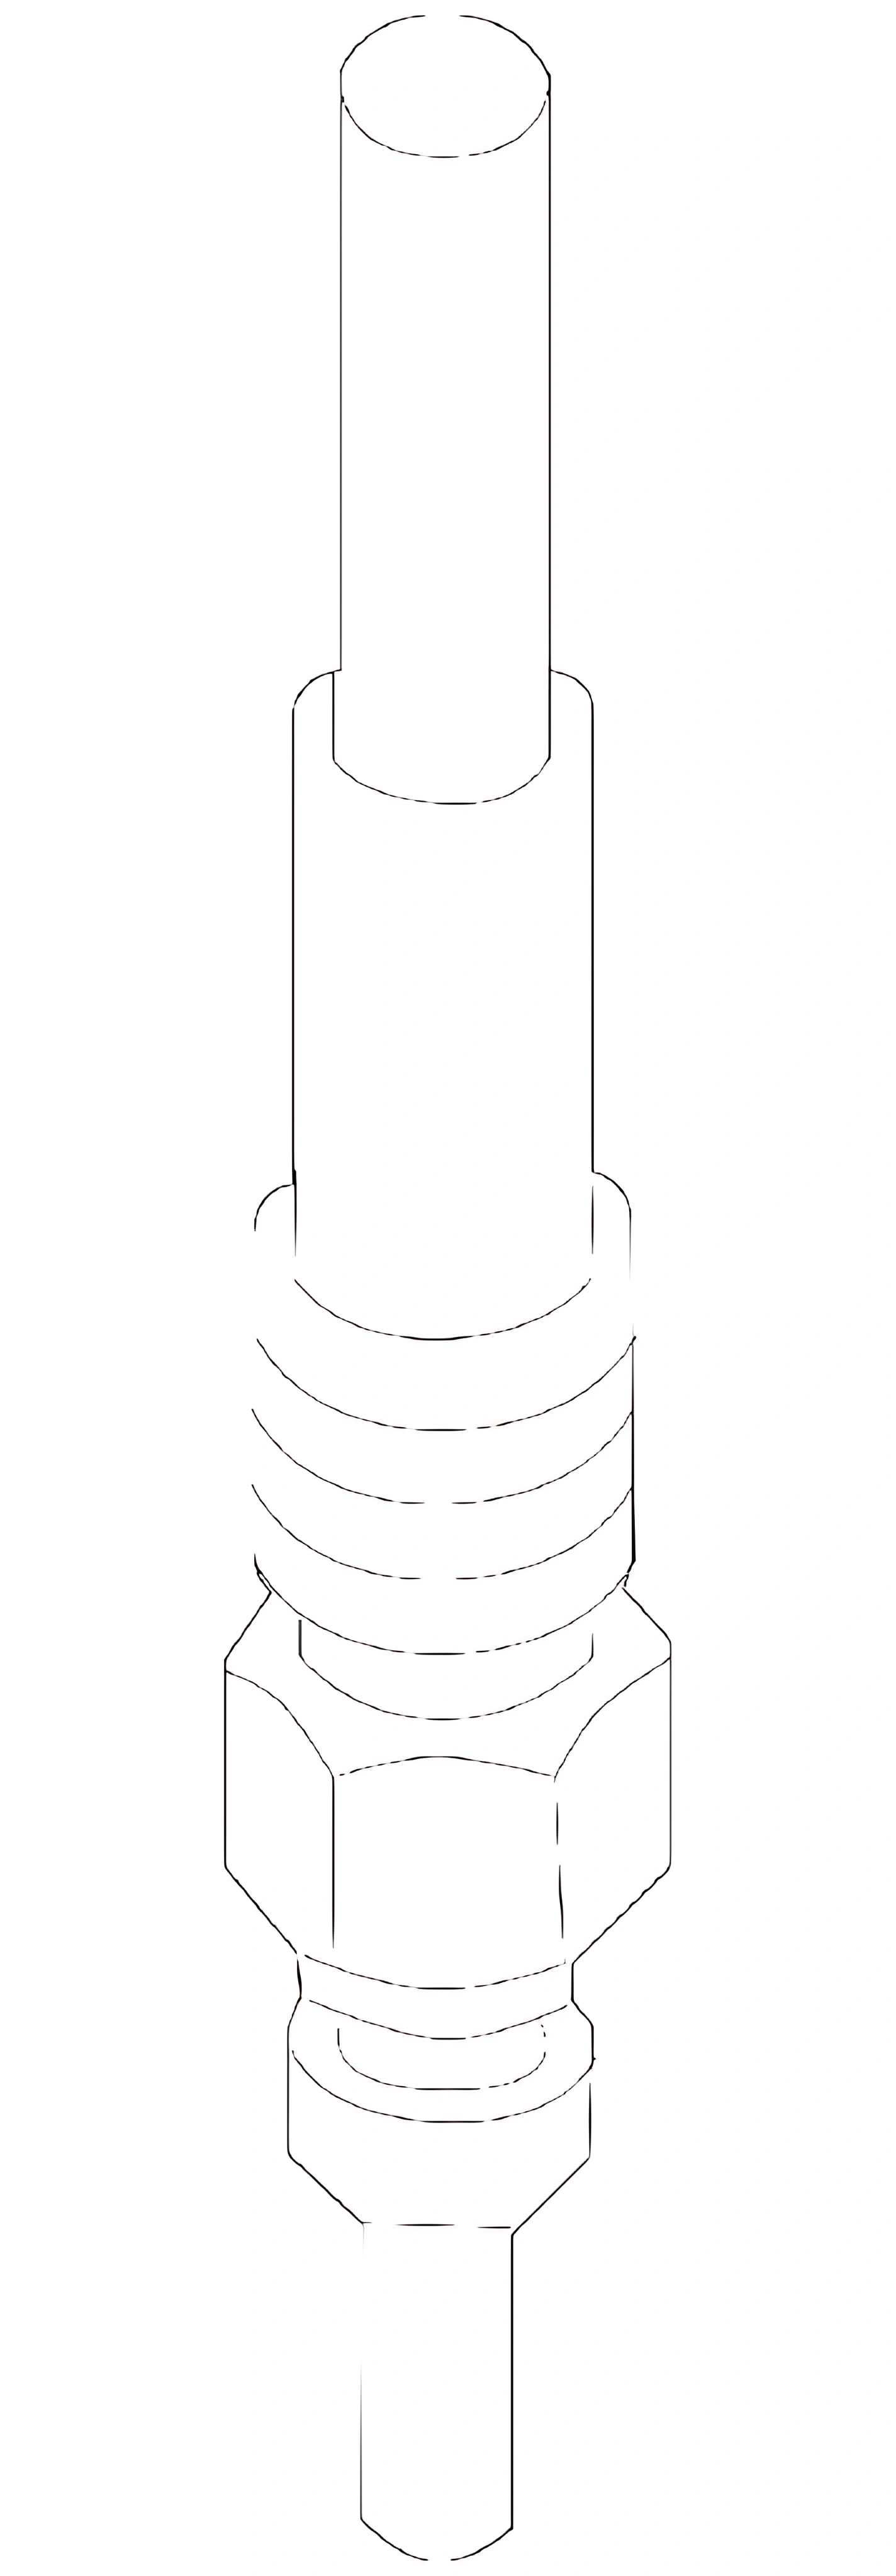
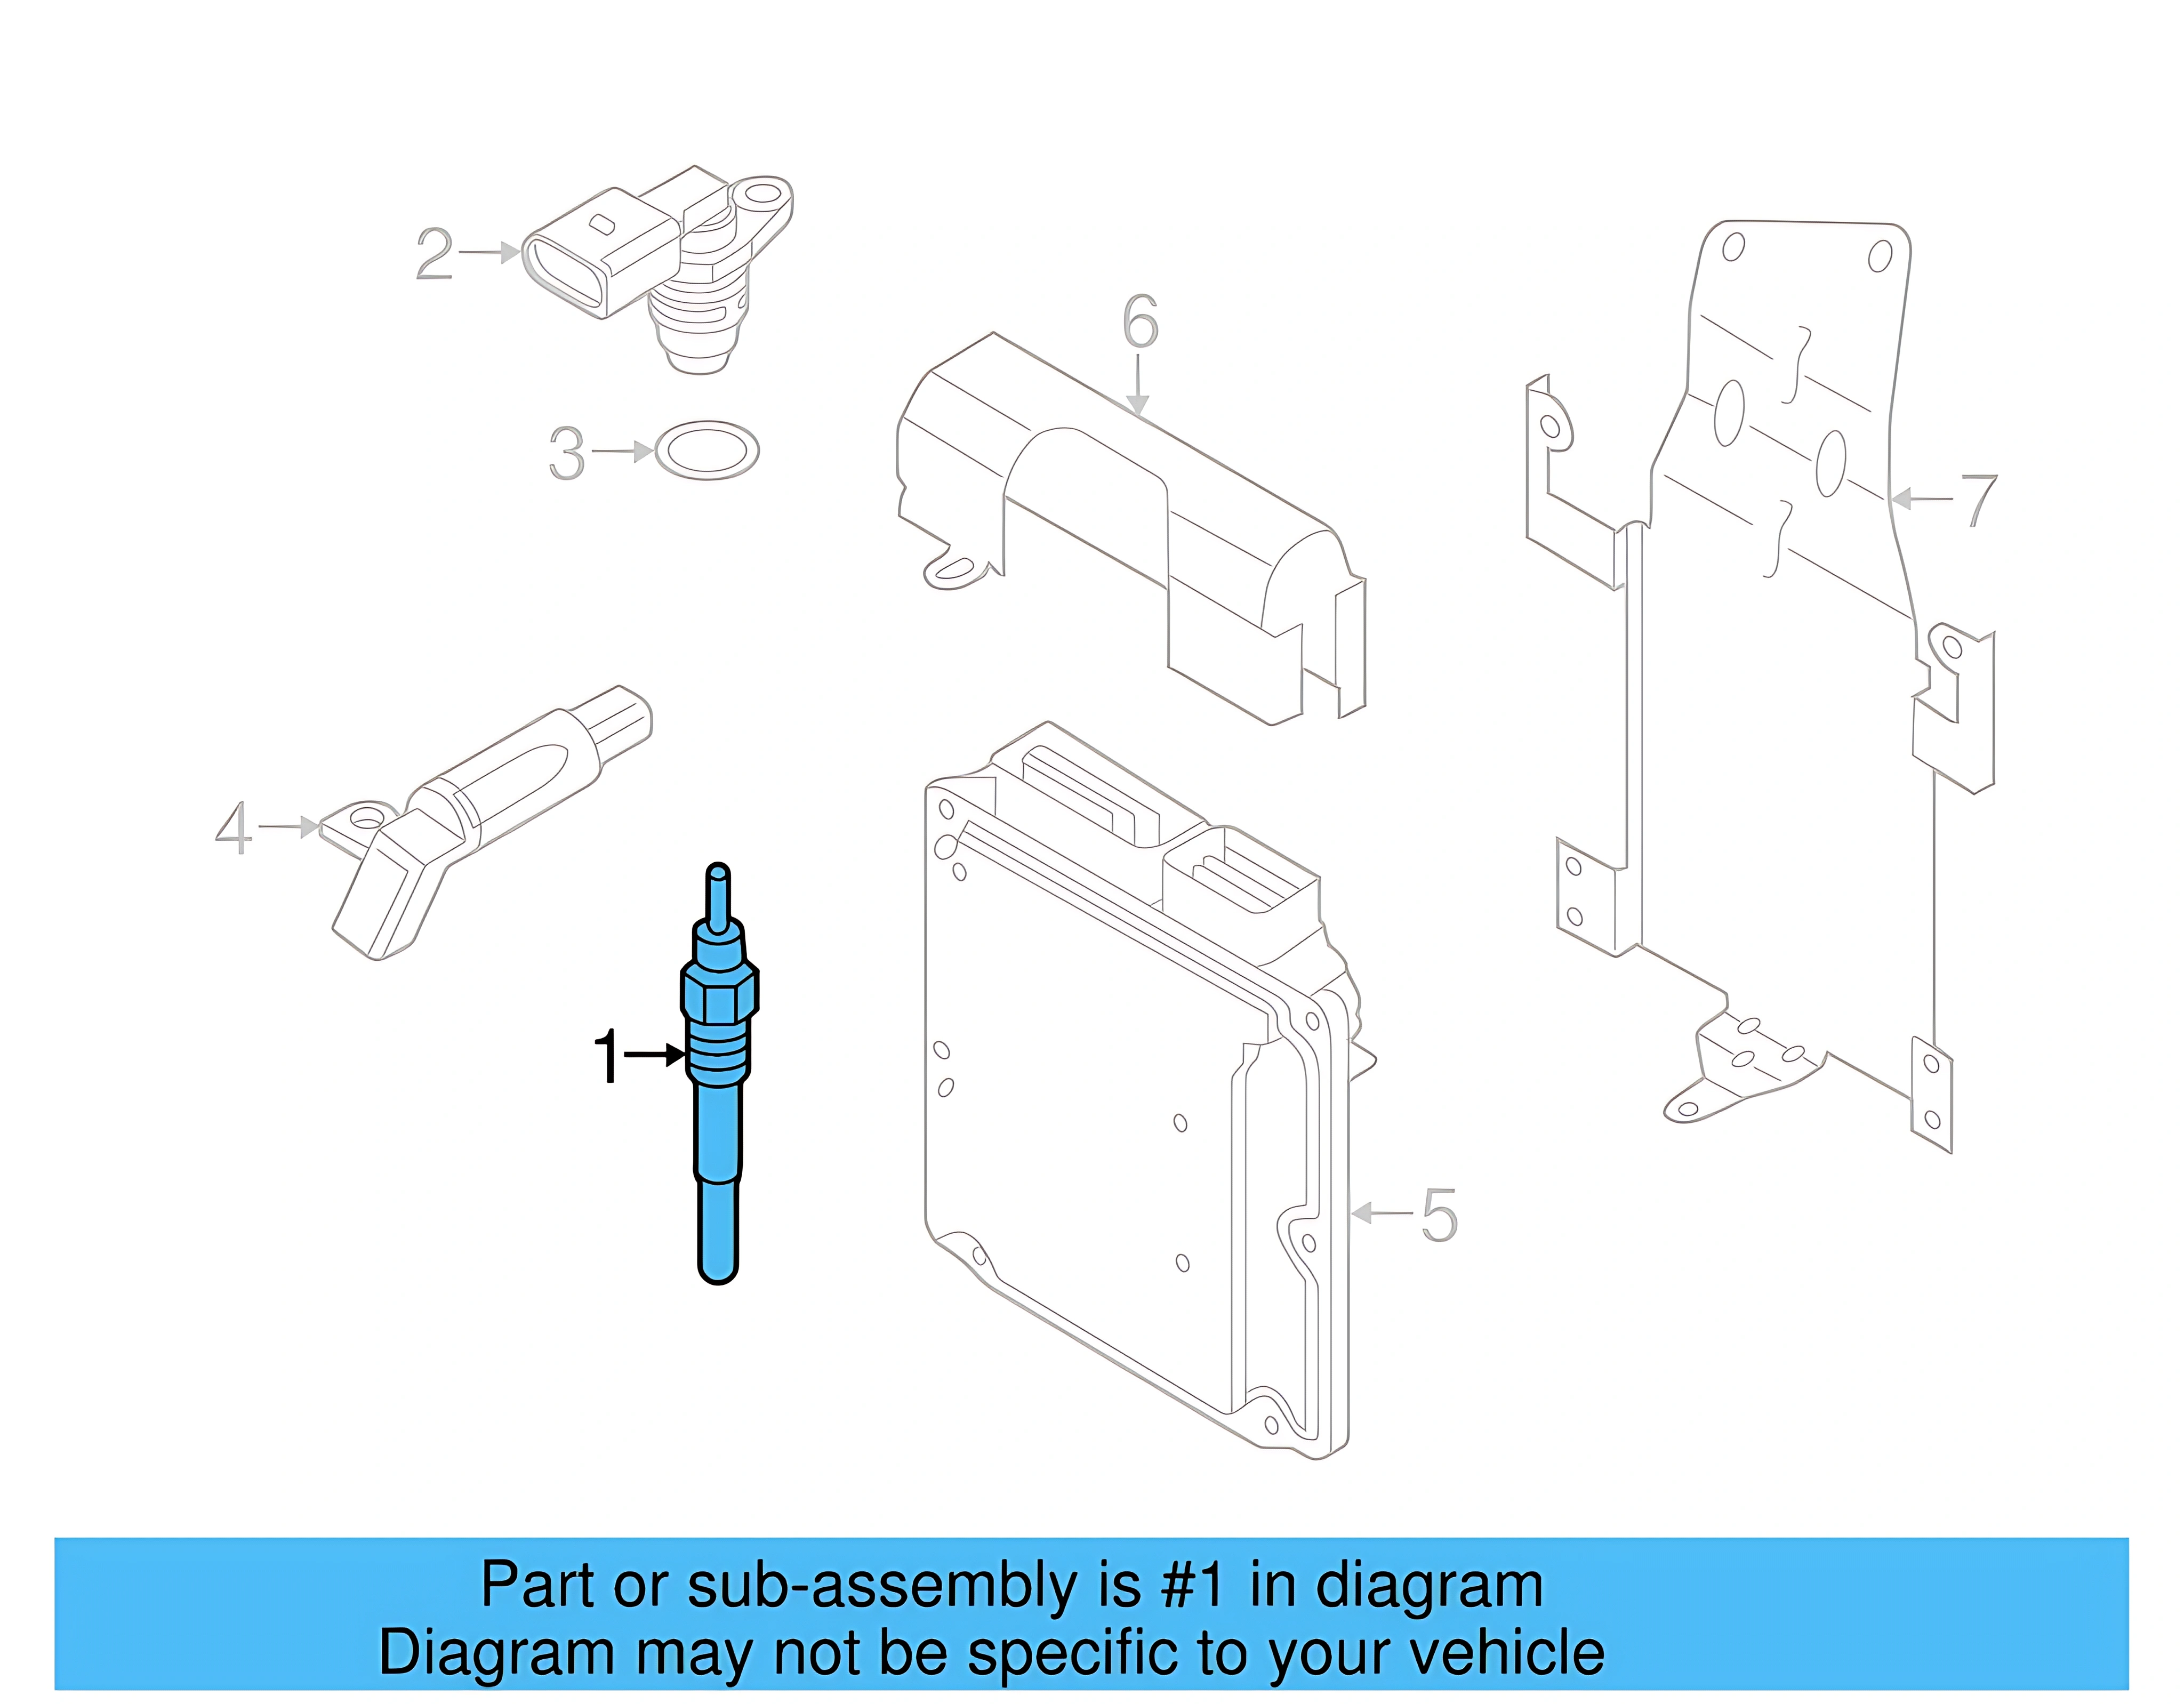
Glow Plug 03L-905-061-L
Verfügbar in Shops 27 Angebote
Fahrzeug-Passgenauigkeit 44 Fahrzeuge
Technische Daten
| OEM Part Number | 03L 905 061 L |
|---|---|
| Overall Length | 148 mm |
| Thread Size | M10 x 1 |
| Operating Voltage | 4.4 V |
| Spanner / Socket Size | 12 mm |
| Fitting Depth | 27 mm |
| Tightening Torque | 13 Nm |
| Cone Pitch | 63° |
| Integrated Pressure Sensor | Yes |
| Application Engines | 2.0L TDI, 3.0L TDI (VAG) |
So ersetzen Sie Glow Plug
Replacing the 03L905061L glow plug with integrated pressure sensor requires care and precision due to the sensitive sensor electronics. Always work on a cold engine, follow torque specifications exactly, and consult your vehicle's factory service manual for model-specific procedures before beginning.
-
Allow Engine to Cool Completely
Never work on glow plugs in a hot engine. Thermal expansion makes removal difficult and risks seizing or breaking the plug in the head. Allow at least 2–3 hours of cooling time after the last engine run.
-
Disconnect the Battery
Disconnect the negative terminal of the 12V battery to prevent any electrical shorts or accidental activation of the glow plug circuit during the replacement procedure.
-
Access the Glow Plugs
Remove any engine covers, intake components, or ancillary parts obstructing access to the glow plugs. On some VAG diesel engines this may require partial disassembly of the intake manifold area — consult the service manual for your specific model.
-
Disconnect the Electrical Connector
Carefully unclip and remove the electrical connector from the top of the glow plug. This connector carries both the heater circuit and the pressure sensor signal — handle it gently to avoid damaging the sensor wiring harness.
-
Remove the Old Glow Plug
Using a 12 mm deep socket, carefully unscrew the glow plug counter-clockwise. If the plug is seized, apply a penetrating fluid and allow it to soak before attempting removal again. Avoid excessive force to prevent breaking the plug in the cylinder head.
-
Prepare and Install the New Glow Plug
Apply a thin amount of copper-based anti-seize compound to the thread of the new glow plug. Hand-thread the plug in carefully to avoid cross-threading, then torque to exactly 13 Nm using a calibrated torque wrench. Do not overtighten — the integrated pressure sensor is sensitive to mechanical stress.
-
Reconnect Electrical Connector and Reassemble
Firmly reconnect the electrical connector until it clicks into place. Reinstall any engine covers or components removed during access. Reconnect the battery negative terminal.
-
Verify Operation
Start the engine and allow it to reach operating temperature. Check for any warning lights related to glow plugs or engine management. If a fault code was previously stored, clear it with a compatible diagnostic tool (e.g., VCDS/ODIS) and confirm no new codes are set.
Anzeichen für ein verschlissenes Teil
-
Hard Cold Starts or Extended Cranking
A failed glow plug cannot adequately pre-heat the combustion chamber, causing the engine to crank longer than normal before starting, especially in cold ambient temperatures.
-
Glow Plug Warning Light Illuminated
The dashboard glow plug indicator or check engine light may illuminate. A diagnostic scan will typically reveal fault codes related to the glow plug heater circuit or the integrated pressure sensor signal.
-
Excessive White or Blue Smoke at Startup
Incomplete combustion caused by insufficient pre-heating can produce abnormal white smoke on cold starts. This may diminish once the engine reaches operating temperature but returns after each cold soak.
-
Rough Idle or Engine Misfire
A faulty integrated pressure sensor can cause the ECU to receive incorrect cylinder pressure data, leading to improper injection timing, rough idle, or a noticeable misfire on the affected cylinder.
-
Reduced Engine Performance or Limp Mode
If the ECU detects an invalid pressure sensor signal, it may enter a protective strategy that limits engine output (limp mode) to prevent potential damage from incorrect fueling.
-
Stored Fault Codes (P-Codes)
Common stored fault codes include those referencing glow plug circuit faults or combustion pressure sensor errors on the affected cylinder. A VAG diagnostic tool is needed to read and interpret these codes accurately.
Wechselintervalle
Because this part contains a sensitive pressure sensor in addition to the heater element, failure can occur due to sensor circuit degradation independent of the heating element condition. Always use a VAG-compatible diagnostic tool to evaluate both functions when diagnosing suspected glow plug faults.
Häufig gestellte Fragen
Is the 03L905061L a standard glow plug or does it have extra functionality?
This is not a standard glow plug. The 03L905061L contains an integrated combustion pressure sensor in addition to the heater element. This dual function allows it to both pre-heat the cylinder for cold starts and provide real-time pressure data to the engine control unit for injection optimization. A standard glow plug cannot replace it.
Can I replace just one glow plug, or do I need to replace all of them at once?
You can replace a single failed plug; however, on higher-mileage engines it is strongly recommended to inspect all plugs during the same service visit. Because access is labor-intensive on many VAG diesel engines, replacing all plugs at once avoids having to repeat the job shortly after for another failing plug.
Will an aftermarket glow plug (e.g., BERU PSG007 or NGK 94226) work correctly, including the pressure sensor function?
Quality Tier-1 aftermarket plugs from suppliers such as BERU, HIDRIA, and NGK are designed as direct replacements including the integrated pressure sensor function. BERU in particular is widely cited as a likely OEM supplier for VAG. Always confirm the exact part number cross-reference for your specific engine code before purchasing.
What happens if I overtighten the glow plug during installation?
Overtightening beyond the specified 13 Nm can physically damage the integrated pressure sensor element inside the plug, causing immediate sensor malfunction or inaccurate readings. It can also strip the cylinder head threads. Always use a calibrated torque wrench and stop at 13 Nm.
My car starts fine in warm weather but struggles when cold — could this glow plug be the cause?
Yes. A partially degraded glow plug heater element may still function well enough to start the engine in mild temperatures but fail to produce sufficient heat for cold-weather starting. Cold-start difficulty that improves as outside temperatures rise is a classic symptom of a failing glow plug on a diesel engine.
How do I know which previous part numbers are replaced by the 03L905061L?
The 03L905061L is the current supersession and replaces the following earlier VAG part numbers: 03L905061D, 03L905061E, 03L905061F, 03L905061G, 03L905061H, 03L905061K, 059905061E, and 059905061H. If your vehicle originally used any of these numbers, the 03L905061L is the correct current replacement.
Fehler gefunden?
Helfen Sie uns, besser zu werden — wenn Sie einen Fehler auf der Website oder in den Daten entdeckt haben, teilen Sie uns dies mit, und wir beheben ihn so schnell wie möglich.