
 EN
EN
 Deutsch
 polski
 русский
 українська
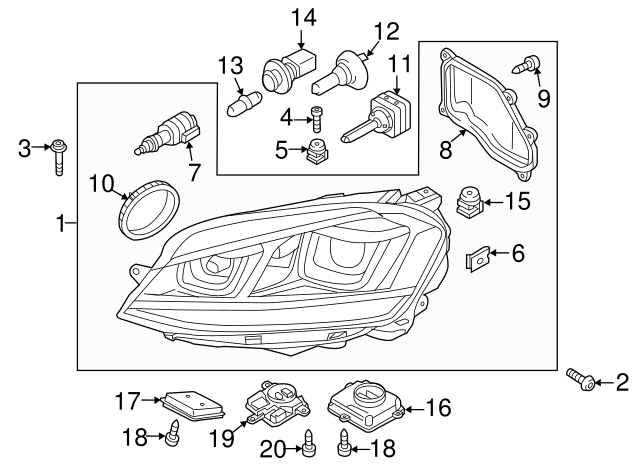
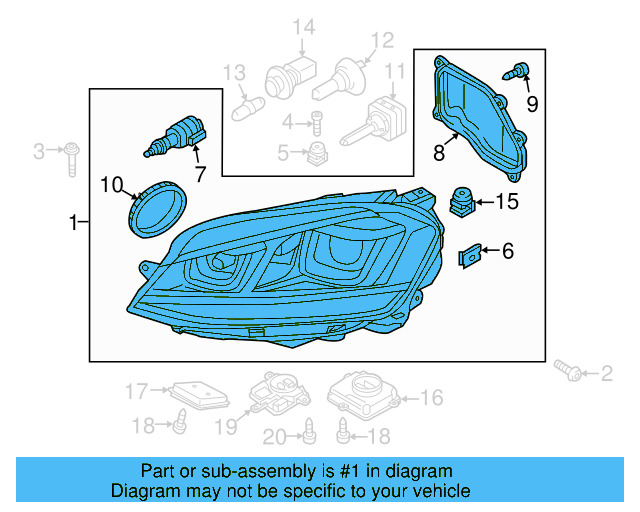
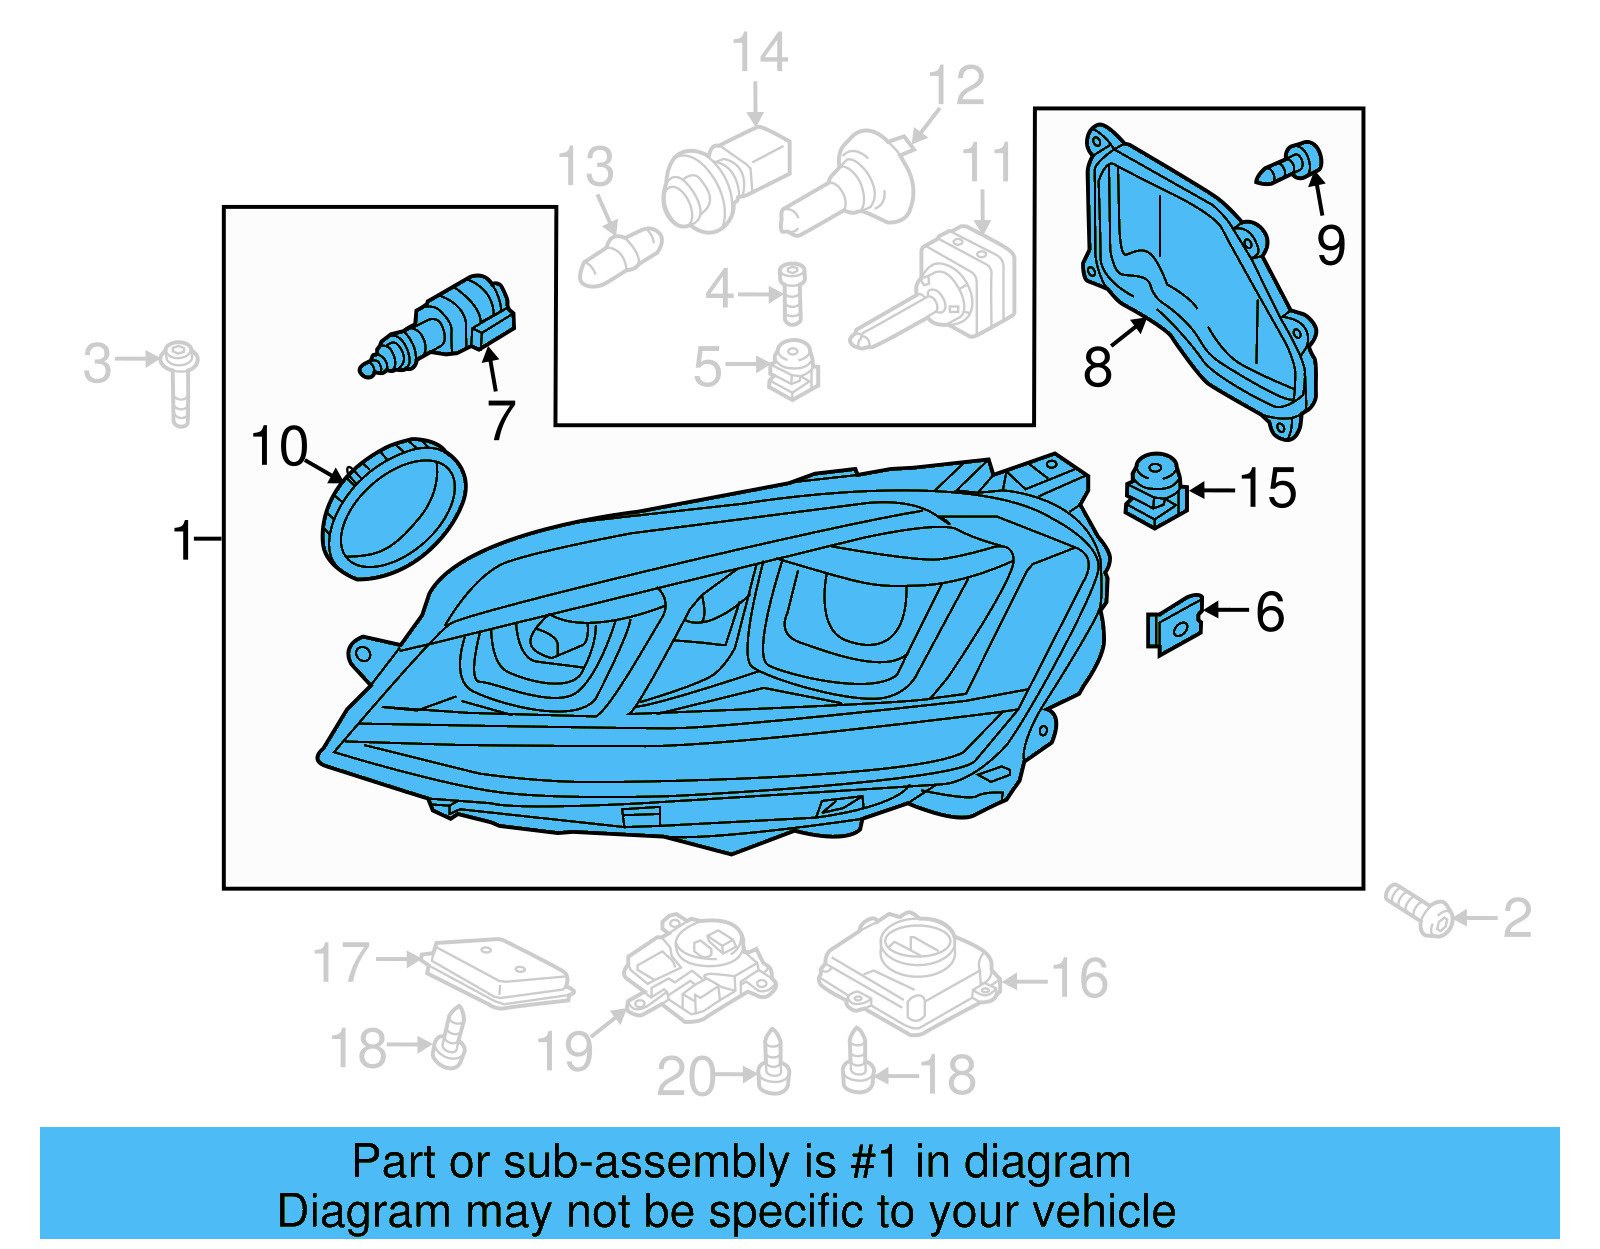
Headlamp Assembly 5G0-941-754-B
Available in stores 4 offers
Vehicle fitment 14 vehicles
Technical specifications
| OEM Part Number | 5G0-941-754-B |
|---|---|
| Fitting Position | Right (Passenger Side) |
| Lamp Type | Bi-Xenon with LED Daytime Running Lights (DRL) |
| Low Beam Bulb Type | D3S (Xenon) |
| High Beam Bulb Type | H7 (Halogen) |
| Indicator Bulb Type | PSY24W |
| Voltage | 12V |
| Compatible Bulb Igniter | 8K0-941-597-E |
| AFS Leveling Module | 3D0-941-329-A |
| DRL Power Module | 4G0-907-697-F |
How to replace the Headlamp Assembly
Replacing the 5G0941754B headlamp assembly on a 2015 Volkswagen Golf requires basic hand tools and approximately 60–90 minutes. Front bumper removal is necessary to fully access the headlamp mounting points. Disconnect the battery before starting to prevent electrical shorts or airbag deployment. Always test the new assembly and verify beam alignment after installation.
-
Disconnect the Battery
Open the hood and disconnect the negative terminal of the battery. Wait at least 10 minutes before proceeding to allow capacitors in the lighting control modules to fully discharge and prevent accidental electrical damage.
-
Remove the Front Bumper Cover
Using Torx screwdrivers and trim removal tools, detach all clips, screws, and fasteners securing the front bumper cover. Carefully pull the bumper cover away from the vehicle to expose the headlamp assembly mounting points.
-
Unscrew the Headlamp Mounting Bolts
Using the appropriate socket, remove all mounting bolts securing the headlamp assembly to the body. Note the position and number of bolts for reinstallation. Consult the vehicle service manual for recommended torque specifications.
-
Disconnect the Wiring Harness
Carefully release the locking tabs on each electrical connector at the rear of the headlamp assembly. Disconnect the main wiring harness, AFS leveling motor connector, and DRL module connector. Do not pull on the wires; squeeze the locking tabs first.
-
Remove the Old Headlamp Assembly
With all bolts removed and connectors unplugged, slide the headlamp assembly out of its mounting position. Take care not to scratch the surrounding paintwork or damage the front fender liner.
-
Install the New Headlamp Assembly
Position the new 5G0941754B assembly into the mounting location. Reconnect all electrical connectors—main harness, AFS leveling, and DRL power module—until each clicks securely into place. Insert and hand-tighten all mounting bolts, then torque to specification per the service manual.
-
Reinstall the Front Bumper Cover
Align the bumper cover and reattach all clips, screws, and fasteners in reverse order of removal. Ensure all panel gaps are even and the cover sits flush against the fenders and hood.
-
Reconnect Battery and Test
Reconnect the negative battery terminal. Switch on the ignition and test all headlamp functions: low beam (Bi-Xenon), high beam (H7), LED DRL, and turn signal (PSY24W). Check the instrument cluster for any warning lights and verify AFS beam leveling is functioning correctly.
Signs of a worn part
-
Dim or Flickering Xenon Light
A failing D3S bulb, deteriorating igniter, or moisture ingress into the housing can cause the Bi-Xenon beam to flicker, strobe, or produce noticeably reduced light output.
-
Complete Headlamp Failure
Total loss of one or more light functions (low beam, high beam, DRL, or indicator) may indicate a blown bulb, failed wiring connector, or internal damage to the headlamp assembly itself.
-
Condensation Inside the Lens
Moisture or fogging inside the headlamp housing signals a broken or degraded seal. Prolonged condensation can corrode reflectors, damage bulbs, and compromise the Xenon igniter.
-
Dashboard Headlamp Warning Light
The instrument cluster may display a lighting fault warning if the control module detects an open circuit, incorrect power draw from the DRL module, or an AFS leveling fault.
-
Cracked or Damaged Lens
Physical damage to the polycarbonate lens from road debris or minor impacts allows water ingress, reduces light output, and may fail annual vehicle safety inspections.
Replacement intervals
Volkswagen does not publish a scheduled replacement interval for headlamp assemblies. Individual bulbs (D3S, H7, PSY24W) have separate service lives and should be replaced in pairs when one fails to maintain balanced light output.
Frequently asked questions
Is 5G0-941-754-B the driver side or passenger side headlamp?
This part number is the right-hand (passenger side) headlamp assembly. If you need the driver-side unit, you must order the corresponding left-side part number, which is different and not interchangeable.
Which model years and trims of the VW Golf does this headlamp fit?
Based on available fitment data, this assembly is confirmed for the 2015 Volkswagen Golf in trim levels including S, SE, SEL, Launch Edition, TDI S, TDI SE, and TDI SEL, equipped with either the 1.8L turbocharged gasoline or 2.0L TDI diesel engine. Always cross-check your vehicle's production date and option codes, as Volkswagen may have updated the part mid-model-year.
Do the bulbs and modules come included with the replacement assembly?
OEM and aftermarket headlamp assemblies are typically sold as the housing unit only. Bulbs (D3S, H7, PSY24W), the bulb igniter (8K0-941-597-E), the AFS leveling module (3D0-941-329-A), and the DRL power module (4G0-907-697-F) are usually sold separately. Confirm what is included in the listing before purchasing.
Will the HELLA 1ZS 010 748-361 work as a direct OEM replacement?
Yes. HELLA is a Tier-1 OE supplier to Volkswagen, and part number 1ZS 010 748-361 is confirmed as a direct equivalent for 5G0-941-754-B, matching the lamp types (D3S/H7, PSY24W), voltage (12V), and fitting position (right). It is the recommended aftermarket alternative when the OEM part is unavailable or cost-prohibitive.
Is headlamp beam alignment required after replacing this assembly?
Yes. After installing any Bi-Xenon headlamp assembly, a proper beam aim adjustment is mandatory for road safety and legal compliance. Xenon headlamps that are misaimed can blind oncoming drivers. Use VAG-compatible diagnostic software (e.g., VCDS) or visit a Volkswagen dealer to perform the alignment procedure and re-initialize the AFS leveling system.
Why does my dashboard show a headlamp warning after installing a new assembly?
Residual fault codes stored in the lighting control module before or during the swap will often persist after installation. Connect a VAG-compatible scan tool to read and clear the fault codes. If the warning returns, verify that all electrical connectors are fully seated and that the DRL power module and AFS leveling module are correctly matched and initialized for the new assembly.
Found an error?
Help us improve — if you've spotted an error on the site or in the data, let us know and we'll fix it as soon as possible.