
 RU
RU
 Deutsch
 English
 polski
 українська
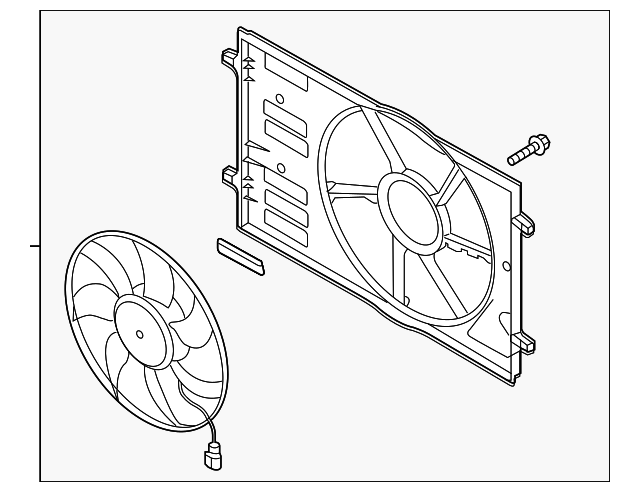
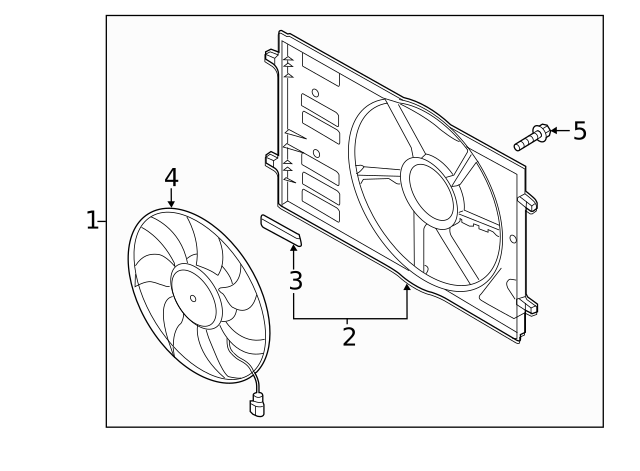
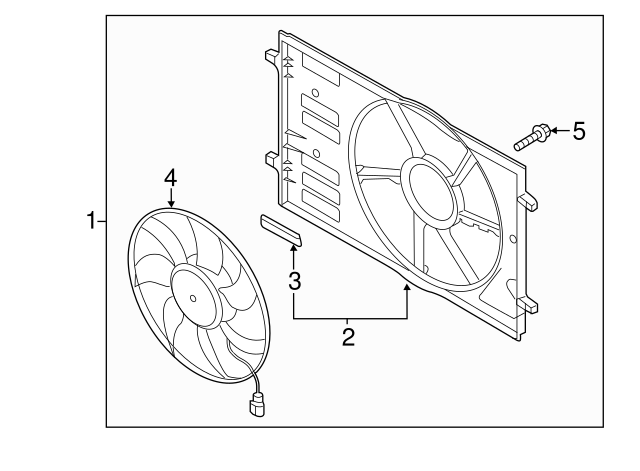
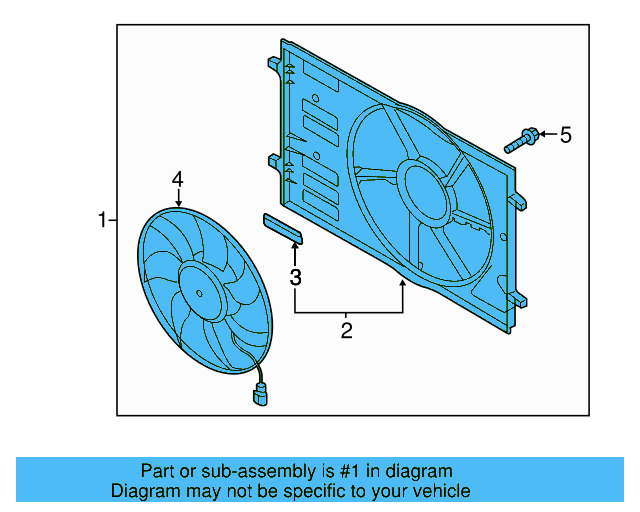
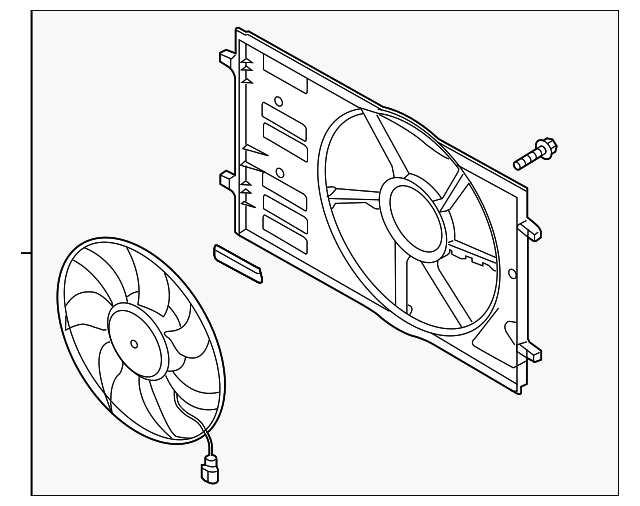
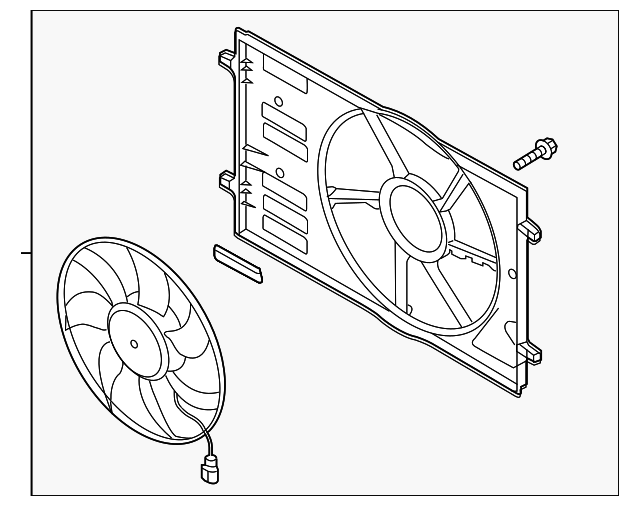
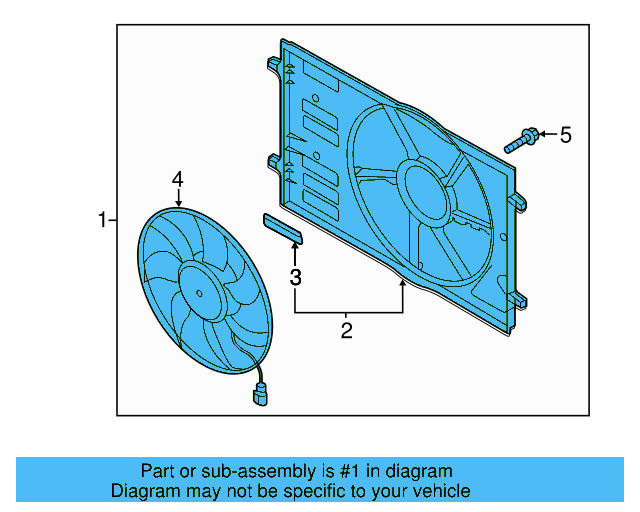
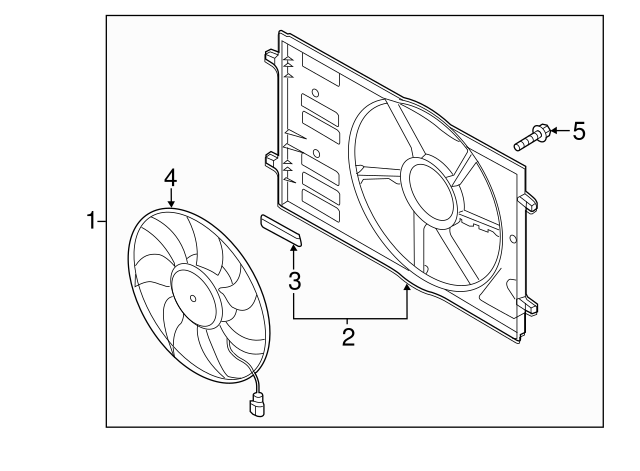
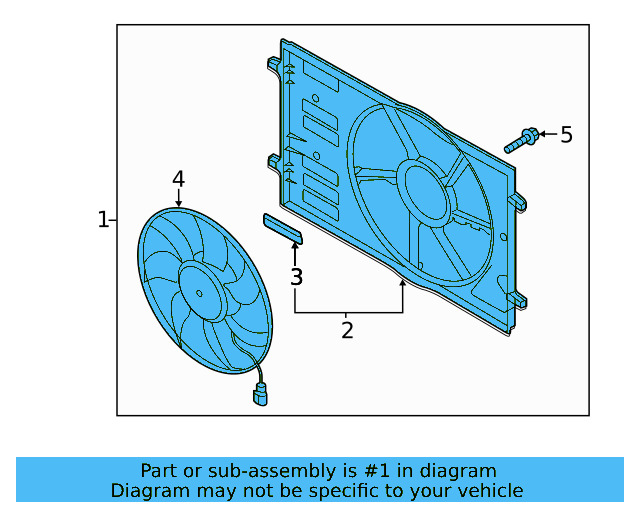
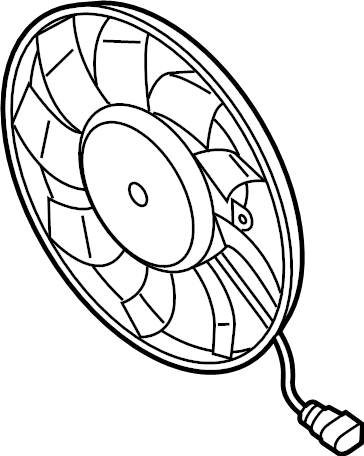
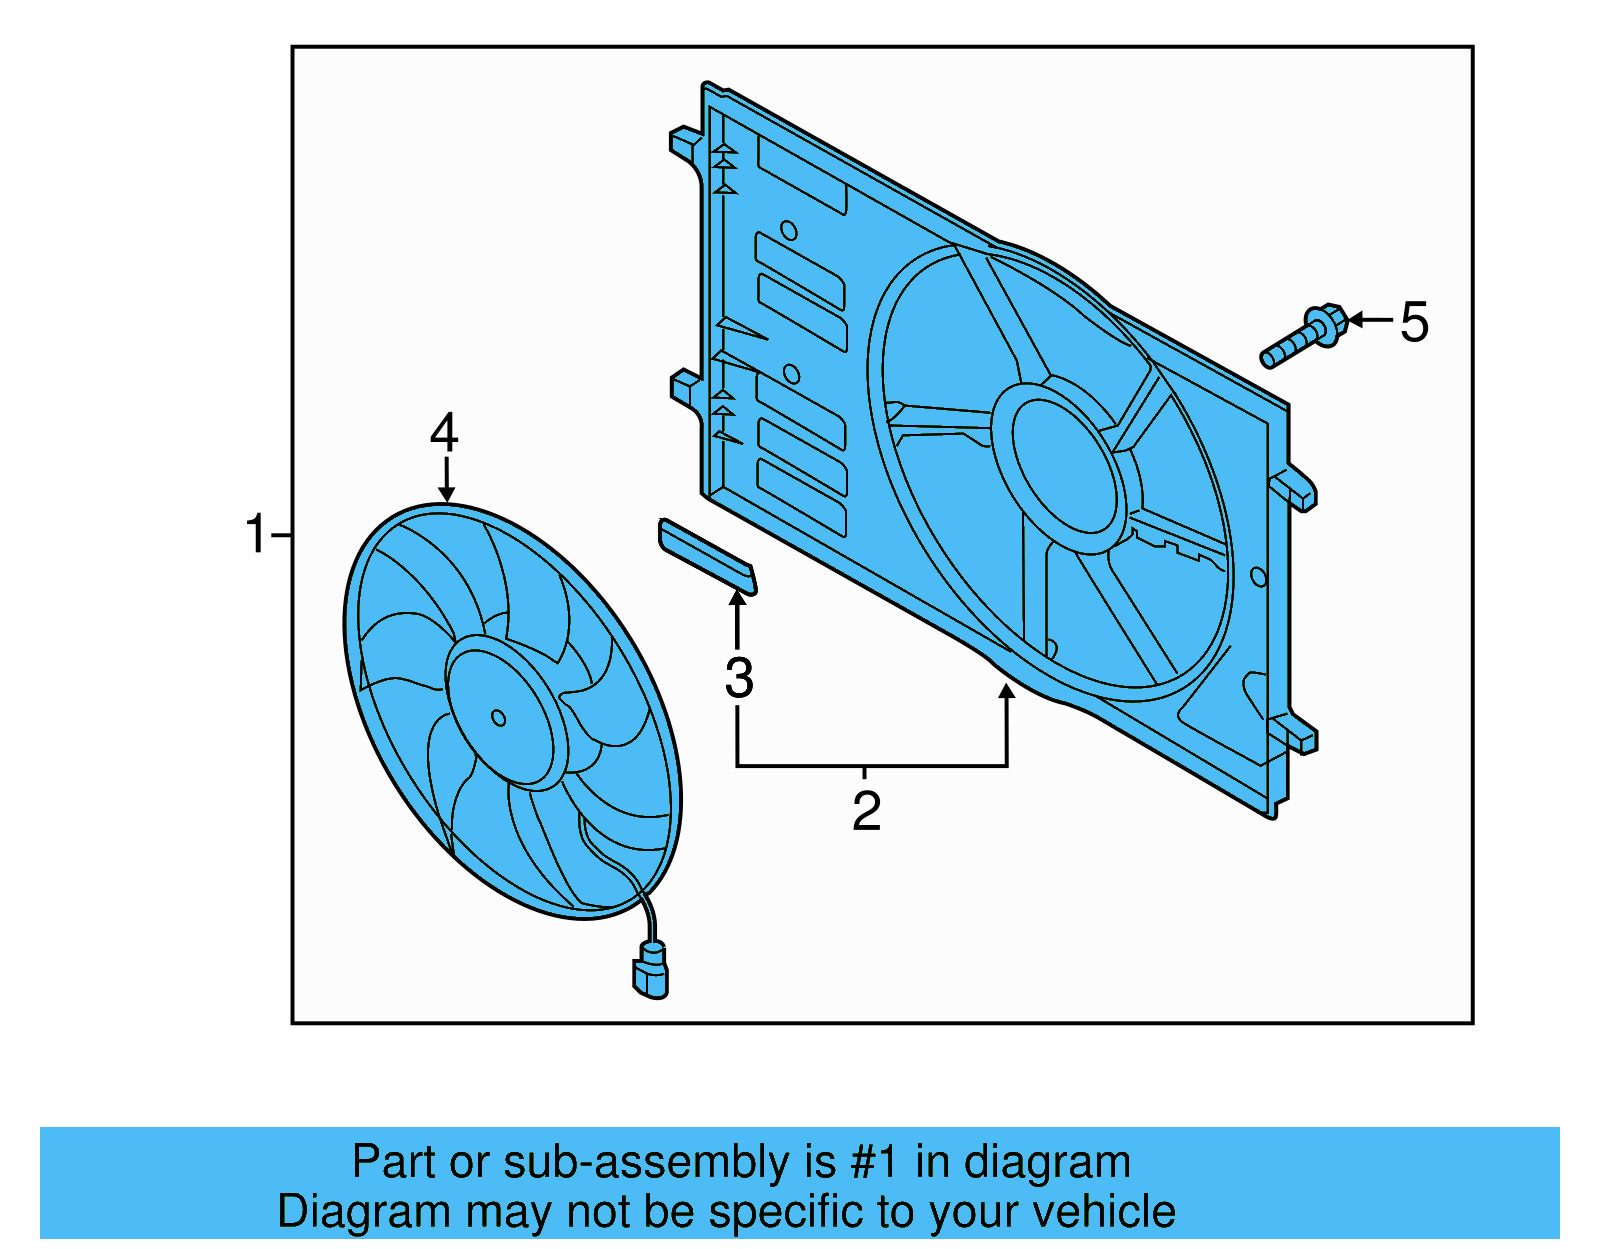
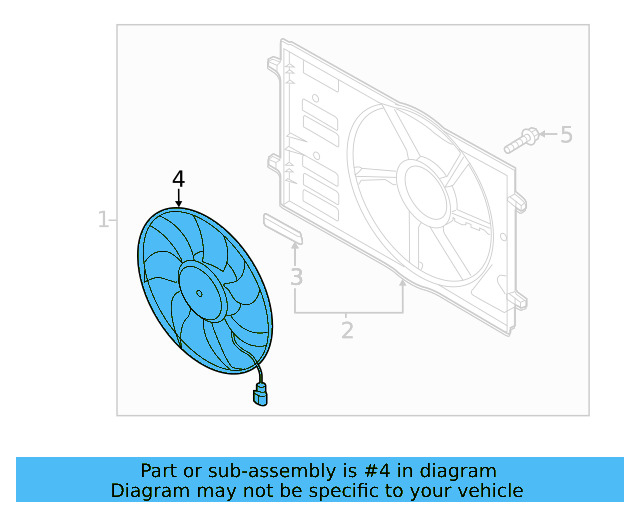
Fan Assembly 5QM-121-203-H
Доступно в магазинах 10 предложений
Совместимость с автомобилями 135 автомобилей
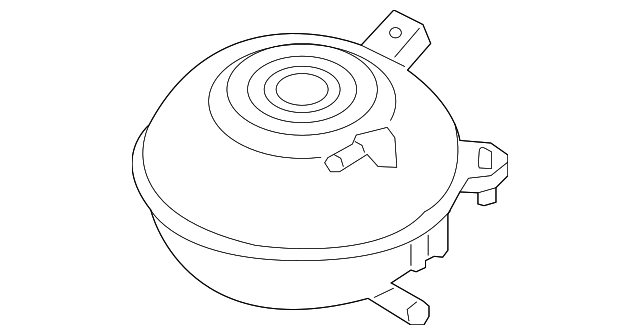
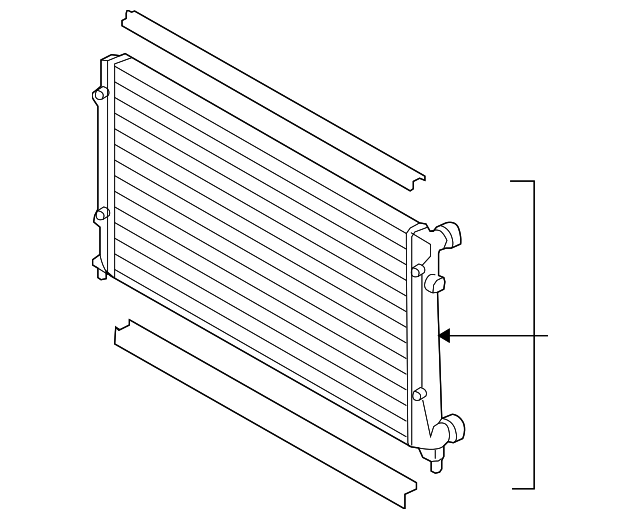
Технические характеристики
| OEM Part Number | 5QM121203H |
|---|---|
| Fan Diameter | 445 mm (approx. 17.5 in) |
| Assembly Type | Electric fan motor, blade, and shroud — fully integrated |
| Mounting | Bolt-on to radiator support |
| Electrical Connector | Standard Volkswagen factory harness connector |
| Material | Durable plastic shroud and blade; metal motor housing |
| Position | Front (radiator-side) |
| Supersedes | 5QM121203C, 5QM121203F |
| OEM Brand | Genuine Volkswagen |
Как заменить Fan Assembly
Replacing the 5QM121203H cooling fan assembly is a moderately straightforward procedure that requires basic hand tools and careful attention to electrical safety. Always allow the engine to cool completely before beginning and disconnect the battery first. The following steps provide a general guide — always cross-reference your vehicle's factory service manual for model-specific torque values and procedures.
-
Safety Preparation
Disconnect the negative battery terminal to eliminate any risk of electrical shock or accidental fan activation during the repair. Ensure the engine has cooled completely before touching any components near the radiator.
-
Gain Access to the Fan Assembly
Remove the front grille and any trim panels, engine covers, or ductwork that obstruct direct access to the radiator fan assembly. Set all fasteners aside in a labeled container to avoid loss.
-
Disconnect the Electrical Connector
Locate the fan motor electrical connector on the assembly. Press the locking tab and pull the connector straight back to disengage it from the wiring harness. Do not pull by the wires.
-
Remove Mounting Hardware
Unscrew the mounting bolts securing the fan shroud assembly to the radiator support. Consult the factory service manual for the correct torque specification — avoid over-loosening adjacent radiator fittings.
-
Extract the Old Fan Assembly
Carefully tilt and lift the old fan assembly clear of the radiator and engine bay. Take note of the orientation and routing of the wiring harness before full removal.
-
Install the New Fan Assembly
Lower the new 5QM121203H assembly into position, aligning the mounting tabs with the radiator support brackets. Hand-thread the mounting bolts before final torquing per factory specifications.
-
Reconnect Electrical Connector
Route the wiring harness as originally noted and firmly press the electrical connector into the fan motor until the locking tab clicks into place. Verify the connection is secure.
-
Reassemble and Test
Reinstall all trim panels, covers, and the front grille. Reconnect the negative battery terminal, start the engine, and allow it to reach operating temperature. Observe the fan cycling on and off correctly and check for any unusual noises.
Признаки износа детали
-
Engine Overheating
If the cooling fan fails to run or runs intermittently, the engine may climb above normal operating temperature, especially during idling or low-speed driving where airflow through the grille is insufficient.
-
Unusual Fan Noises
Grinding, clicking, or rattling sounds coming from the front of the engine bay can indicate a failing fan motor bearing, a cracked blade, or debris lodged in the shroud.
-
Fan Does Not Activate
If the fan never comes on after the engine reaches normal operating temperature, the motor may have failed internally or an open circuit in the assembly wiring may be present.
-
Engine Temperature Warning Light
Illumination of the coolant temperature warning indicator on the instrument cluster may indicate the fan is not providing adequate cooling, allowing coolant temps to exceed safe limits.
-
Visible Physical Damage
Cracked, chipped, or bent fan blades caused by road debris ingestion can create vibration and imbalance, reducing cooling efficiency and accelerating motor bearing wear.
Периодичность замены
Cooling fan assemblies are not a wear-interval component. Proactive inspection during routine services is the best strategy — replace immediately upon confirmed motor failure, abnormal noise, or damaged blades to prevent engine overheating damage.
Часто задаваемые вопросы
Will the 5QM121203H fit my Volkswagen if my current fan has a different part number ending (like 'C' or 'F')?
Yes. The H suffix is the current production revision and directly supersedes the earlier 5QM121203C and 5QM121203F part numbers. If your vehicle originally used either of those, the 5QM121203H is the correct replacement.
Does this assembly include the fan motor, blade, and shroud, or do I need to purchase those separately?
The 5QM121203H is a complete, fully assembled unit that includes the electric fan motor, fan blade, and shroud. No additional components need to be sourced for a direct swap.
Which Volkswagen models is the 5QM121203H compatible with?
Confirmed fitments include the Volkswagen Golf GTI (2019–2021, 2.0L), Golf Alltrack (2017–2019, 1.8L), Jetta (2020, 1.4L), and Taos (2024, 1.5L). Always verify compatibility using your VIN with the parts supplier before ordering.
Are there quality aftermarket alternatives available for this fan assembly?
As of available research, specific aftermarket direct equivalents with confirmed part numbers have not been documented for this assembly. Sourcing the genuine OEM unit from an authorized Volkswagen dealer or reputable OEM parts distributor is the recommended approach to ensure fitment and durability.
Can I replace the fan motor or blade separately, or must the entire assembly be replaced?
The 5QM121203H is sold and designed as an integrated assembly. While individual components may theoretically be available through specialized suppliers, Volkswagen's standard repair procedure involves replacing the complete unit to ensure reliability and proper balance.
What is the fan diameter of this assembly and why does it matter?
The fan measures 445 mm (approximately 17.5 inches) in diameter. This dimension is critical because it determines clearance within the shroud and airflow volume — using an incorrectly sized fan can result in poor cooling performance or physical interference with surrounding components.
Нашли ошибку?
Помогите нам стать лучше — если вы заметили ошибку на сайте или в данных, сообщите нам, и мы исправим её как можно скорее.