
 RU
RU
 Deutsch
 English
 polski
 українська
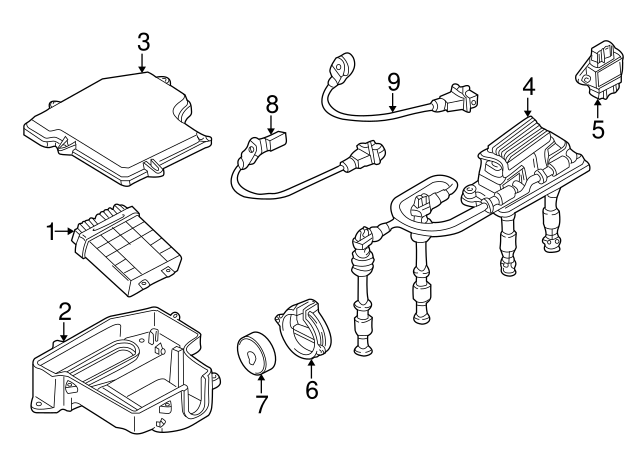
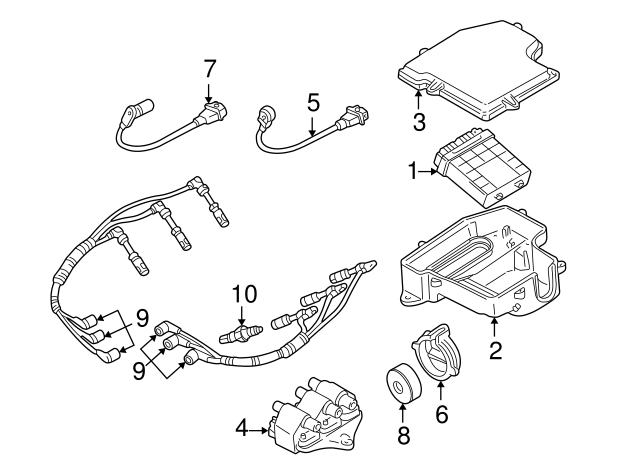
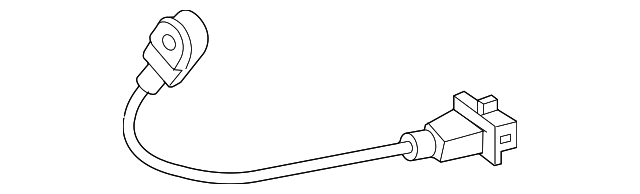
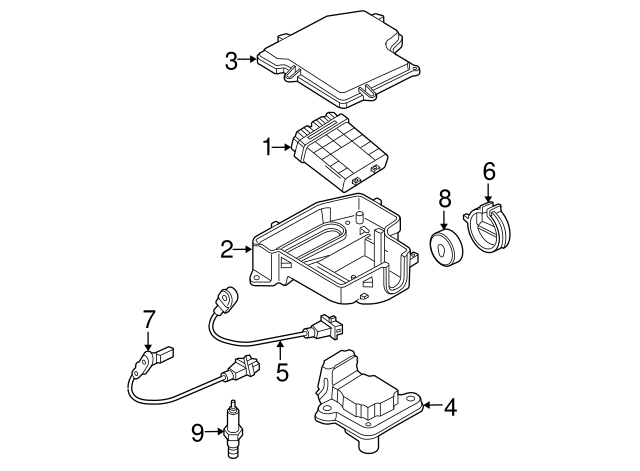
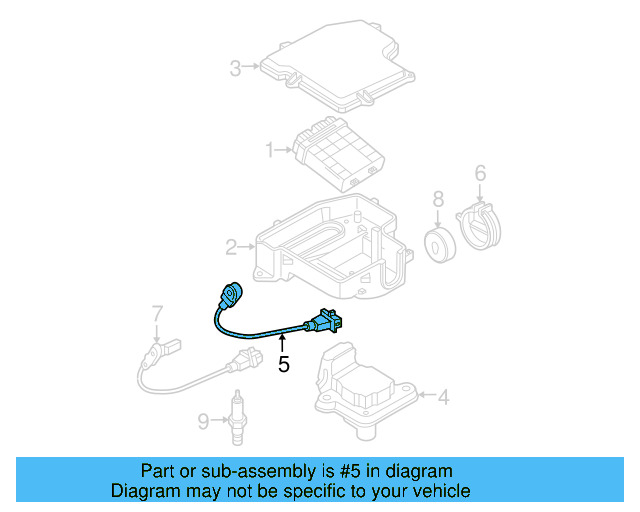
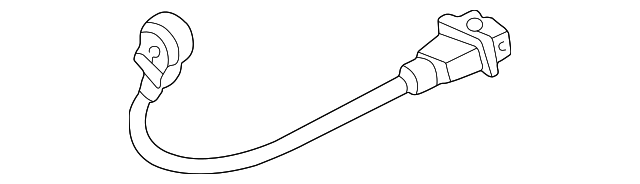
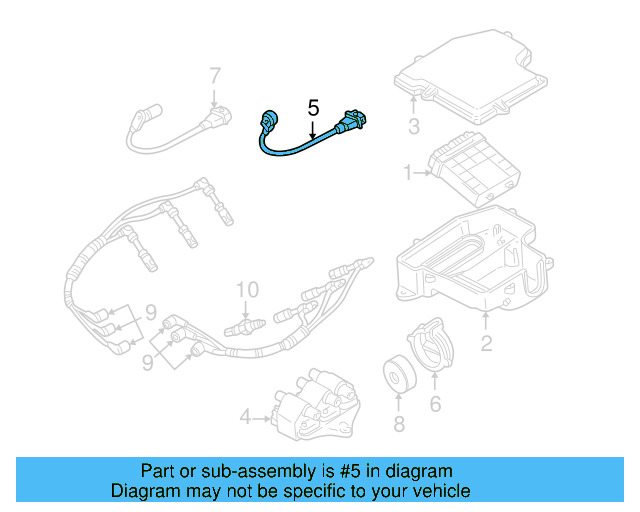
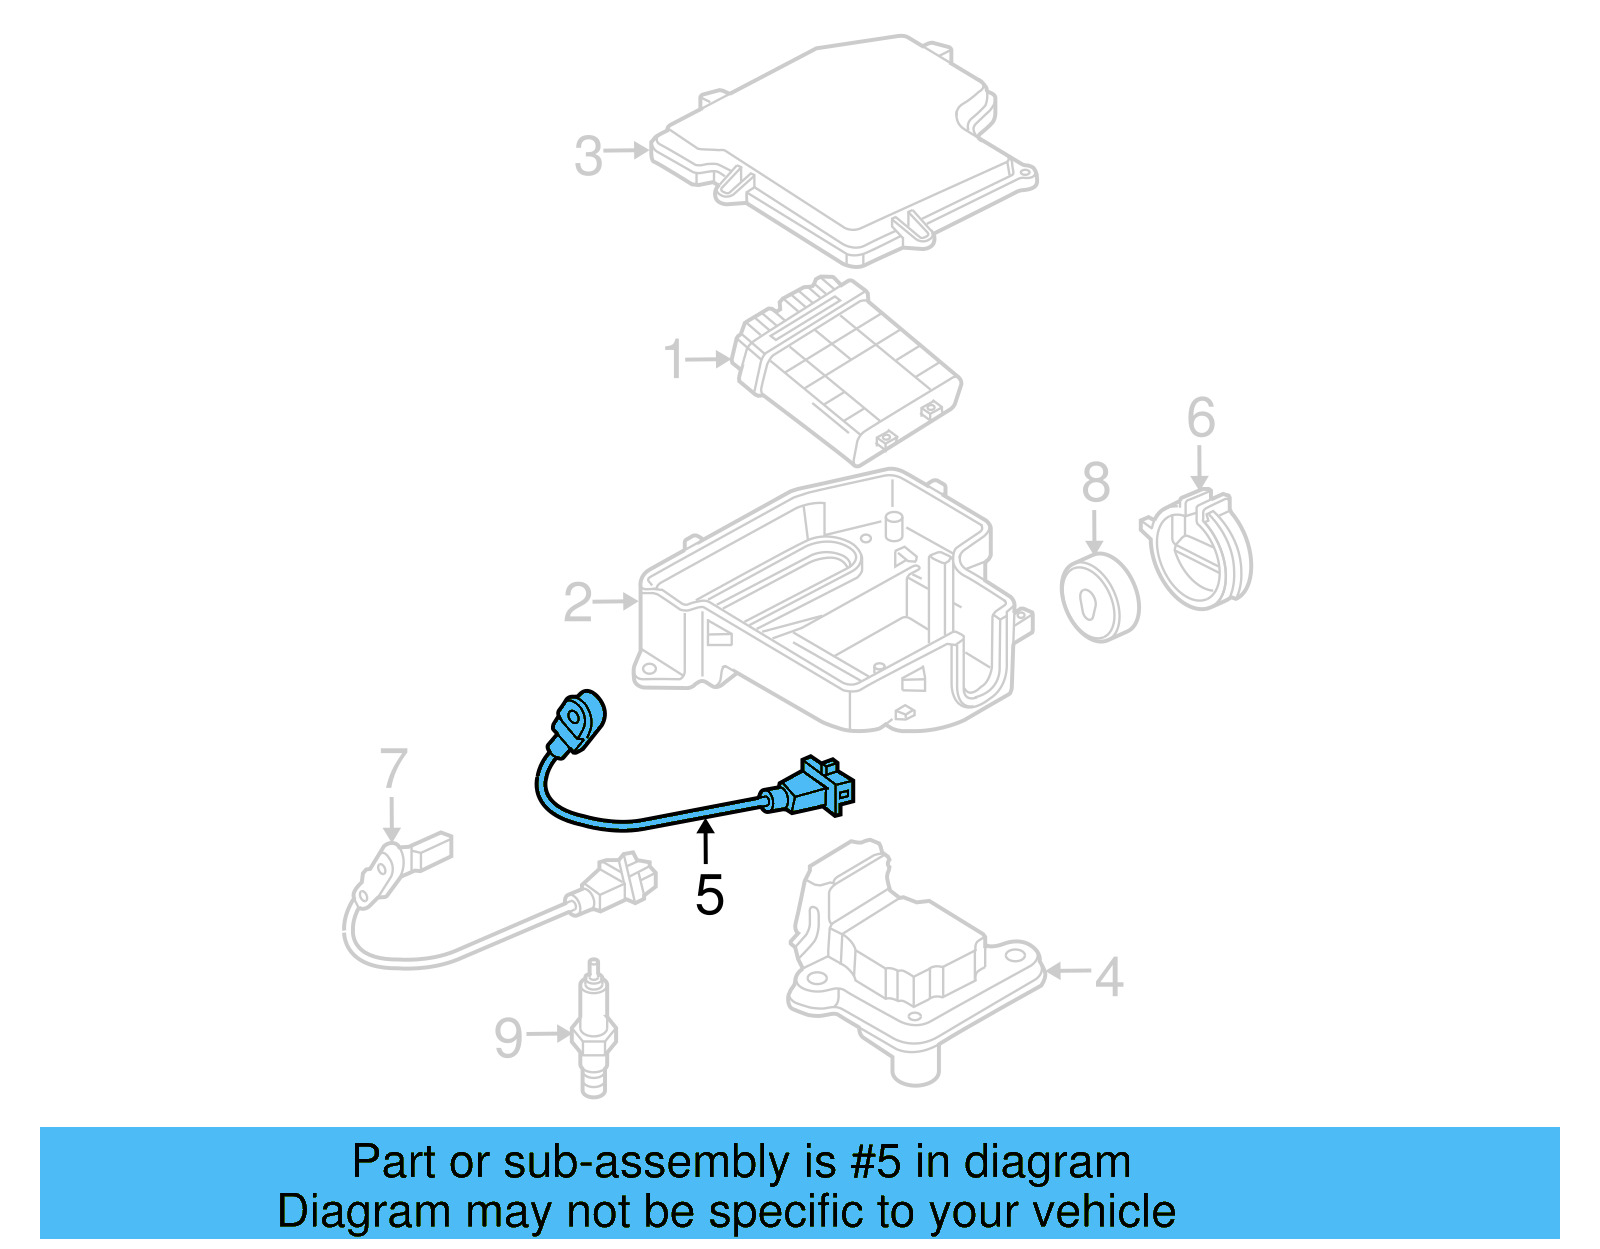
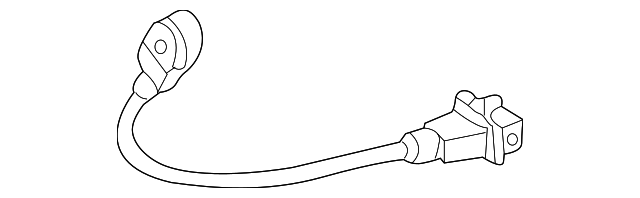
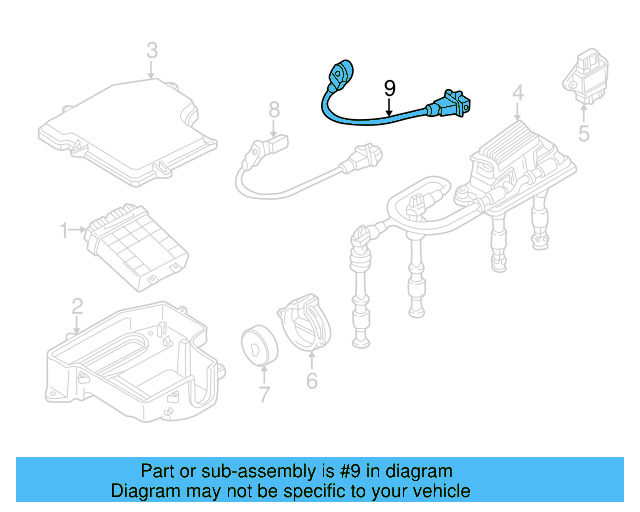
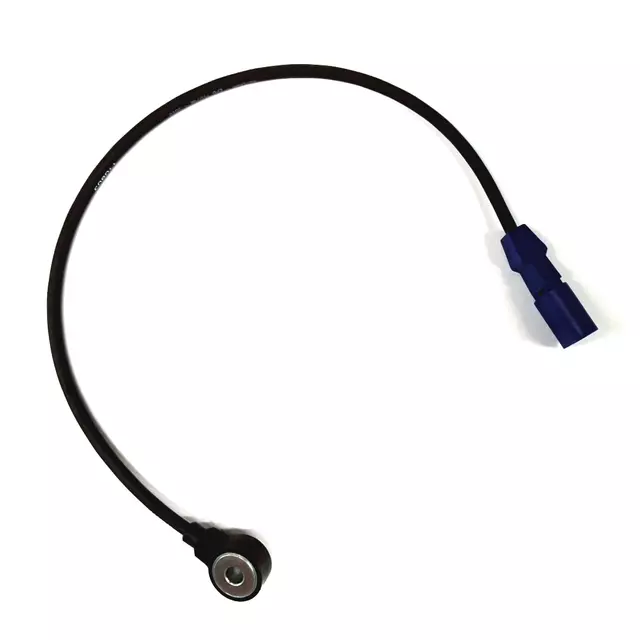
Knock Sensor 06C-905-377
Доступно в магазинах 6 предложений
Совместимость с автомобилями 11 автомобилей

Технические характеристики
| OEM Part Number | 06C 905 377 |
|---|---|
| Part Type | Knock Sensor with Wiring Harness |
| Wiring Harness Length | 540 mm |
| Connector Color | Blue |
| Thread Size | — |
| Material | Plastic and metal composite |
| Mounting Location | Engine block |
| Brand Group | Volkswagen Group (VAG) |
| Compatible Engine Codes | BEX, AMB, AVJ, BFB, AWM, ALT, BES, BBJ |
Как заменить Knock Sensor
Replacing the knock sensor on VAG 1.8T engines is a straightforward job requiring basic hand tools and attention to torque and connector seating. Follow these steps carefully, and always consult your vehicle's factory service manual for torque specifications specific to your engine code.
-
Disconnect the Battery
Before beginning any work, disconnect the negative terminal of the vehicle's battery to eliminate the risk of electrical shorts and to reset the ECU fault memory.
-
Allow the Engine to Cool
If the engine has been running, allow it to cool completely before accessing the knock sensor mounted on the engine block to avoid burns.
-
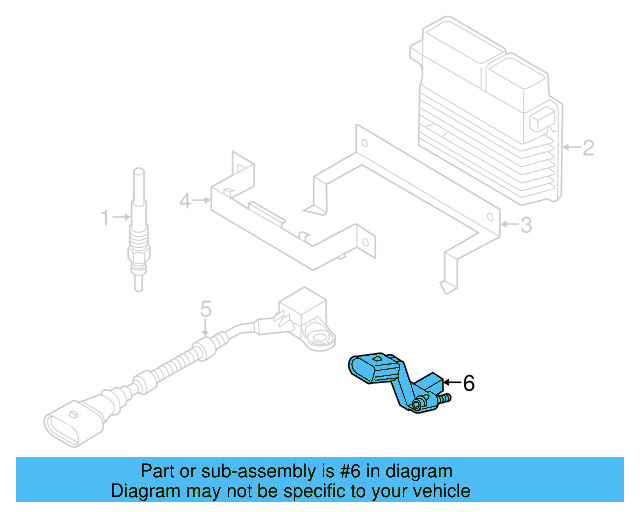
Locate the Knock Sensor
The knock sensor is mounted directly on the engine block. Consult your service manual or engine bay diagram to identify the exact location for your specific engine code.
-
Unplug the Wiring Harness Connector
Carefully release the blue connector locking tab and unplug the 540 mm wiring harness from the sensor. Inspect the connector for corrosion or damage before proceeding.
-
Remove the Old Knock Sensor
Using the appropriate socket, unscrew the knock sensor from the engine block. Note the mounting bolt torque for reinstallation reference from your service manual.
-
Install the New Sensor
Thread the new 06C 905 377 knock sensor into the engine block by hand first to avoid cross-threading, then tighten to the manufacturer-specified torque value using a torque wrench.
-
Reconnect the Wiring Harness
Plug the blue connector back in until you hear or feel it click securely into place. Route the harness away from hot or moving components and secure with any original clips.
-
Reconnect the Battery and Test
Reconnect the negative battery terminal, start the engine, and verify that no Check Engine Light is present. Use an OBD-II scanner to confirm no knock sensor fault codes remain.
Признаки износа детали
-
Check Engine Light Illuminated
A failing knock sensor commonly triggers a Check Engine Light with fault codes related to knock sensor signal range or circuit malfunction.
-
Engine Pinging or Knocking
Without accurate knock feedback to the ECU, ignition timing may not retard properly, resulting in audible pinging or knocking sounds under load or acceleration.
-
Reduced Engine Performance
The ECU may enter a safe-mode timing strategy when knock sensor input is lost, causing noticeable loss of power and throttle response.
-
Poor Fuel Economy
Suboptimal ignition timing caused by a faulty knock sensor signal leads to incomplete combustion and measurable decreases in fuel efficiency.
-
Increased Exhaust Emissions
Improper combustion timing resulting from knock sensor failure can increase hydrocarbons and other exhaust emissions, potentially causing emissions test failure.
Периодичность замены
Knock sensors are not wear items with scheduled intervals. Replacement is condition-based — triggered by fault codes (e.g., P0325–P0332), audible knock, or confirmed sensor failure during diagnosis.
Часто задаваемые вопросы
Is 06C 905 377 the correct knock sensor for my Audi A4 1.8T?
This part is verified for Audi A4 B6 Avant (8E5) 1.8T quattro with engine codes BEX, AMB, AVJ, BFB, AWM, ALT, BES, and BBJ. Always confirm your engine code from the engine block stamp or vehicle documentation before ordering.
What is included with part number 06C 905 377?
The part includes both the knock sensor and its integrated wiring harness (540 mm, blue connector), making it a complete, plug-and-play OEM replacement with no additional pigtail or adapter needed.
Can I use an aftermarket knock sensor instead of the OEM part?
Yes. Reputable aftermarket equivalents such as Vemo V10-72-1047, Delphi AS10215, or Continental/VDO S107583009Z are designed to meet OEM specifications. Verify the connector type, harness length, and fitment before purchasing.
How do I know if my knock sensor has failed?
Common signs include an illuminated Check Engine Light with knock sensor fault codes (P0325–P0332), engine pinging or knocking under load, reduced power, and worsened fuel economy. Diagnostic confirmation with an OBD-II scanner is recommended before replacing.
What torque should I use when installing the knock sensor?
The research does not specify an exact torque value for this application. Always refer to your vehicle's factory service manual for the correct torque specification for your engine code, and use a calibrated torque wrench during installation.
Will replacing the knock sensor clear the Check Engine Light automatically?
No. After replacing the sensor, you must use an OBD-II scanner to manually clear the stored fault codes. The light will not extinguish on its own until the codes are erased and the ECU verifies the repair over a drive cycle.
Нашли ошибку?
Помогите нам стать лучше — если вы заметили ошибку на сайте или в данных, сообщите нам, и мы исправим её как можно скорее.