
 EN
EN
 Deutsch
 polski
 русский
 українська
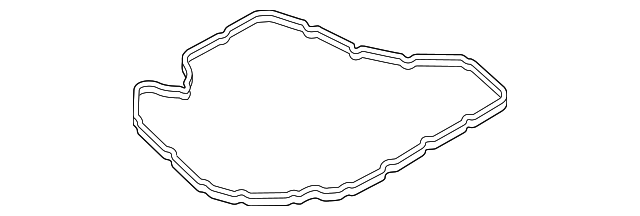
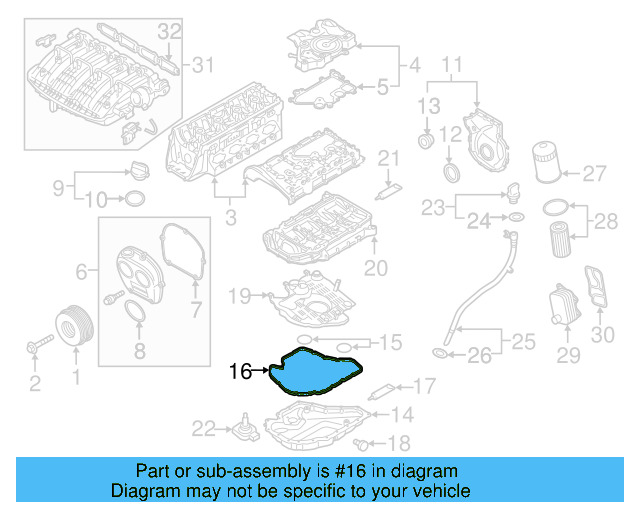
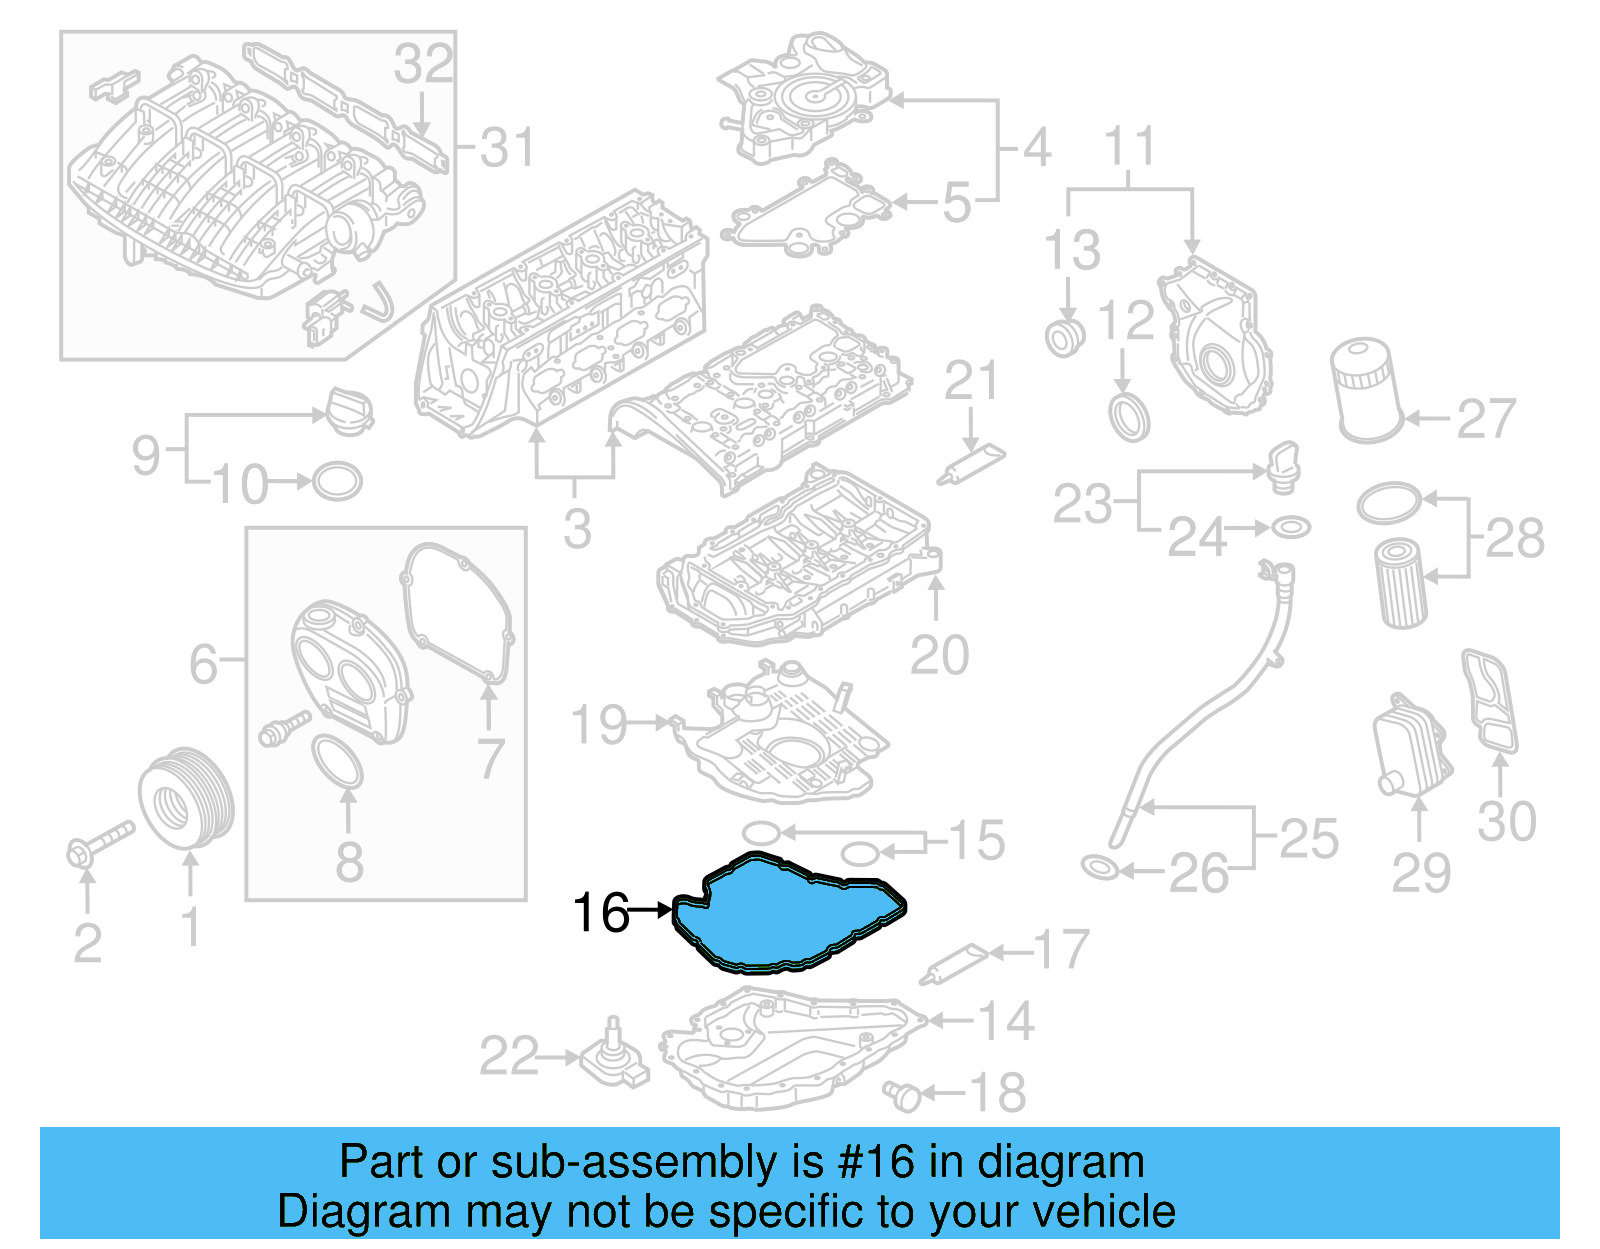
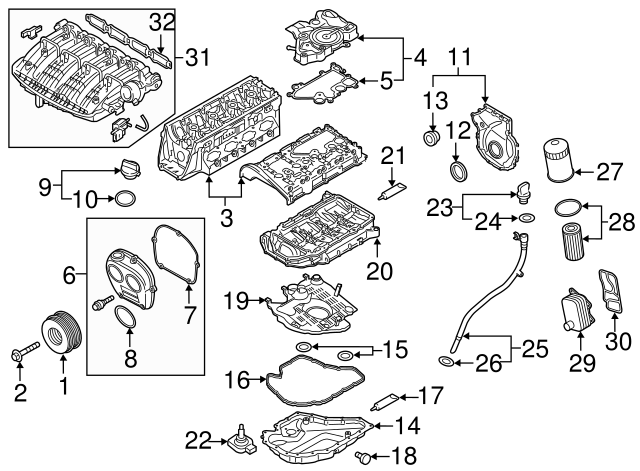
Oil Pan Gasket 06K-103-649-H
Available in stores 12 offers
Vehicle fitment 83 vehicles
Technical specifications
| OEM Part Number | 06K103649H |
|---|---|
| Part Type | Engine Oil Pan Gasket (Upper/Lower) |
| Material | High-quality rubber or composite (oil and heat resistant) |
| Engine Application | 2.0L 4-cylinder (EA888 series) |
| Torque Specification | 6.4 N·m (4.7 ft-lb) |
| Sealant Requirement | Silicone sealant may be required on select mating surfaces |
| Gasket Position | Engine block to oil pan interface |
| Dimensions | — |
How to replace the Oil Pan Gasket
Replacing the oil pan gasket on a 2.0L Volkswagen engine is a moderately involved job requiring basic hand tools, a torque wrench, and a clean working environment. Allow the engine to cool completely before beginning, and have fresh engine oil and a new drain plug washer on hand. Follow each step carefully and consult your vehicle's factory service manual for model-specific torque sequences.
-
Prepare the Vehicle
Park on a level surface and allow the engine to cool completely. Disconnect the negative battery terminal, then raise the vehicle with a floor jack and secure it firmly on jack stands rated for the vehicle's weight.
-
Drain the Engine Oil
Position a drain pan beneath the oil pan. Remove the oil drain plug and allow all engine oil to drain completely. Replace the drain plug crush washer if reusing the plug, or install a new drain plug.
-
Remove Obstructing Components
Remove the underbody splash shield and any exhaust heat shields or other components blocking clear access to the oil pan perimeter bolts.
-
Remove the Oil Pan
Loosen and remove all oil pan bolts working in a crisscross pattern. Carefully lower the oil pan; if it is stuck to the engine block, gently break the seal by tapping with a rubber mallet. Do not use metal pry tools that could damage sealing surfaces.
-
Clean All Mating Surfaces
Thoroughly remove all old gasket material and sealant residue from both the engine block and oil pan flanges using a gasket scraper. Wipe both surfaces clean with a lint-free cloth and an appropriate solvent; they must be completely dry and free of oil before reassembly.
-
Install the New Gasket
Position the new 06K103649H gasket onto the oil pan flange. If the factory service manual specifies sealant at corner joints or timing chain cover interfaces, apply a thin, continuous bead of the specified silicone sealant before placing the gasket.
-
Reinstall the Oil Pan and Torque Bolts
Carefully raise the oil pan into position and hand-thread all bolts before applying torque. Tighten the bolts in a crisscross pattern to the specified torque of 6.4 N·m (4.7 ft-lb). Do not overtighten, as this can distort the gasket or crack the pan flange.
-
Reassemble, Refill Oil, and Inspect
Reinstall the splash shield and any other removed components. Refill the engine with the correct grade and quantity of fresh oil. Start the engine, allow it to reach operating temperature, and inspect the oil pan area carefully for any signs of leakage.
Signs of a worn part
-
Visible Oil Leak at Oil Pan
Oil seeping or dripping from the seam between the oil pan and engine block is the most direct indicator of a failed oil pan gasket.
-
Low Engine Oil Level
A slow gasket leak can cause the engine oil level to drop between service intervals, triggering a low-oil warning light on the dashboard.
-
Oil Spots on the Ground
Dark, oily stains on the pavement or garage floor beneath the engine area after the vehicle has been parked overnight indicate an active leak.
-
Burning Oil Smell
Oil dripping from a failed gasket onto hot exhaust components directly below creates a distinctive acrid burning smell, especially noticeable after driving.
-
Oil Residue on Undercarriage
A film of dirty oil coating the underside of the engine and surrounding chassis components suggests an ongoing pan gasket leak that has been accumulating over time.
Replacement intervals
Unlike wear items such as oil filters or spark plugs, the oil pan gasket has no fixed mileage interval. Replacement is condition-based. Address any detected leak promptly to avoid oil starvation damage to the engine.
Frequently asked questions
Is 06K103649H the correct part for my Volkswagen?
This gasket is confirmed for 2.0L 4-cylinder Volkswagen models including the GTI (2018–2021), Jetta (2019–2025), Tiguan (2018–2024), Passat (2018–2022), and Beetle (2018–2019). Always cross-check your vehicle's specific engine code against the part number before purchasing, as multiple 2.0L variants exist.
Do I need silicone sealant in addition to this gasket?
Some applications require a thin bead of VW-approved silicone sealant (such as Loctite 5188) applied at corner joints or where the oil pan meets the timing chain cover, even when using this formed gasket. Consult your factory service manual for your specific engine code to confirm whether sealant is required.
What is the torque specification for the oil pan bolts?
The specified torque for the oil pan retaining bolts on this application is 6.4 N·m (4.7 ft-lb). Always tighten in a crisscross pattern to ensure even gasket compression. Do not exceed this value, as overtightening can distort the gasket or damage the oil pan flange.
Is the Elring aftermarket gasket as good as the OEM part?
Elring is an OEM-tier gasket manufacturer that supplies components directly to European automakers, including the Volkswagen Group. Their version of this gasket is a widely accepted alternative to the dealer-sourced OEM part and carries a 24-month / 24,000-mile limited warranty.
Can I reuse the oil pan gasket if it looks undamaged after removal?
Reusing an oil pan gasket is not recommended. Once a formed rubber or composite gasket has been compressed and exposed to engine heat and oil for an extended period, it will not reliably re-seal when reinstalled. Always fit a new gasket whenever the oil pan is removed.
How long does an oil pan gasket replacement take on a 2.0L VW?
For an experienced DIYer with proper tools, the job typically takes 2–4 hours, including drain time and the recommended sealant cure period before refilling oil. Additional time should be budgeted if other components such as the splash shield or exhaust sections require removal for access.
Found an error?
Help us improve — if you've spotted an error on the site or in the data, let us know and we'll fix it as soon as possible.