 PL
PL
 Deutsch
 English
 русский
 українська
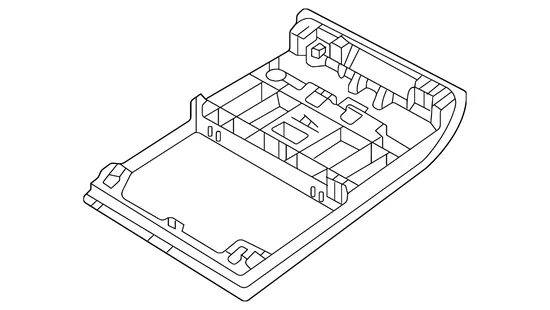
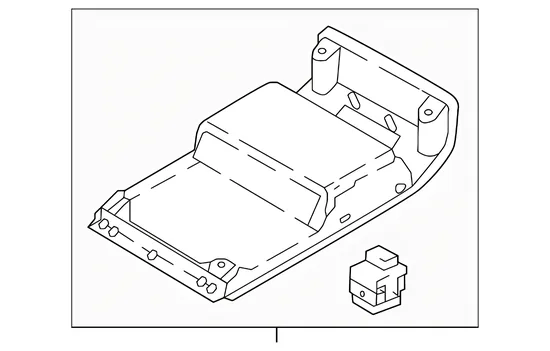
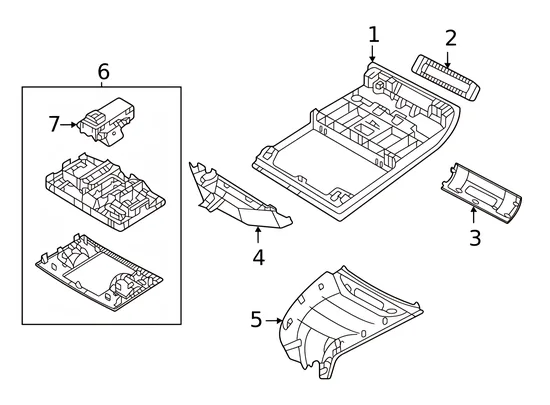
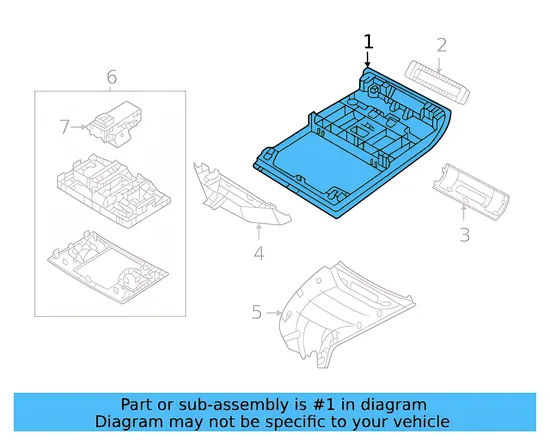

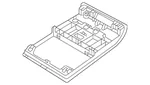
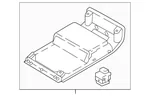
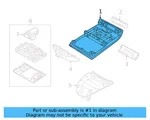
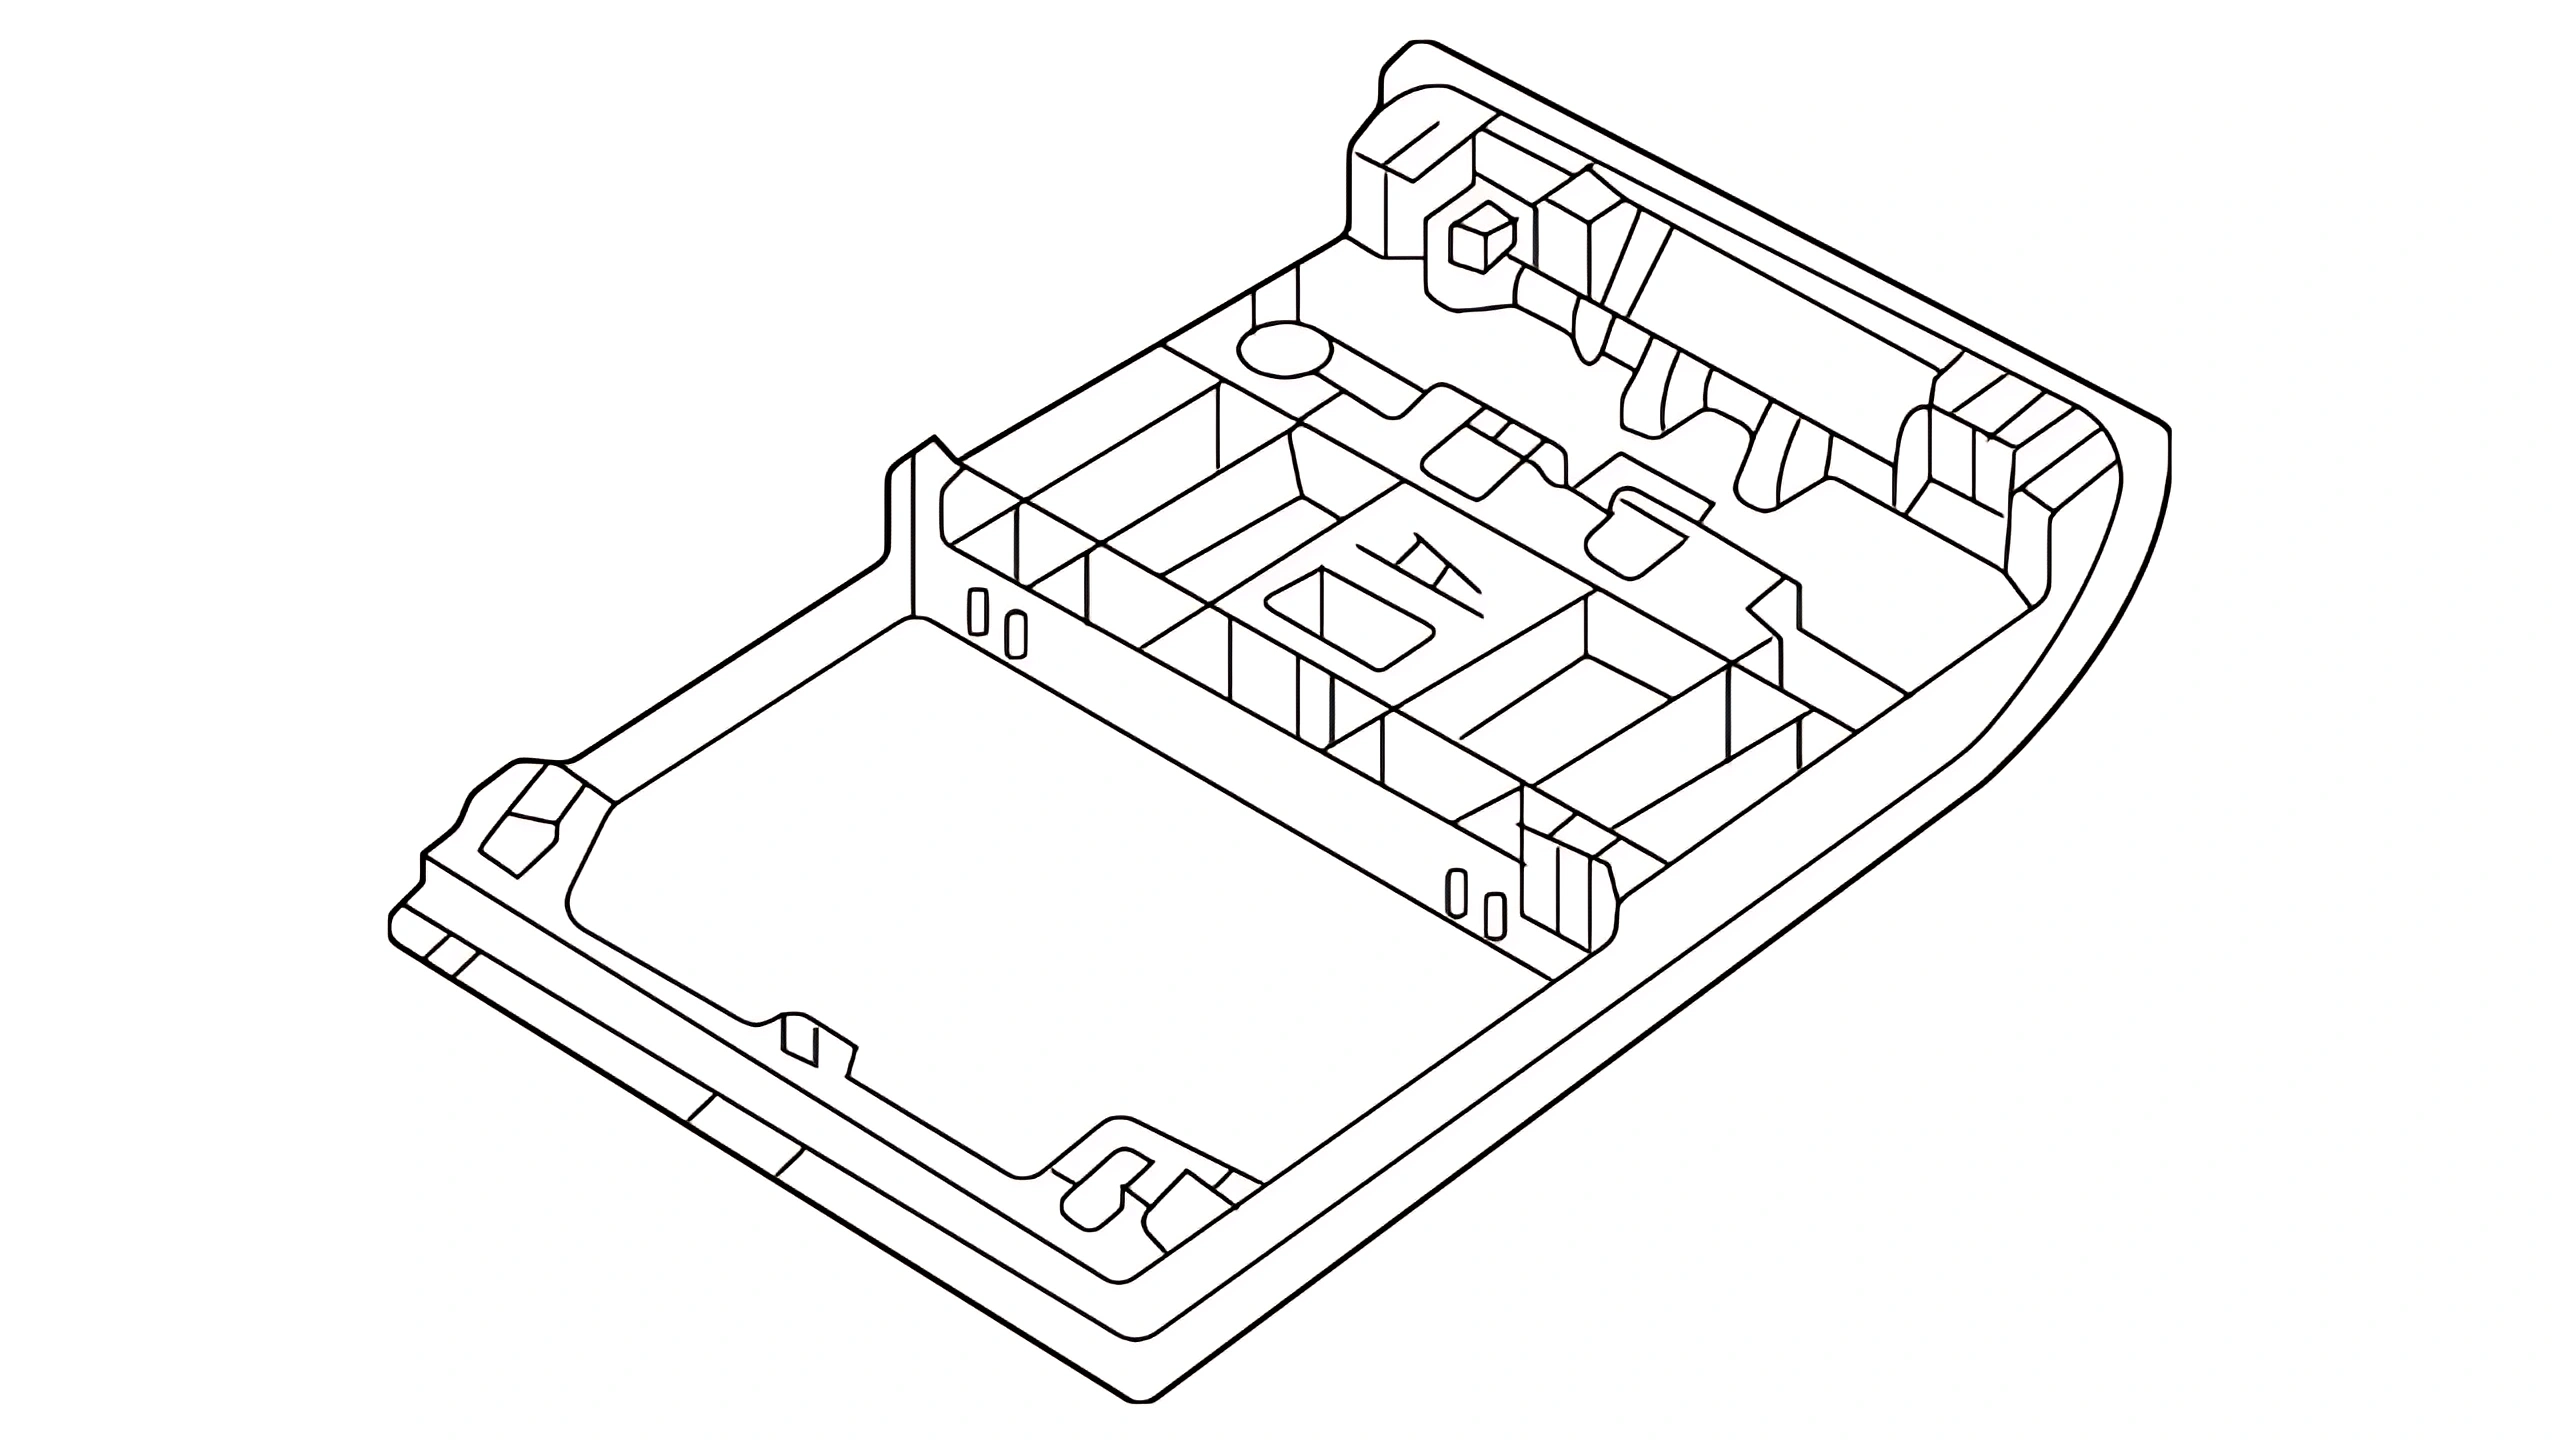
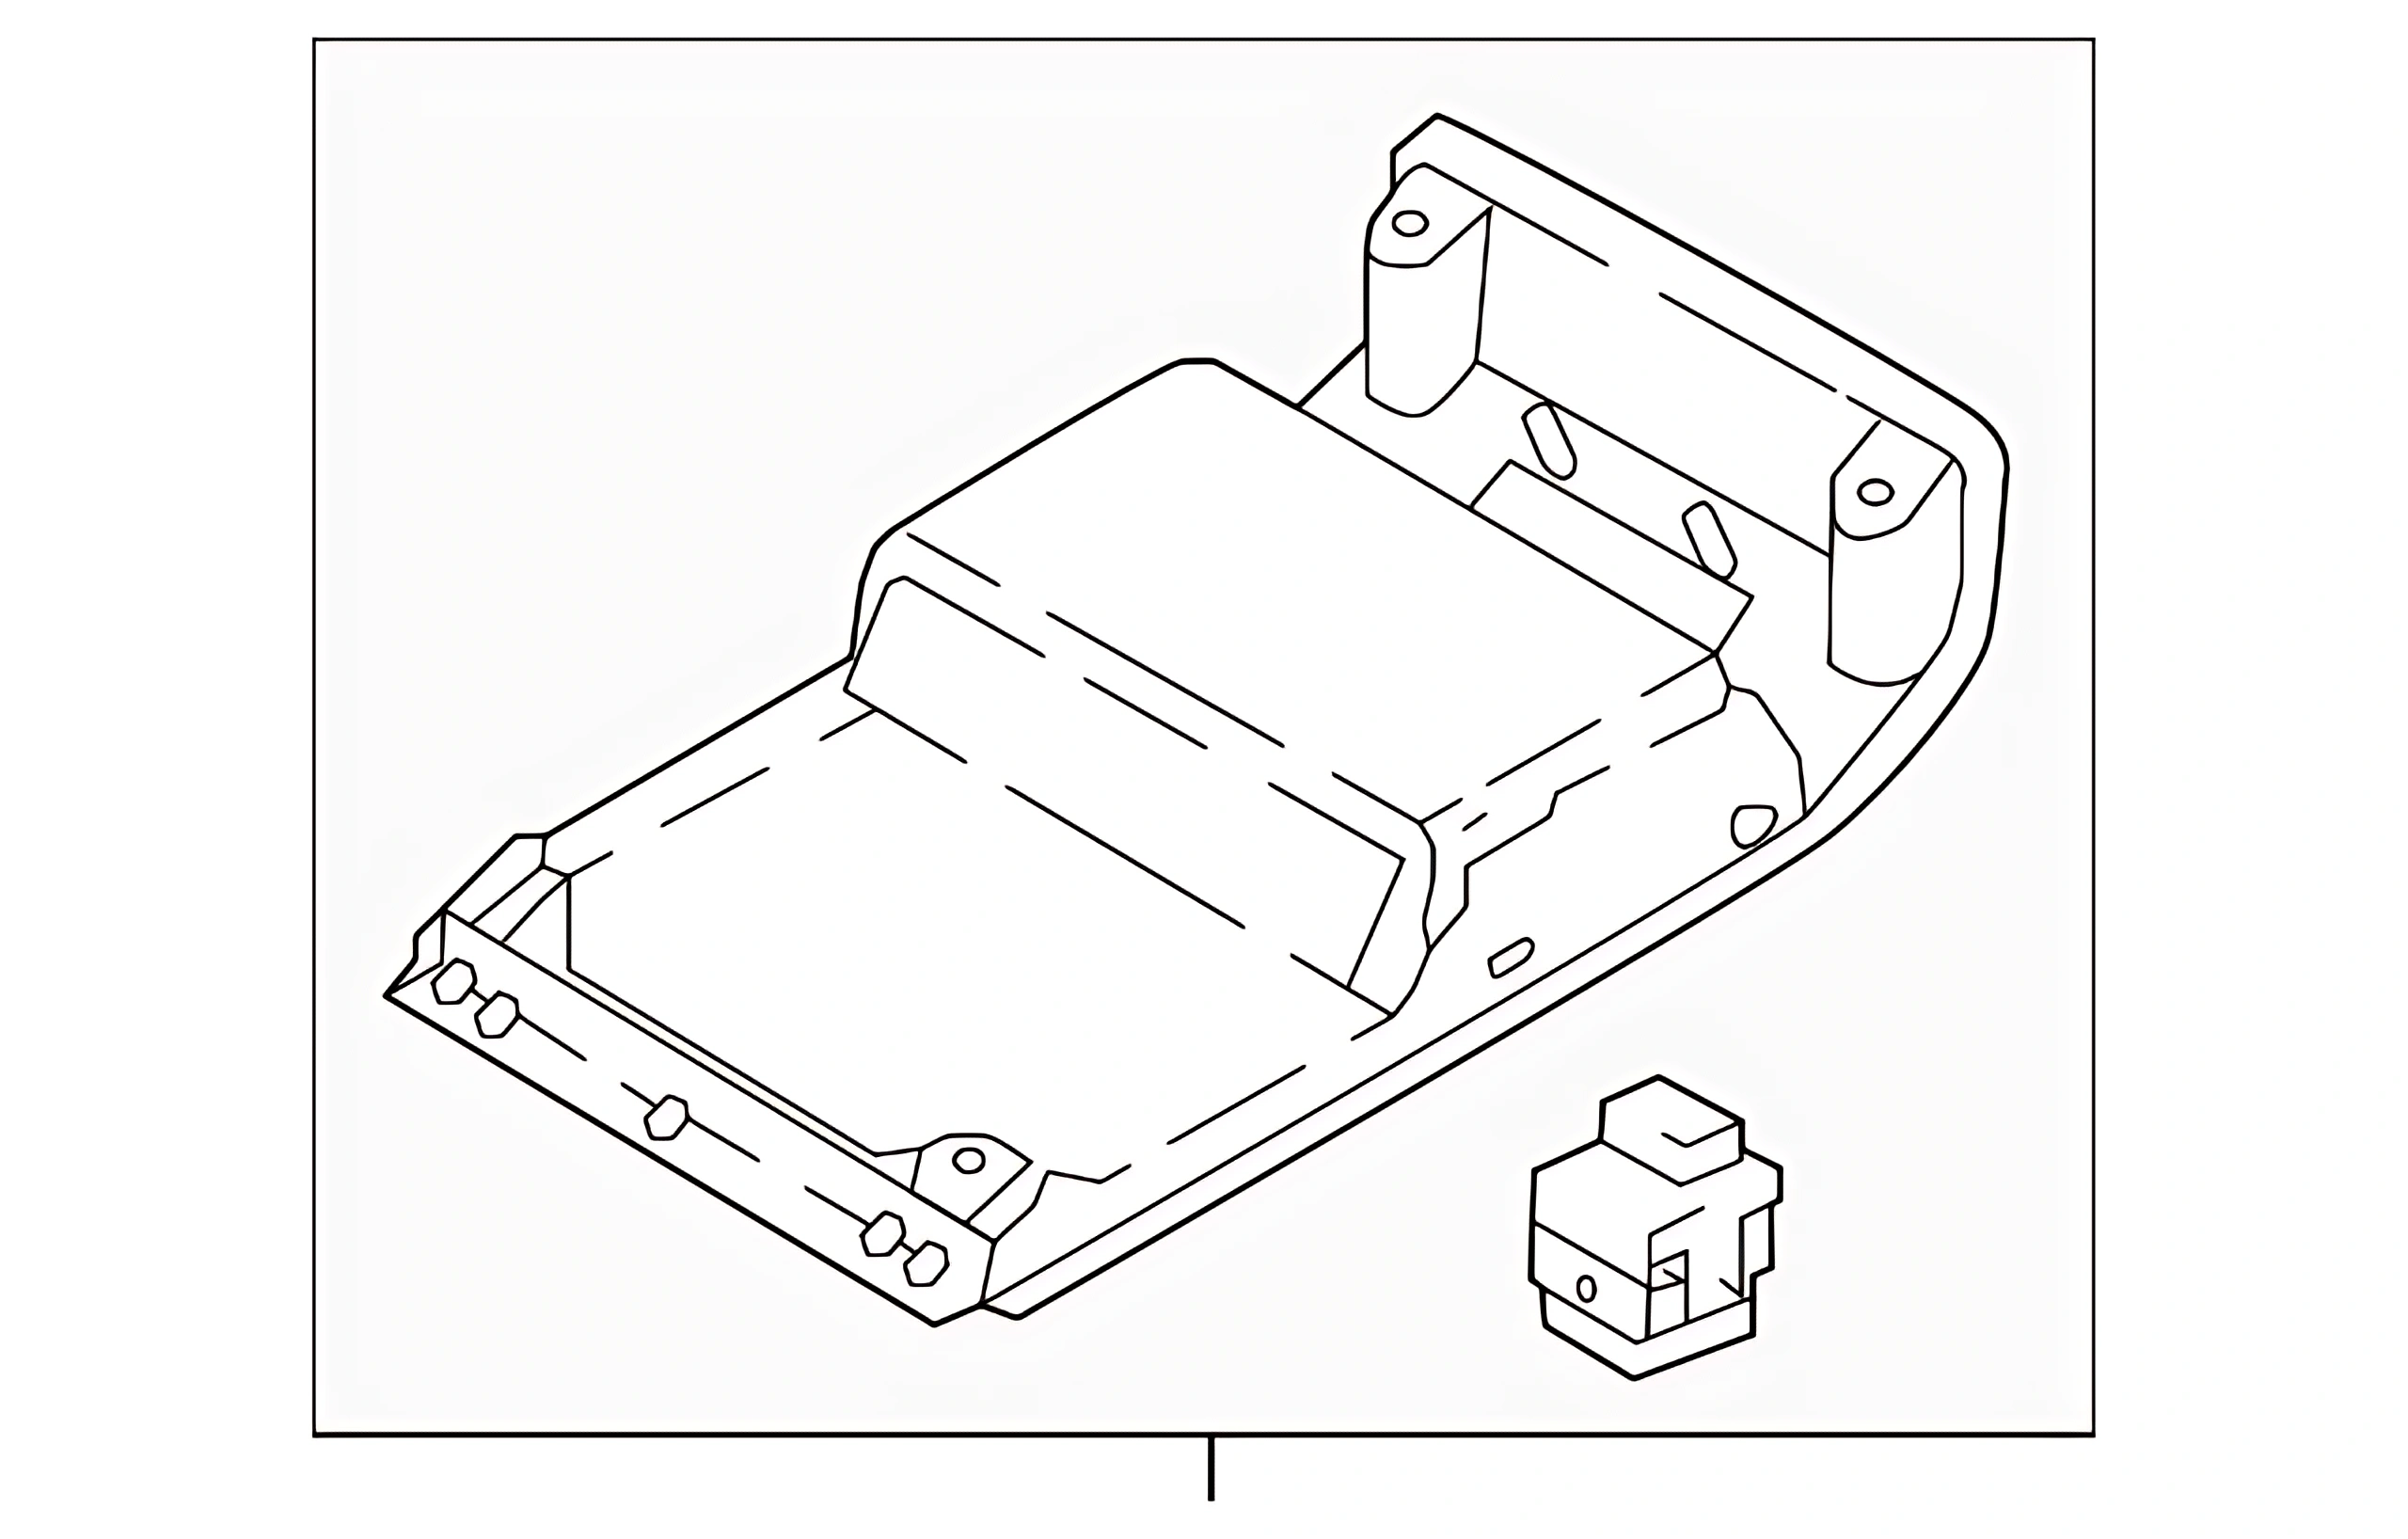
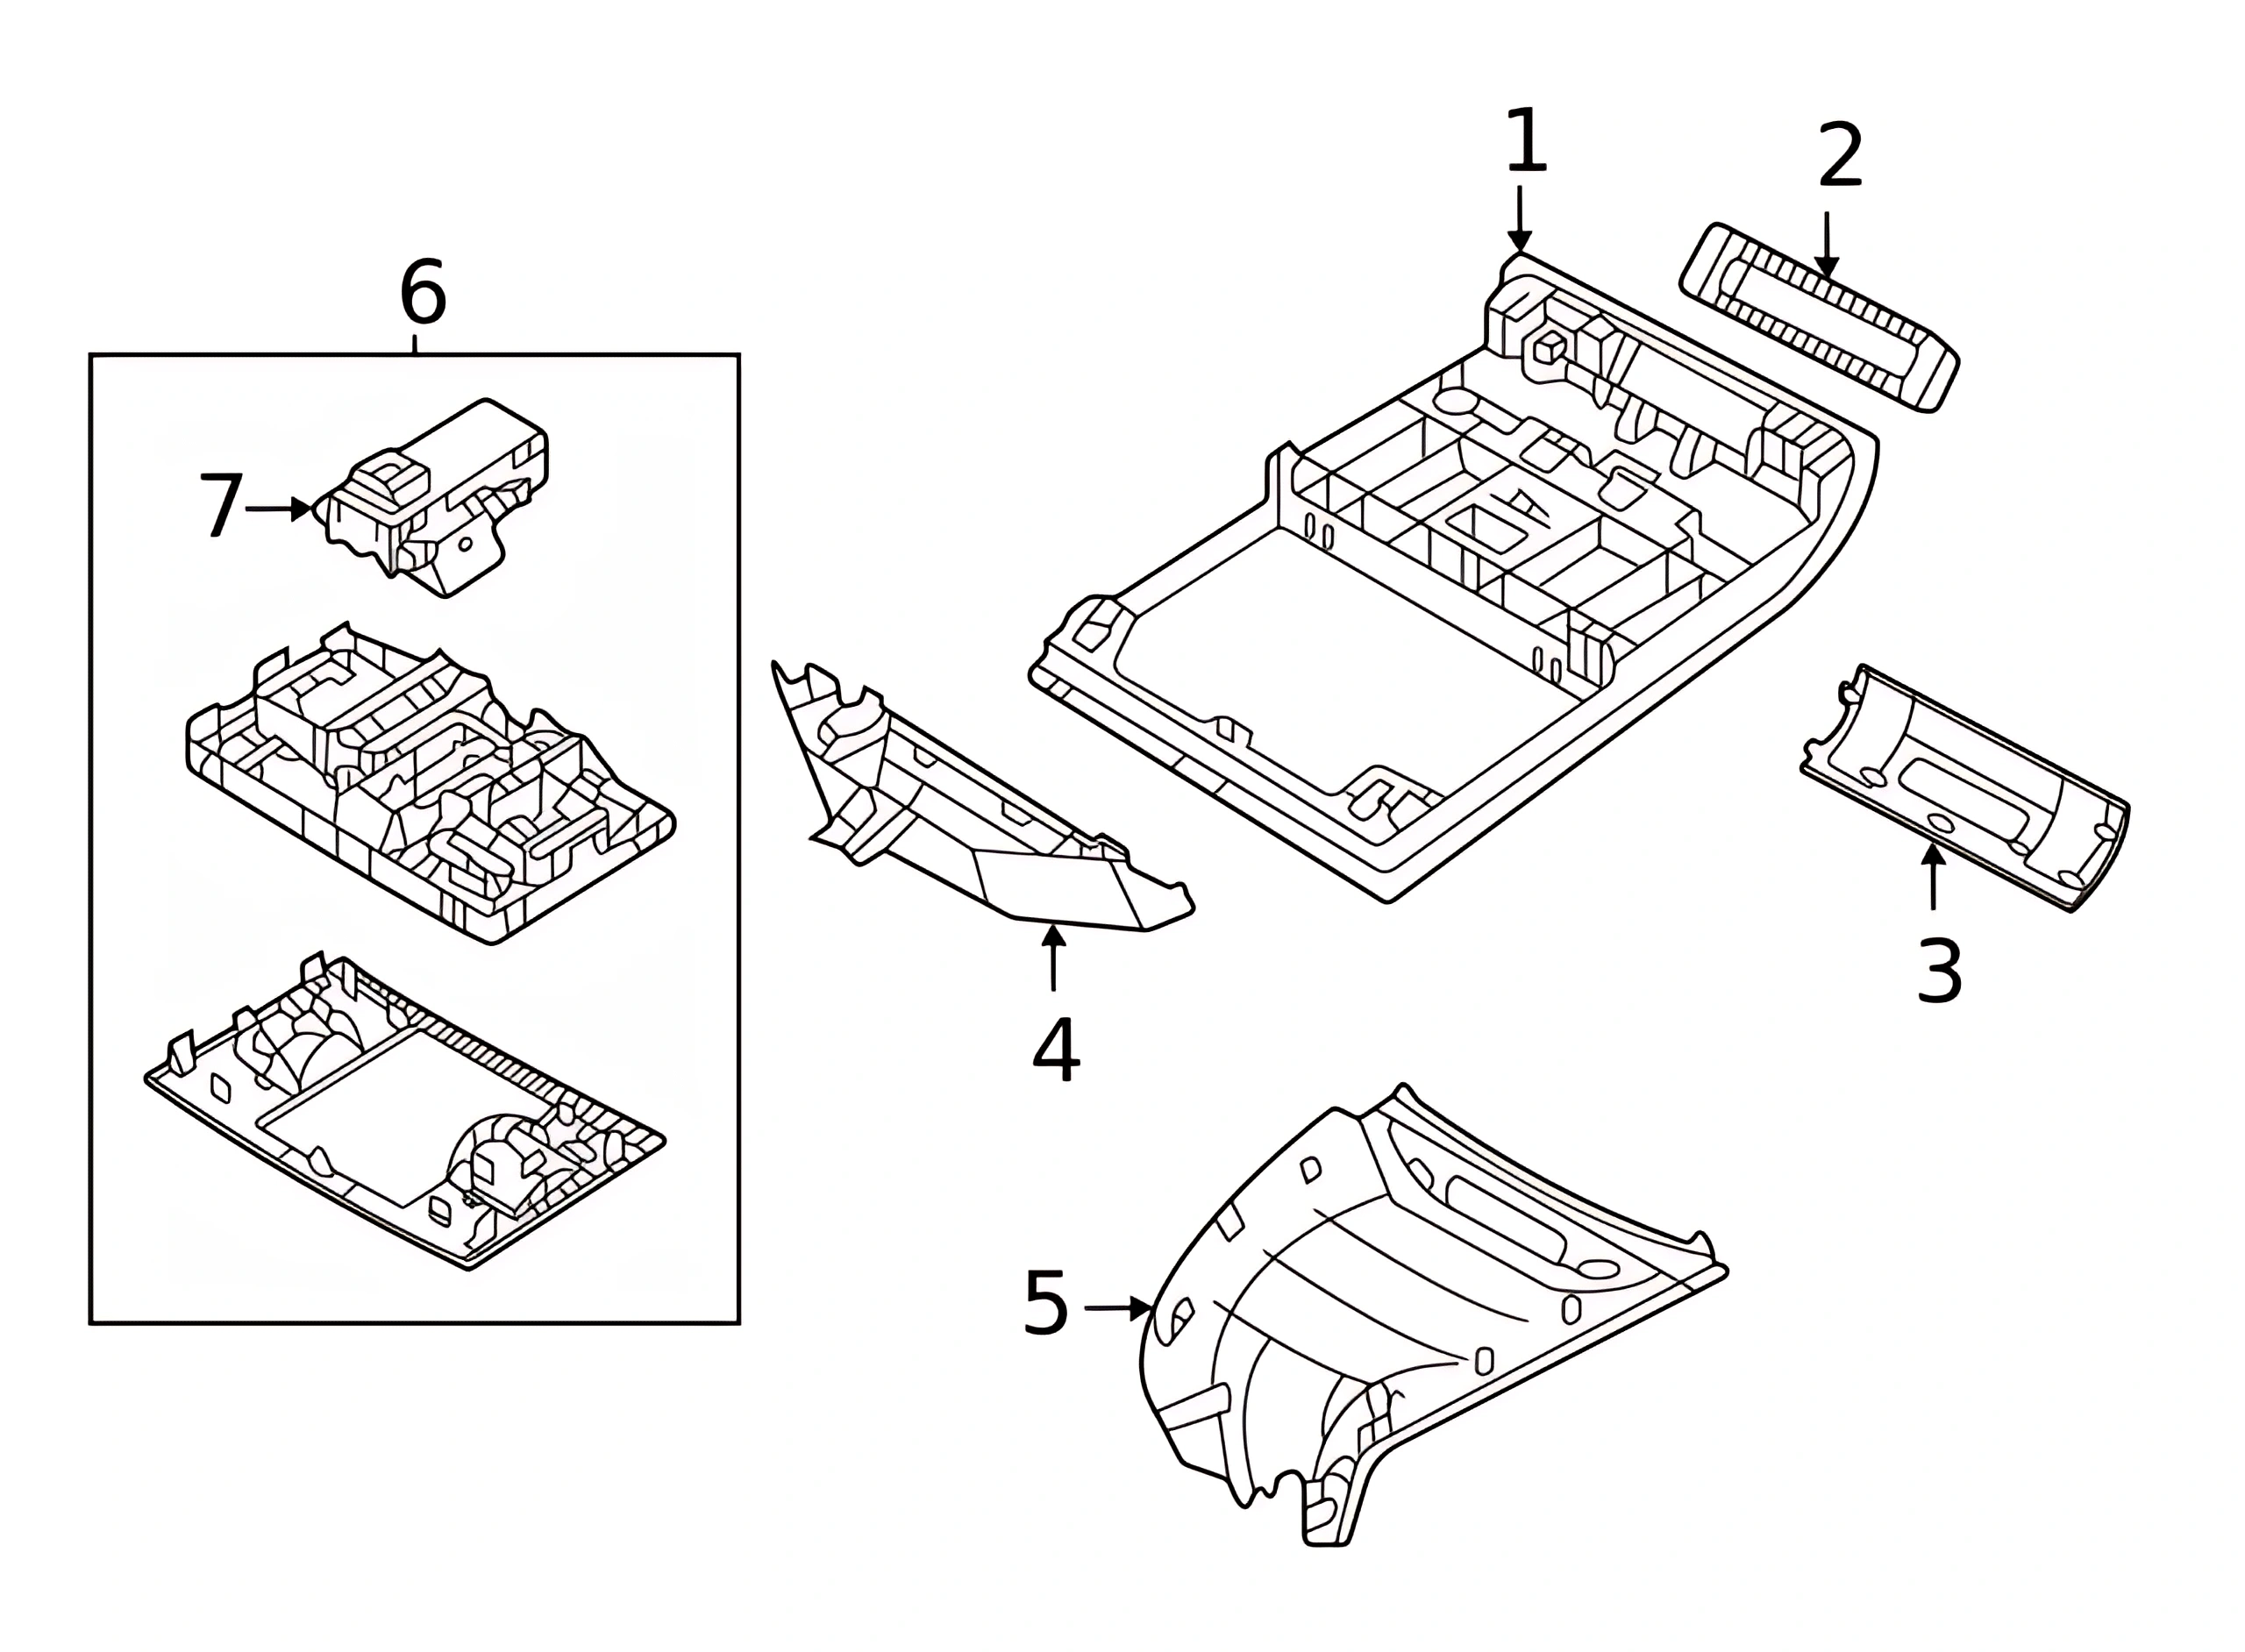
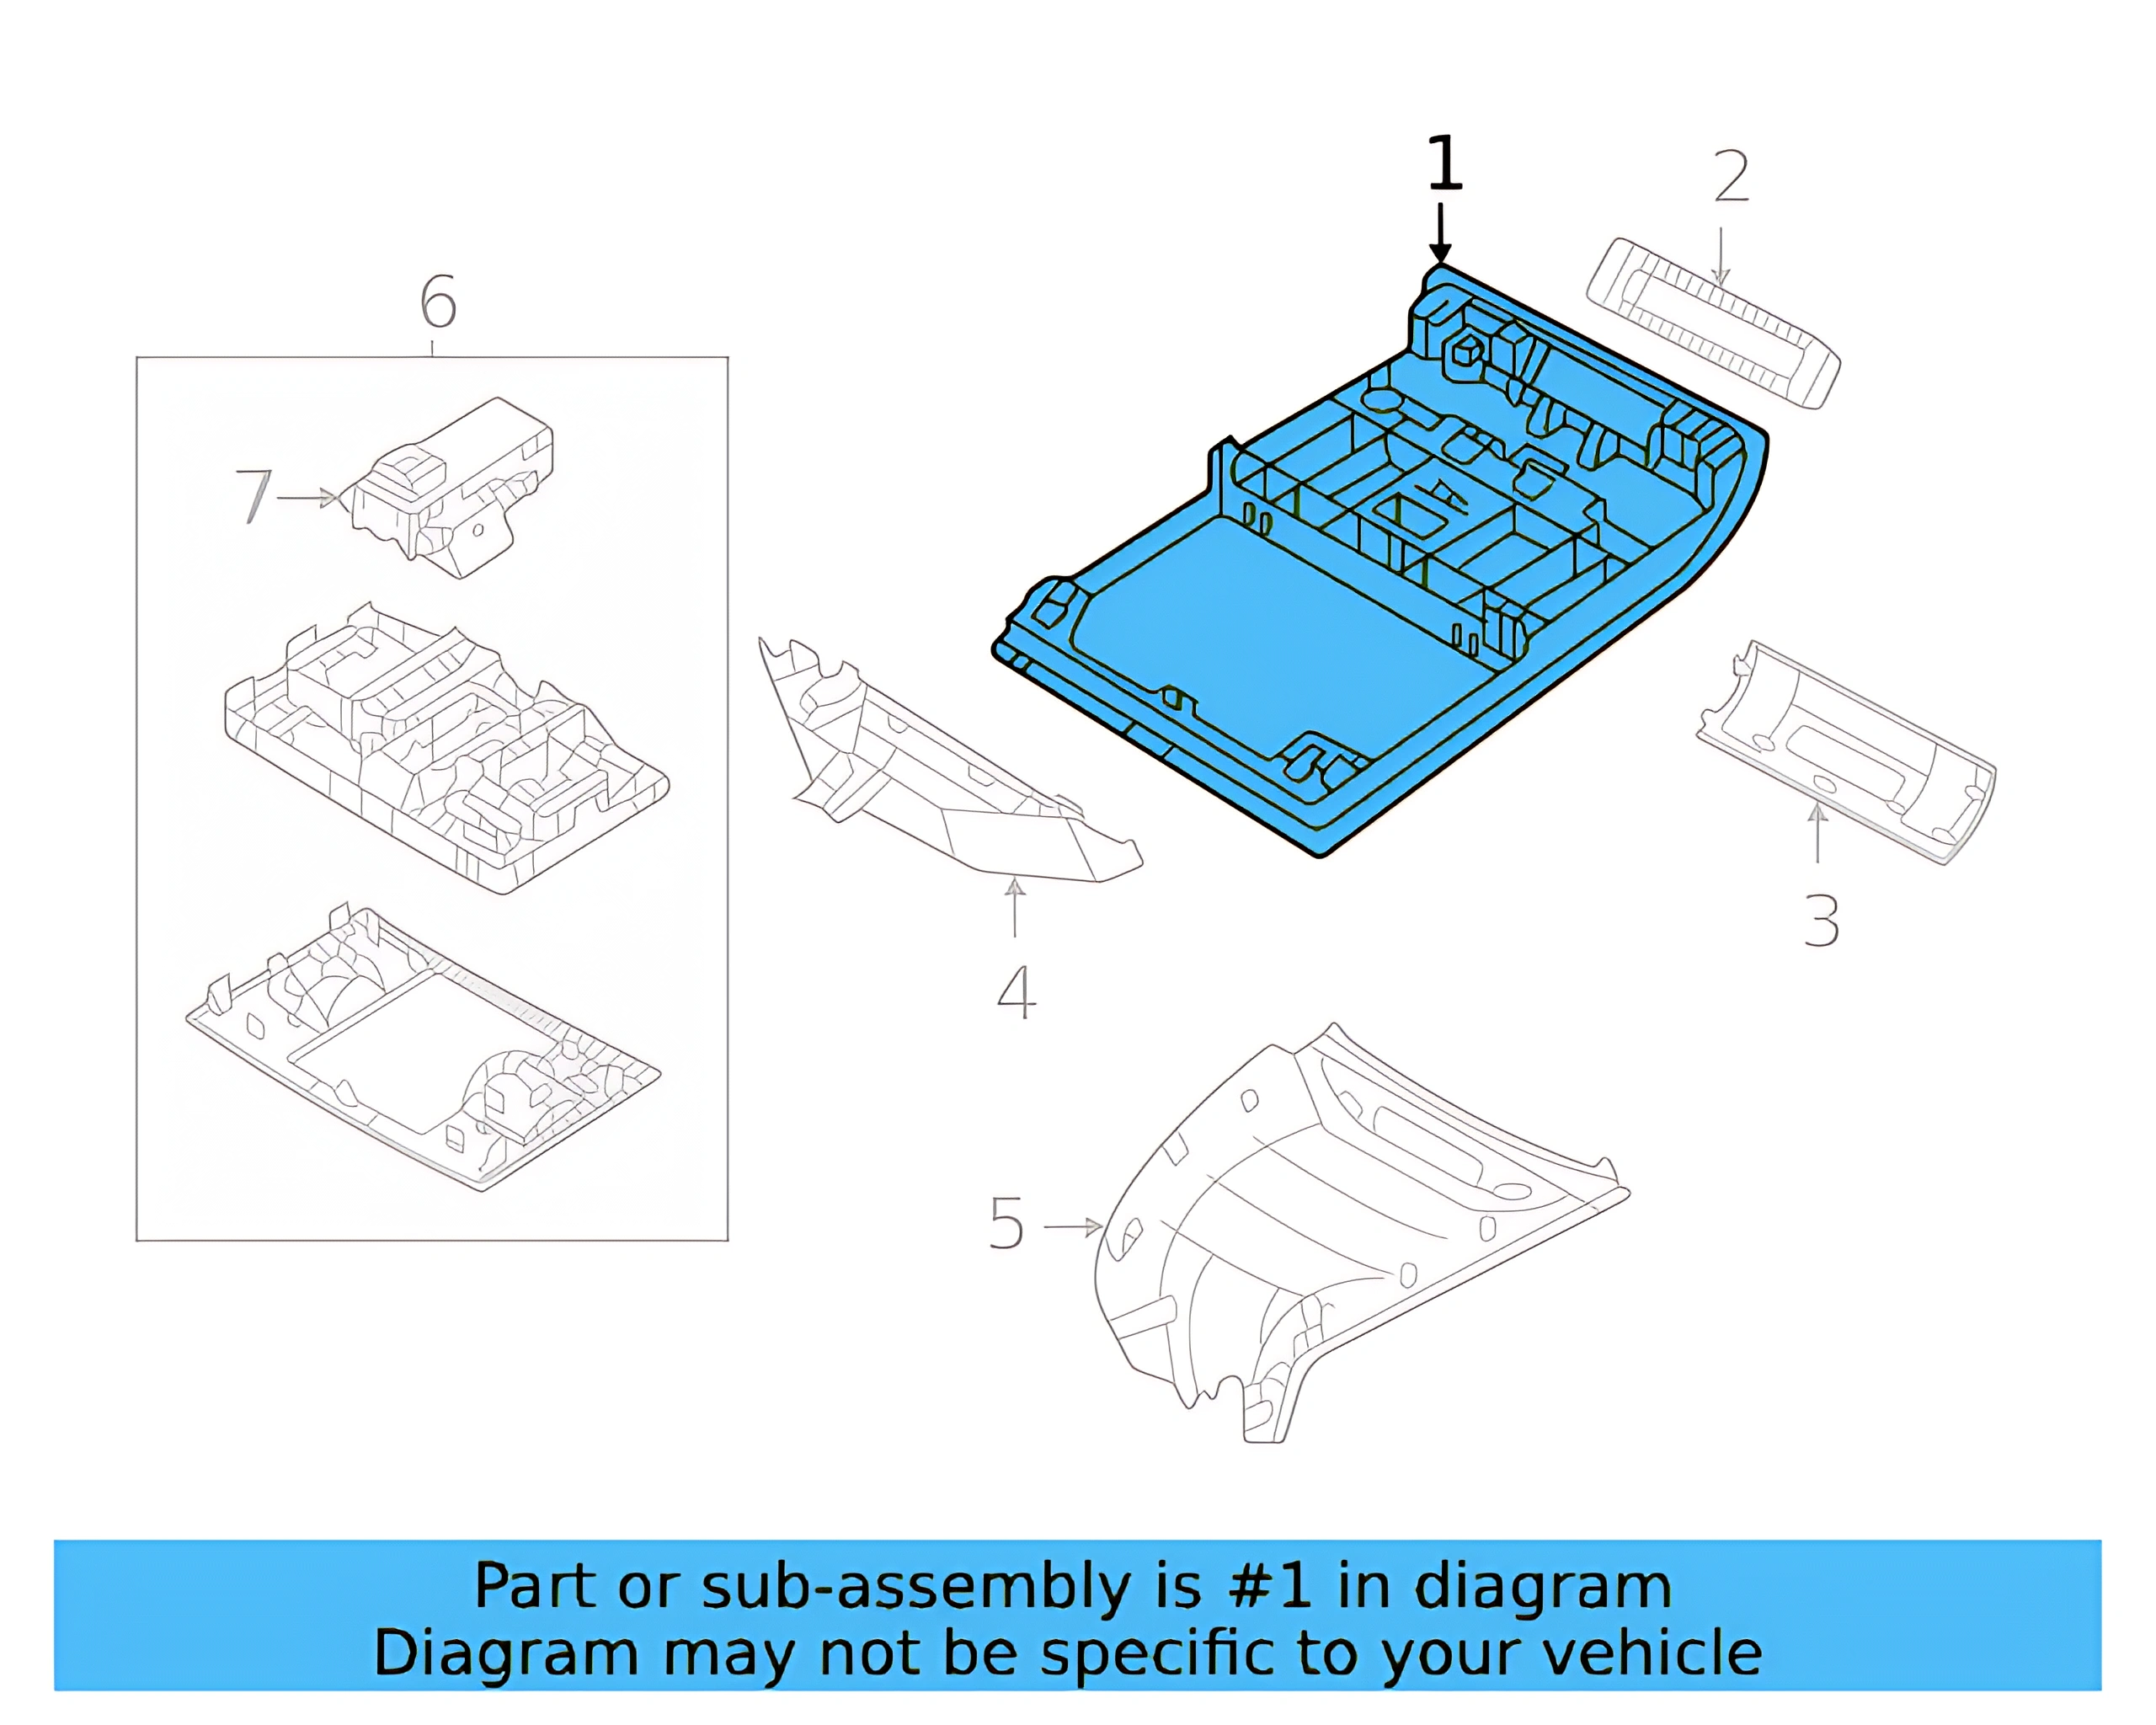
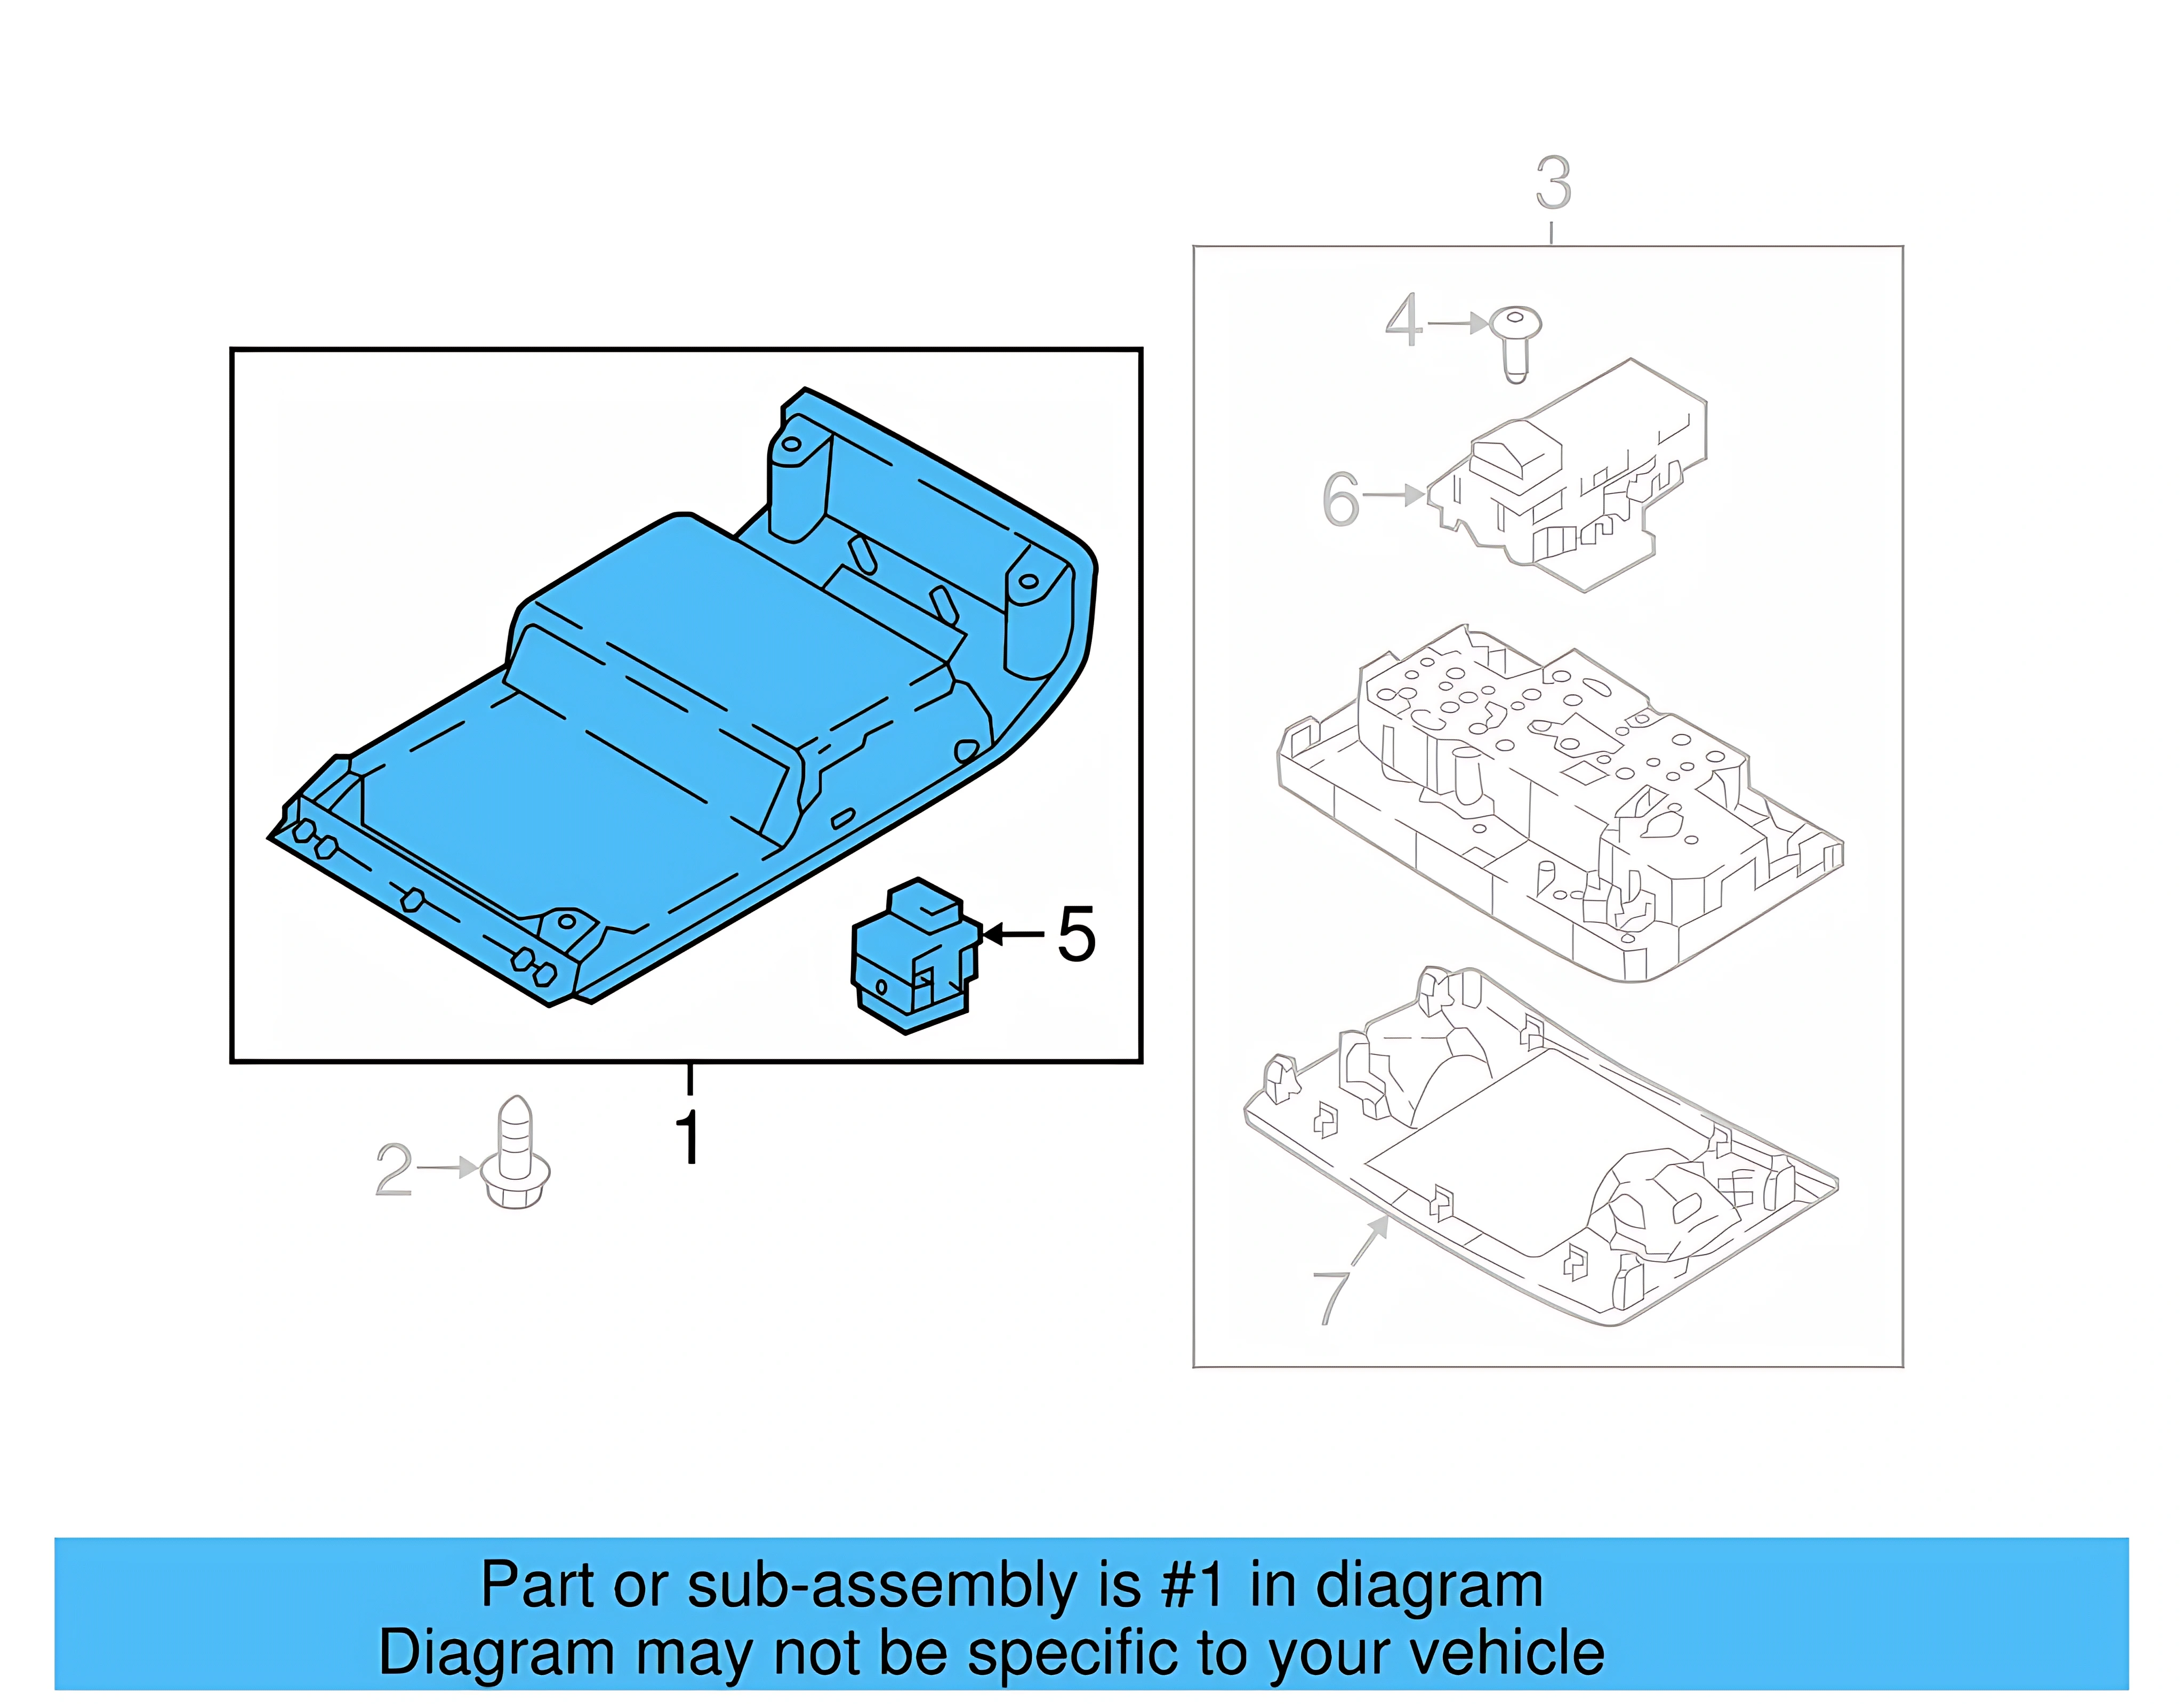
Console 5NN-867-591-82V
When the console shows signs of wear, such as cracks, loose parts, or difficulty in opening compartments, it may need replacement. Neglecting these issues can lead to further interior damage and a less enjoyable driving experience.
Choosing this OEM console with part number 5NN-867-591-82V guarantees a seamless integration with the existing interior. It is manufactured to the same standards as the original part, ensuring durability and longevity without the risks associated with generic replacements.
Dostępne w sklepach 8 ofert
Dopasowanie do pojazdu 33 pojazdy

Specyfikacja techniczna
| OEM Part Number | 5NN-867-591-82V |
|---|---|
| Color | Black |
| Weight | Approximately 2.20 lbs (1 kg) |
| Material | — |
| Dimensions | — |
| Position | Front Overhead Console |
| Sunroof Required | Yes — sunroof-equipped vehicles only |
| Compatible Models | Volkswagen Taos (2022–2025), Volkswagen Tiguan (2018–2024) |
| Compatible Engines | 1.5L 4-cyl (Taos), 2.0L 4-cyl (Tiguan) |
| Brand / Manufacturer | Volkswagen OEM (Genuine) |
Jak wymienić Console
Replacing the front overhead console on the Volkswagen Taos or Tiguan is a trim-level interior job that requires careful panel removal to avoid breaking clips or damaging the headliner. No special tools are typically required beyond basic trim tools. Always disconnect the vehicle battery before working near any integrated electrical components such as lighting or map lamp assemblies.
-
Disconnect the Battery
Before beginning, disconnect the negative terminal of the vehicle battery. This prevents accidental activation of any electrical components integrated into the overhead console such as lighting circuits.
-
Prepare Your Workspace
Recline the front seats fully to give yourself access to the headliner and overhead area. Lay a protective cloth or blanket over the seats and dashboard to prevent scratches during the procedure.
-
Locate and Release Mounting Clips
Using a plastic trim removal tool, carefully pry around the perimeter of the existing overhead console. The assembly is typically retained by a series of snap-fit clips. Work slowly and evenly to avoid breaking any clips on the headliner or console itself.
-
Disconnect Electrical Connectors
Once the console is loose, gently lower it and identify any wiring harness connectors for integrated map lights or other components. Press the release tab on each connector and disconnect carefully. Note the orientation before disconnecting.
-
Remove the Old Console
With all connectors released, fully remove the old overhead console from the vehicle. Inspect the mounting area on the headliner for any damage or debris before installing the replacement.
-
Connect Wiring to New Console
Transfer or reconnect all wiring harness connectors to the new 5NN-867-591-82V console assembly. Ensure each connector clicks firmly into place and is routed without pinching.
-
Snap Console into Position
Align the new console with the mounting location on the headliner and press firmly and evenly along the perimeter until all clips engage. Verify the assembly sits flush with no gaps or misalignment.
-
Reconnect Battery and Test
Reconnect the negative battery terminal. Test all integrated functions including map lights, sunroof switch (if applicable), and any other controls housed in the console to confirm proper operation.
Oznaki zużycia części
-
Visible Cracks or Damage
Physical cracking, chipping, or breakage of the console trim surface — often caused by impact or UV degradation — indicating the assembly needs replacement.
-
Loose or Sagging Fitment
The console droops or has noticeable gaps against the headliner, typically caused by broken or fatigued mounting clips that no longer hold the assembly securely.
-
Malfunctioning Integrated Lights
Map lights or other integrated lighting in the console fail to operate correctly, which may indicate damaged wiring connections within the console housing itself.
-
Rattling or Vibration Noise
An audible rattle from the overhead area during driving, suggesting the console has partially detached from its mounting clips or internal components have broken loose.
-
Broken Button or Switch Housing
Controls or buttons integrated into the overhead console are cracked, stuck, or inoperable due to physical damage to the console assembly itself.
Częstotliwość wymiany
The 5NN-867-591-82V overhead console is not a wear-and-replacement service item. No mileage or time-based replacement interval applies. Replacement is driven solely by physical condition, damage, or failure of integrated components.
Najczęściej zadawane pytania
Will this overhead console fit my Volkswagen Tiguan without a sunroof?
No. Part number 5NN-867-591-82V is designed specifically for Volkswagen Taos and Tiguan vehicles equipped with a sunroof. Vehicles without a sunroof use a different console configuration. Always verify your vehicle's sunroof equipment before ordering.
What model years and trims is the 5NN-867-591-82V compatible with?
This part is compatible with the Volkswagen Taos (2022–2025) in SE and SEL trims with the 1.5L engine, and the Volkswagen Tiguan (2018–2024) in SE, SE R-Line Black, SEL, SEL Premium, SEL Premium R-Line, SEL R-Line, and SEL R-Line Jet Black trims with the 2.0L engine.
Is there an aftermarket alternative available for this console?
No verified aftermarket equivalents have been identified for this specific overhead console assembly. Given the precise fit requirements, color matching, and integrated clip placement, using the genuine Volkswagen OEM part is strongly recommended.
Can I install this overhead console myself, or do I need a professional?
A DIY installation is feasible for someone comfortable with interior trim work. The console is typically retained by snap-fit clips and plug-in wiring connectors. However, if integrated electrical components are involved or the headliner is delicate, professional installation by a certified technician is advisable.
What color is this console, and will it match my interior?
The 5NN-867-591-82V is finished in black. It is intended to match the standard black interior trim used across the compatible Taos and Tiguan trim levels listed above. If your vehicle has a non-standard interior color, verify before ordering.
How do I confirm the correct part number before ordering?
Cross-reference the part number against your vehicle's VIN using the Volkswagen parts catalog at parts.vw.com or contact a Volkswagen dealer parts department. Confirm that your vehicle is sunroof-equipped and matches one of the listed model years and trim levels.
Znalazłeś błąd?
Pomóż nam się rozwijać — jeśli zauważyłeś błąd na stronie lub w danych, daj nam znać, a naprawimy go jak najszybciej.