 PL
PL
 Deutsch
 English
 русский
 українська
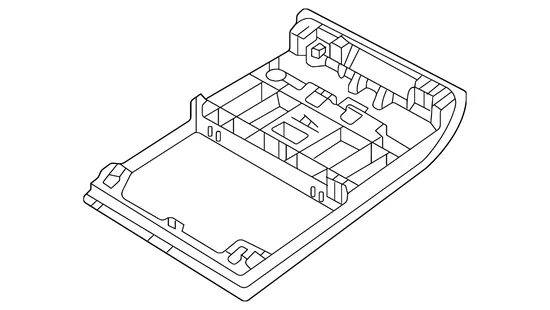
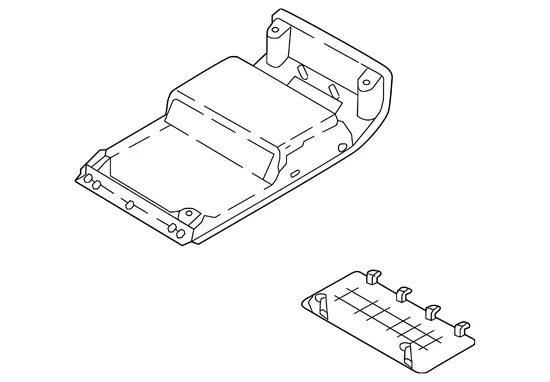
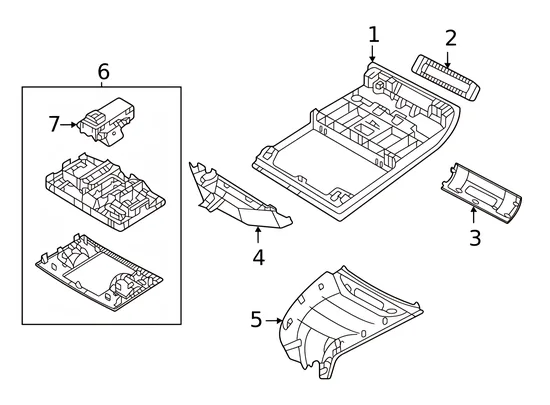
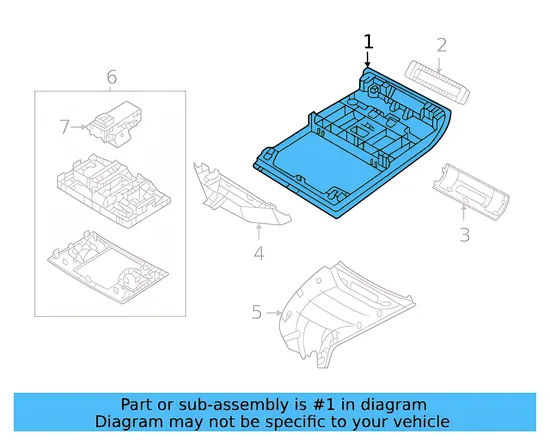
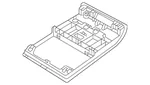
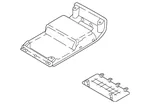
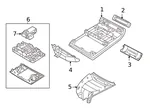
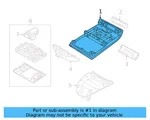
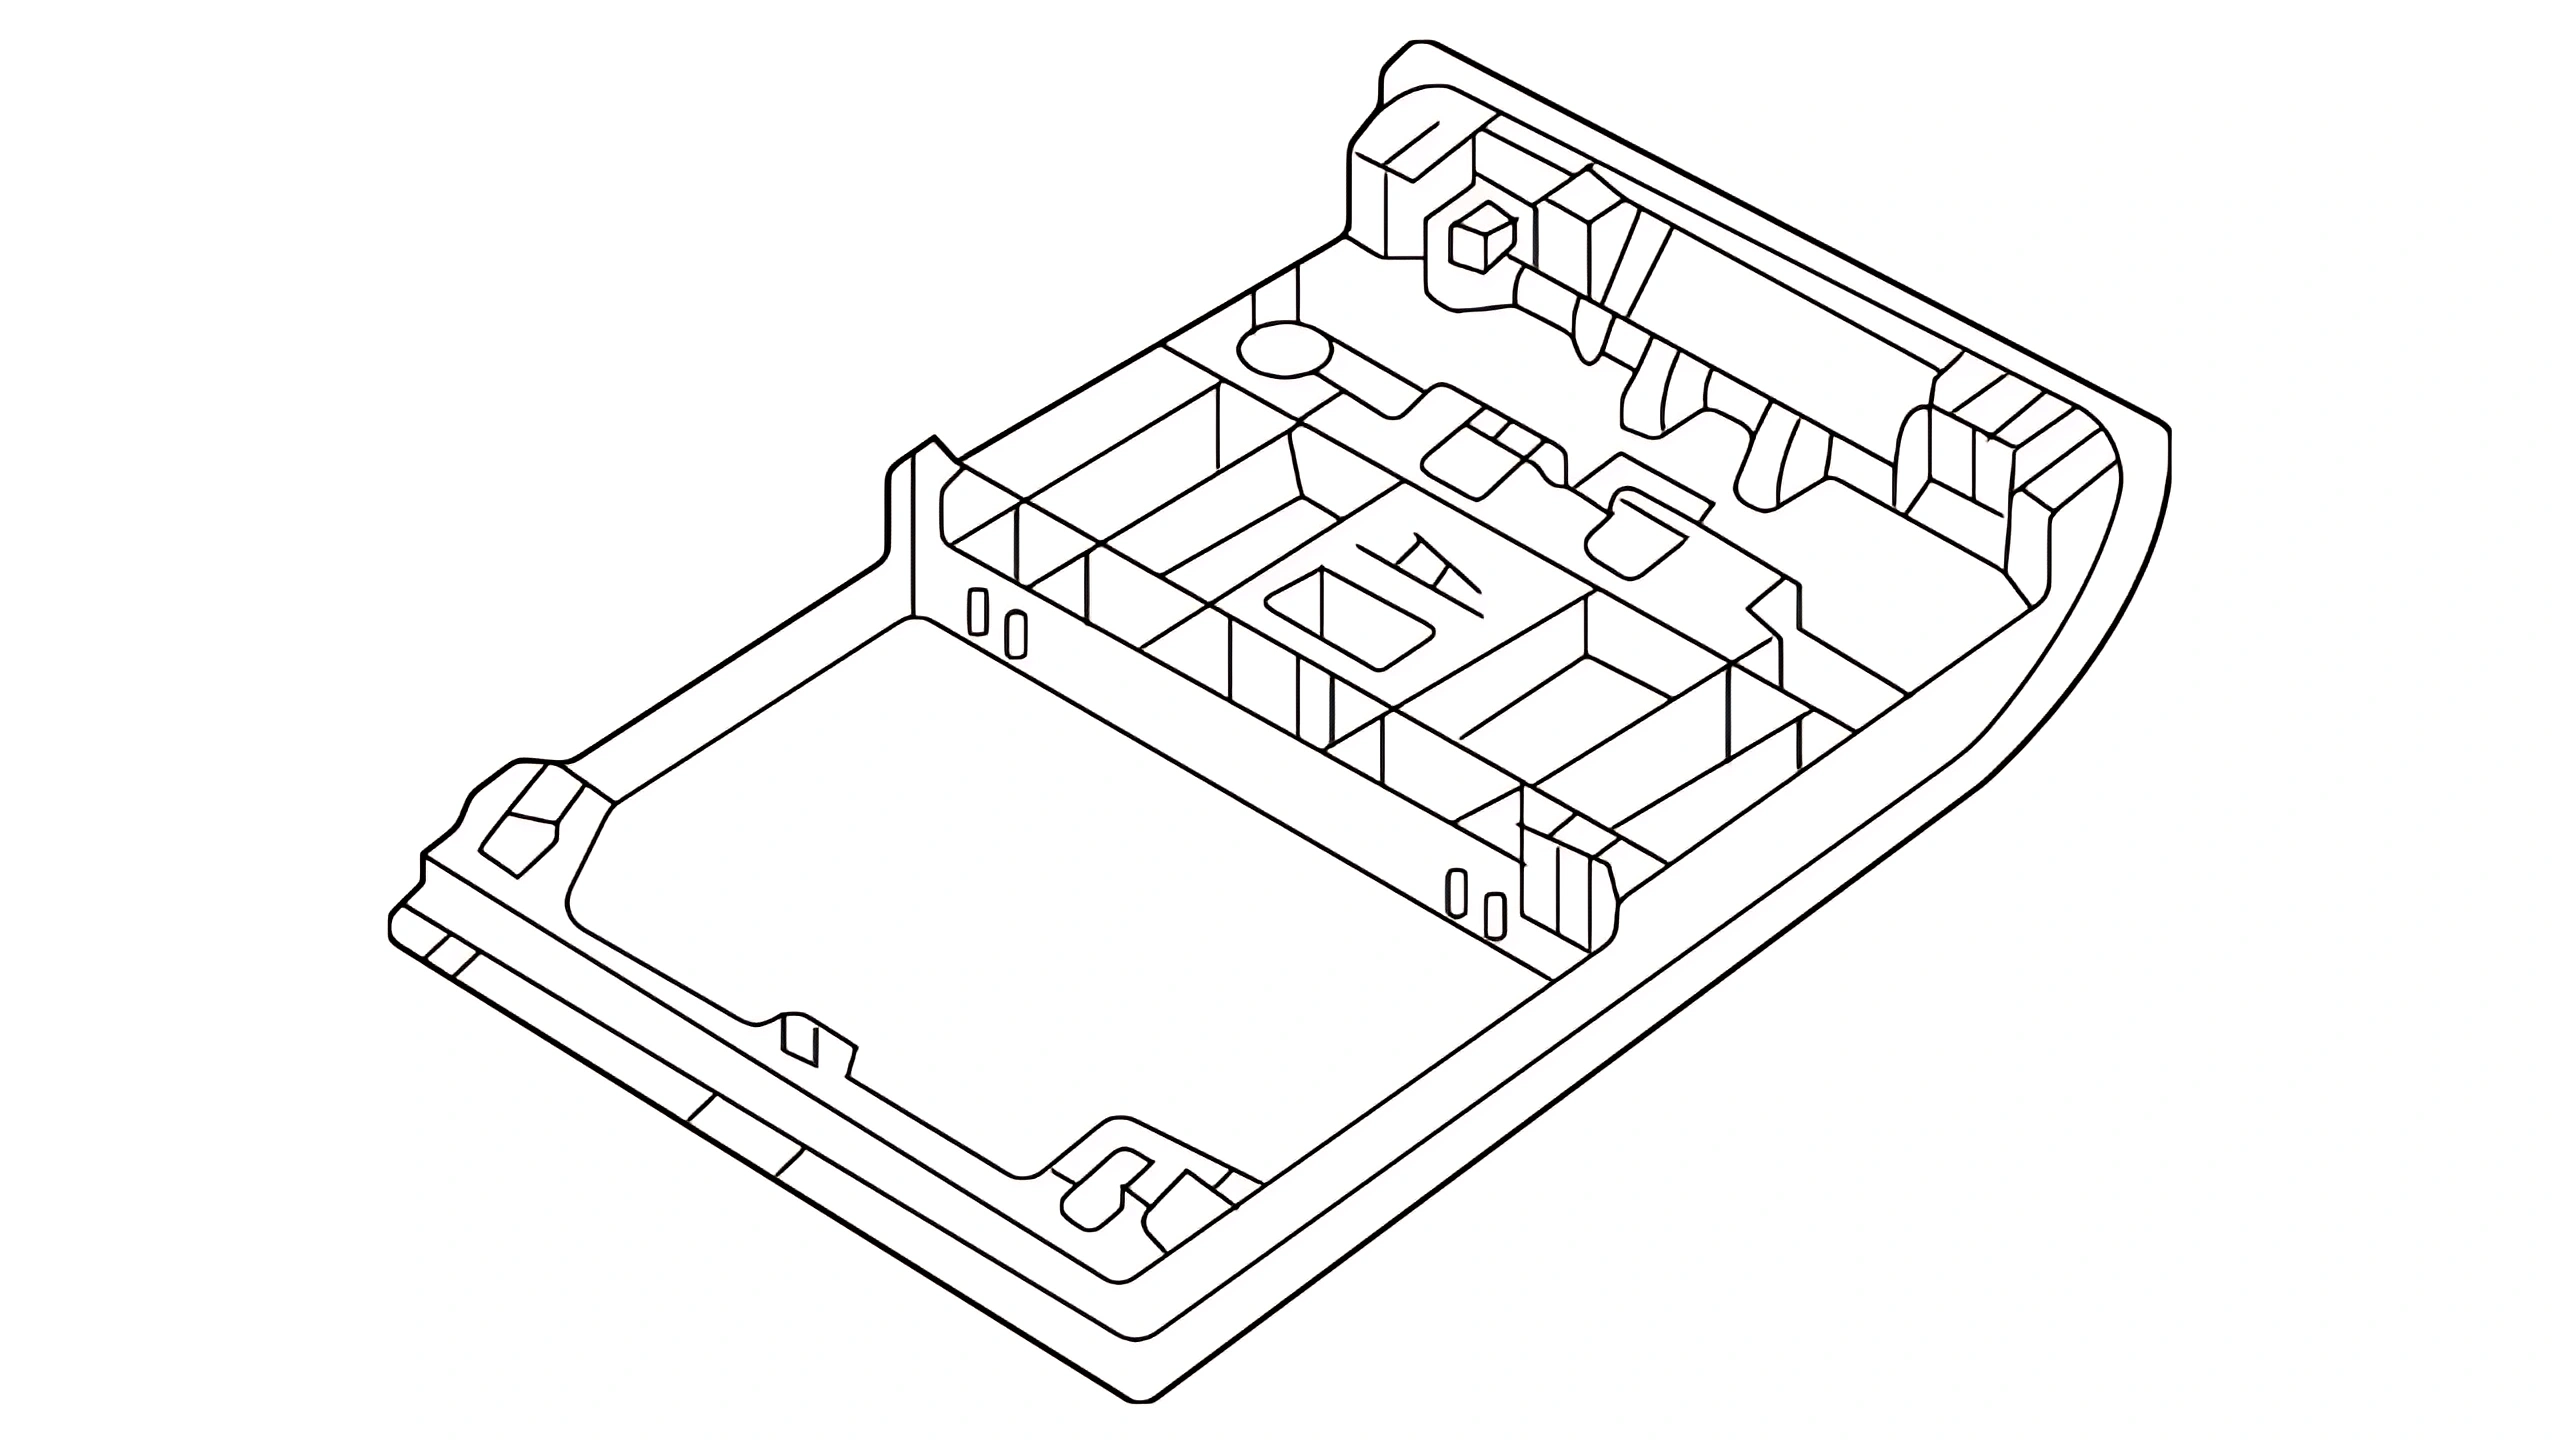
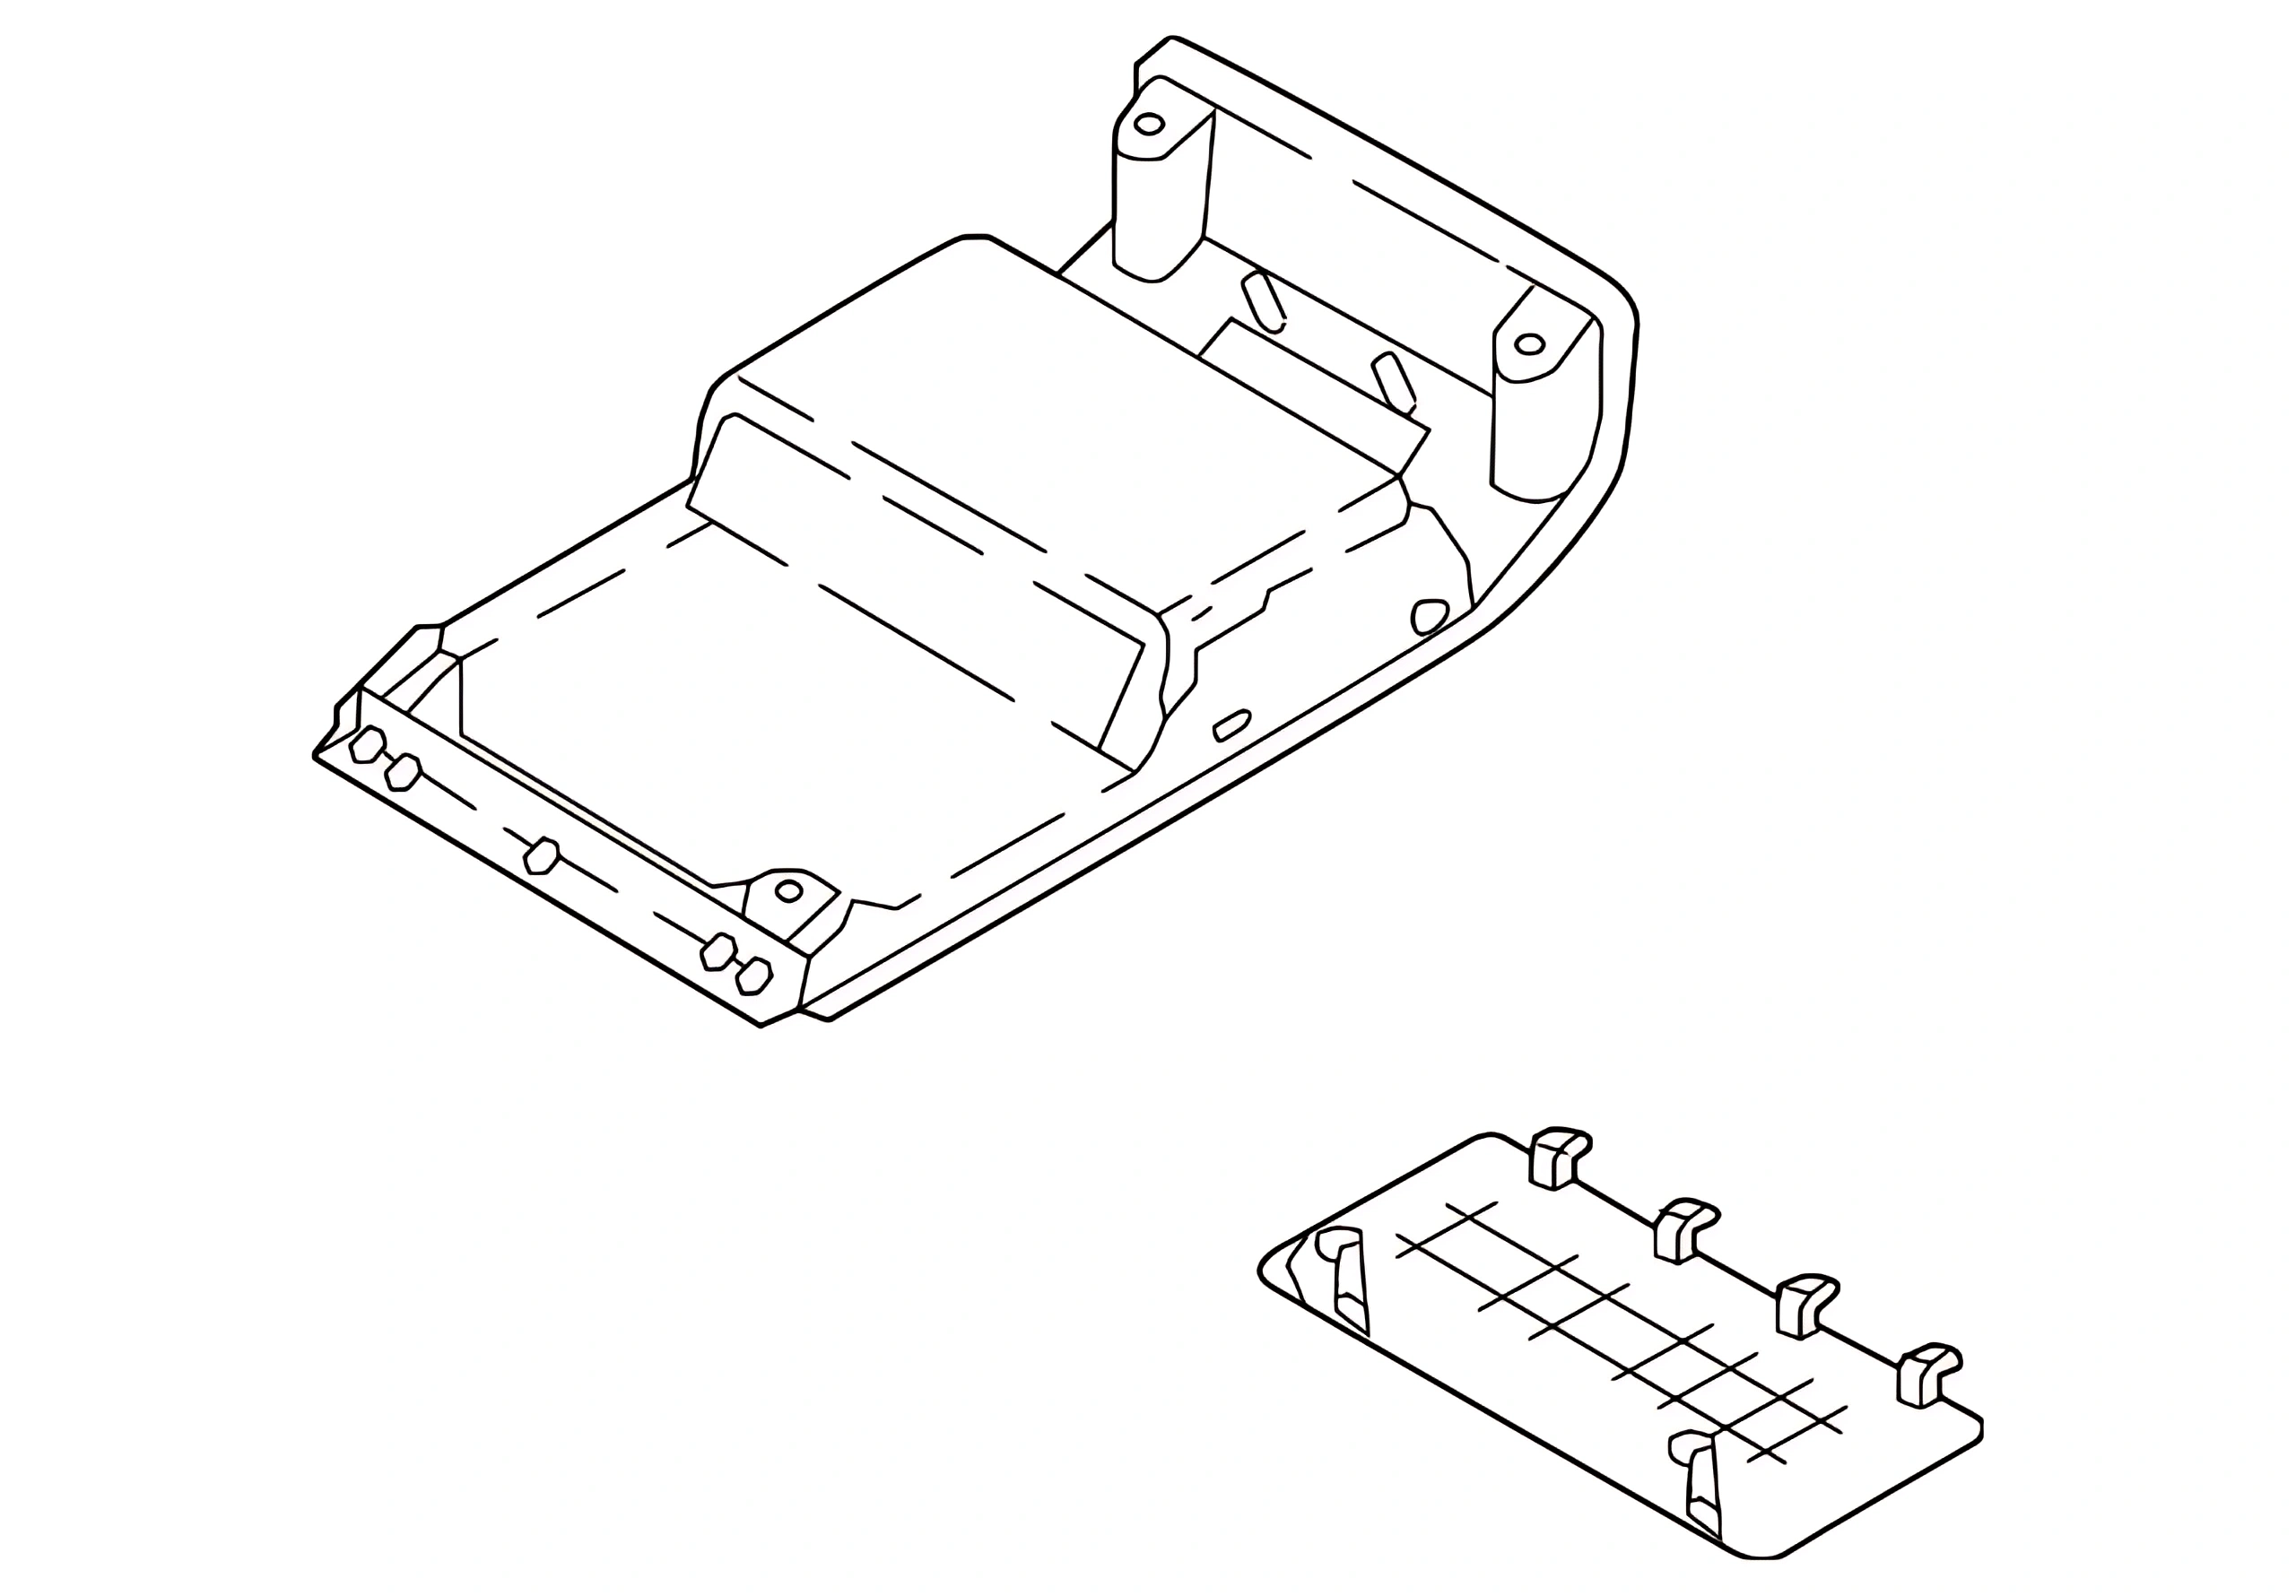
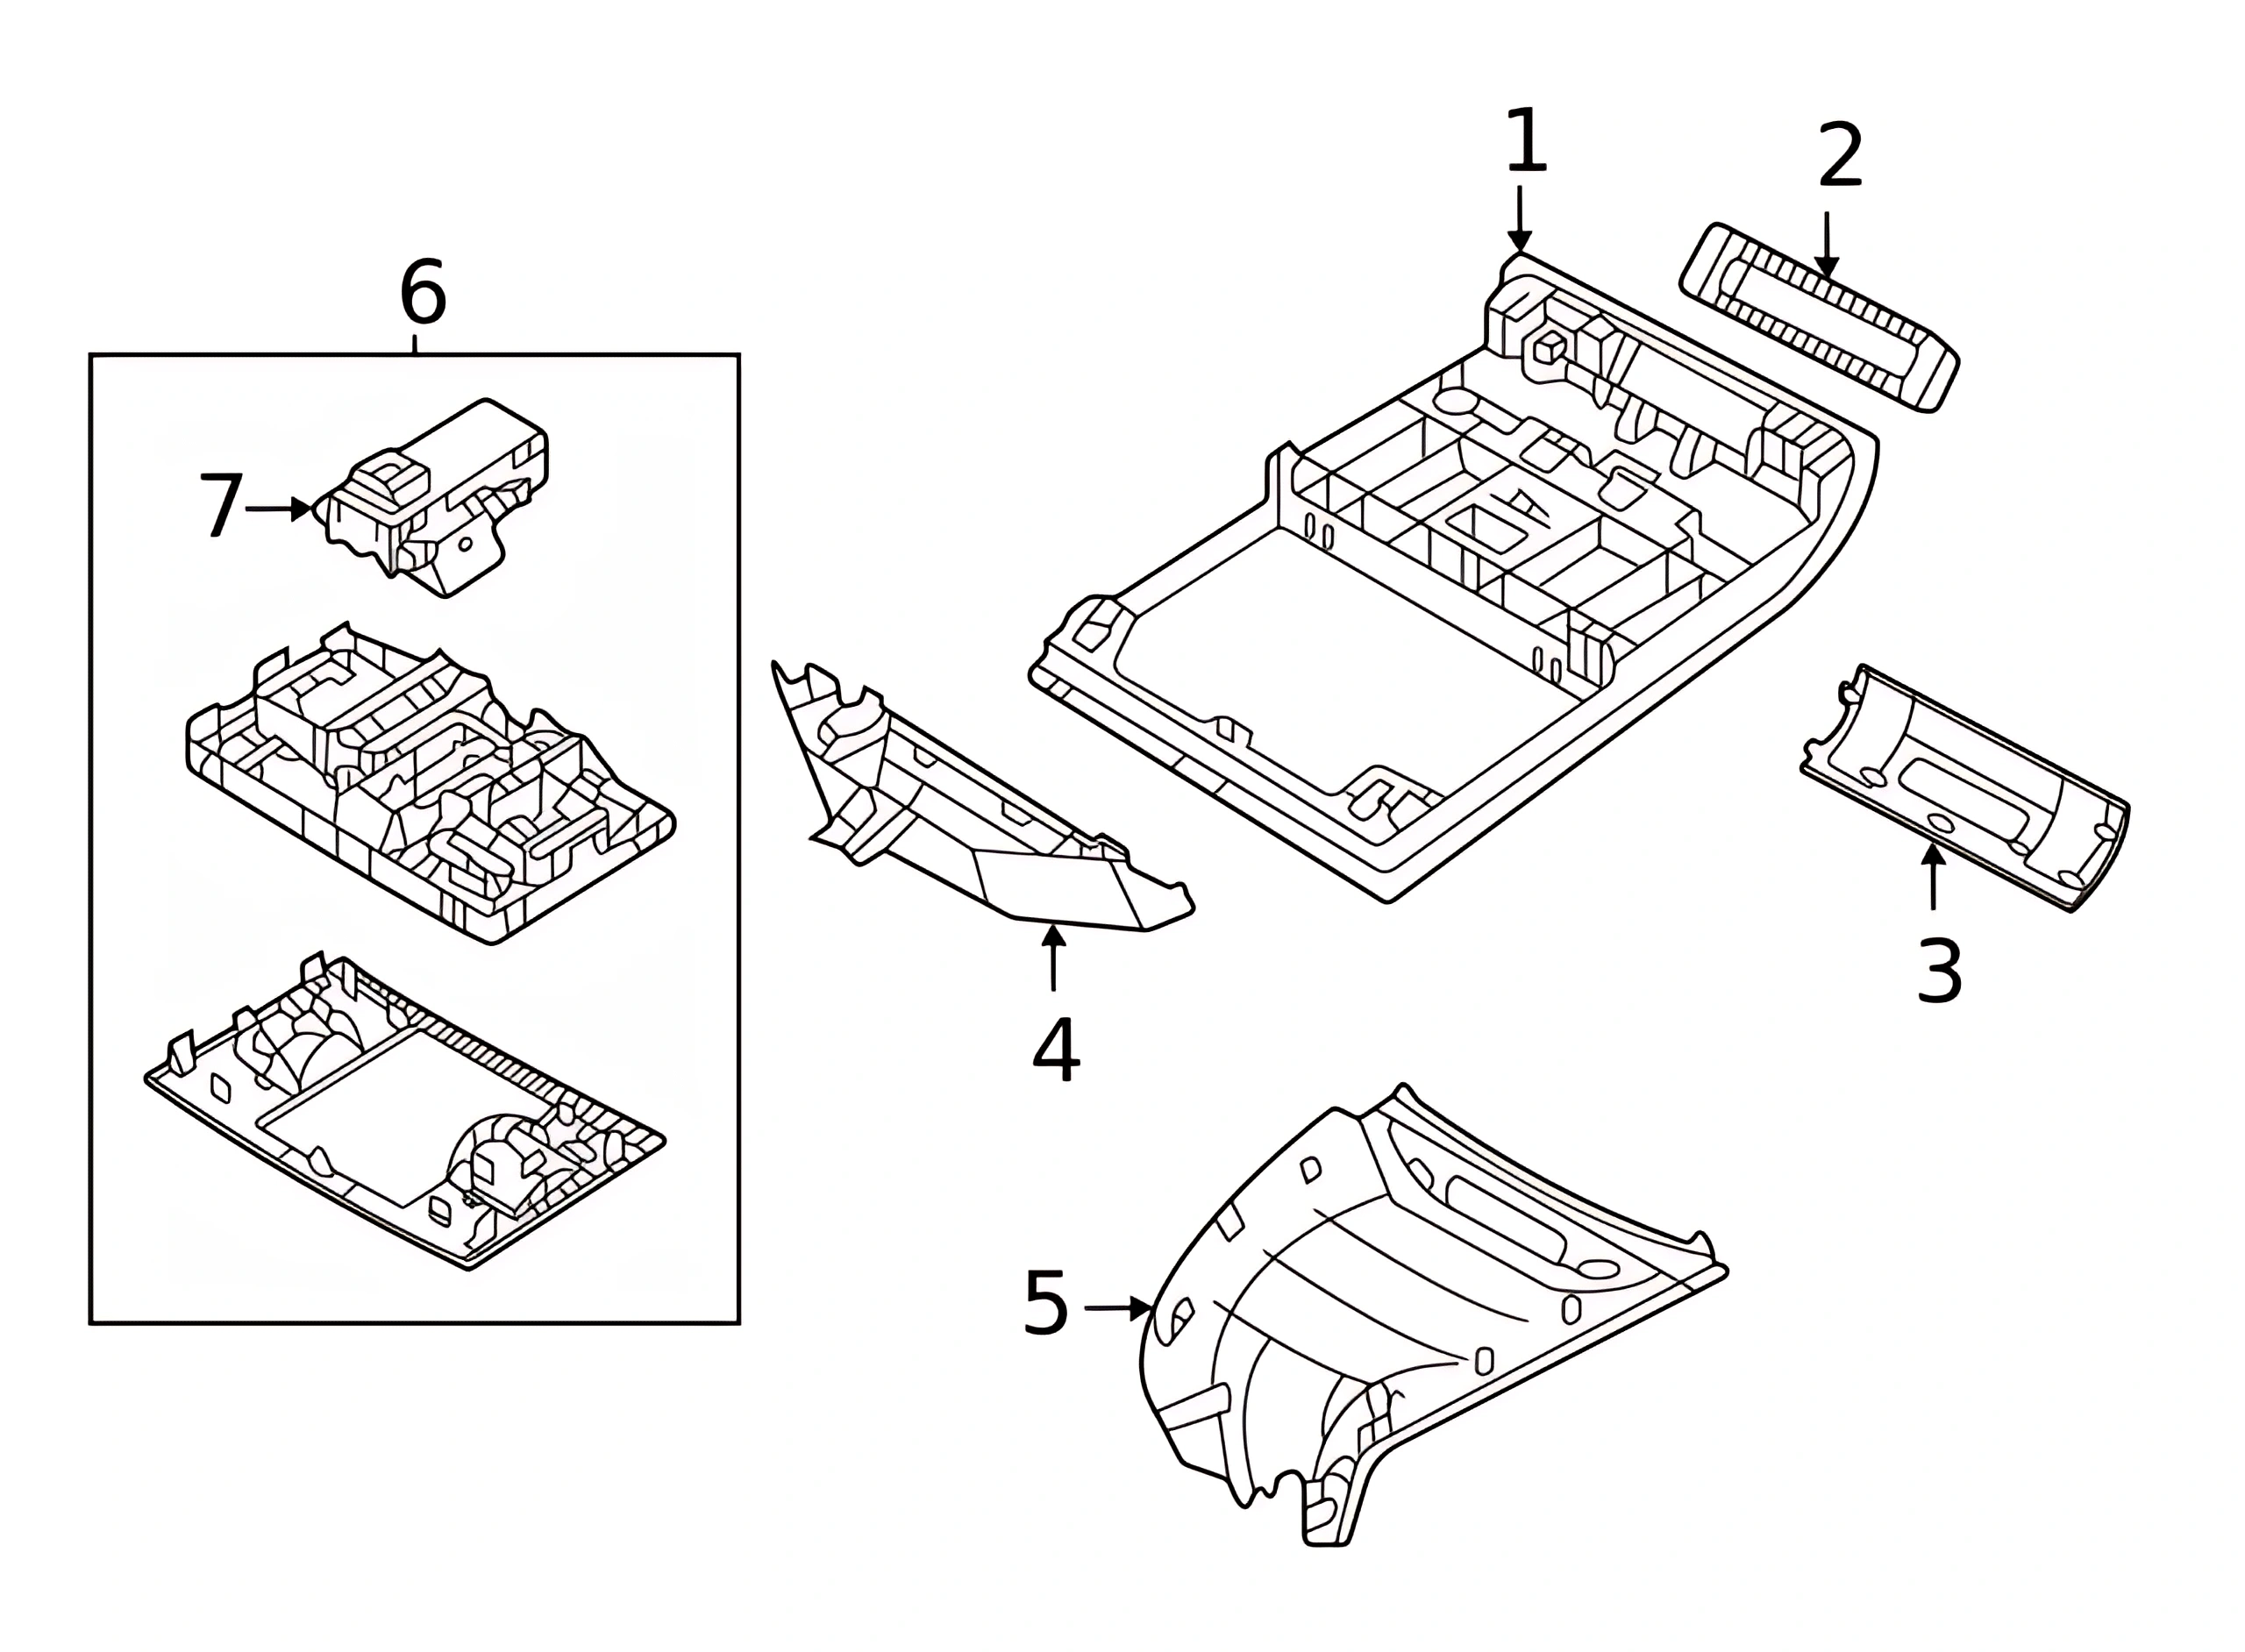
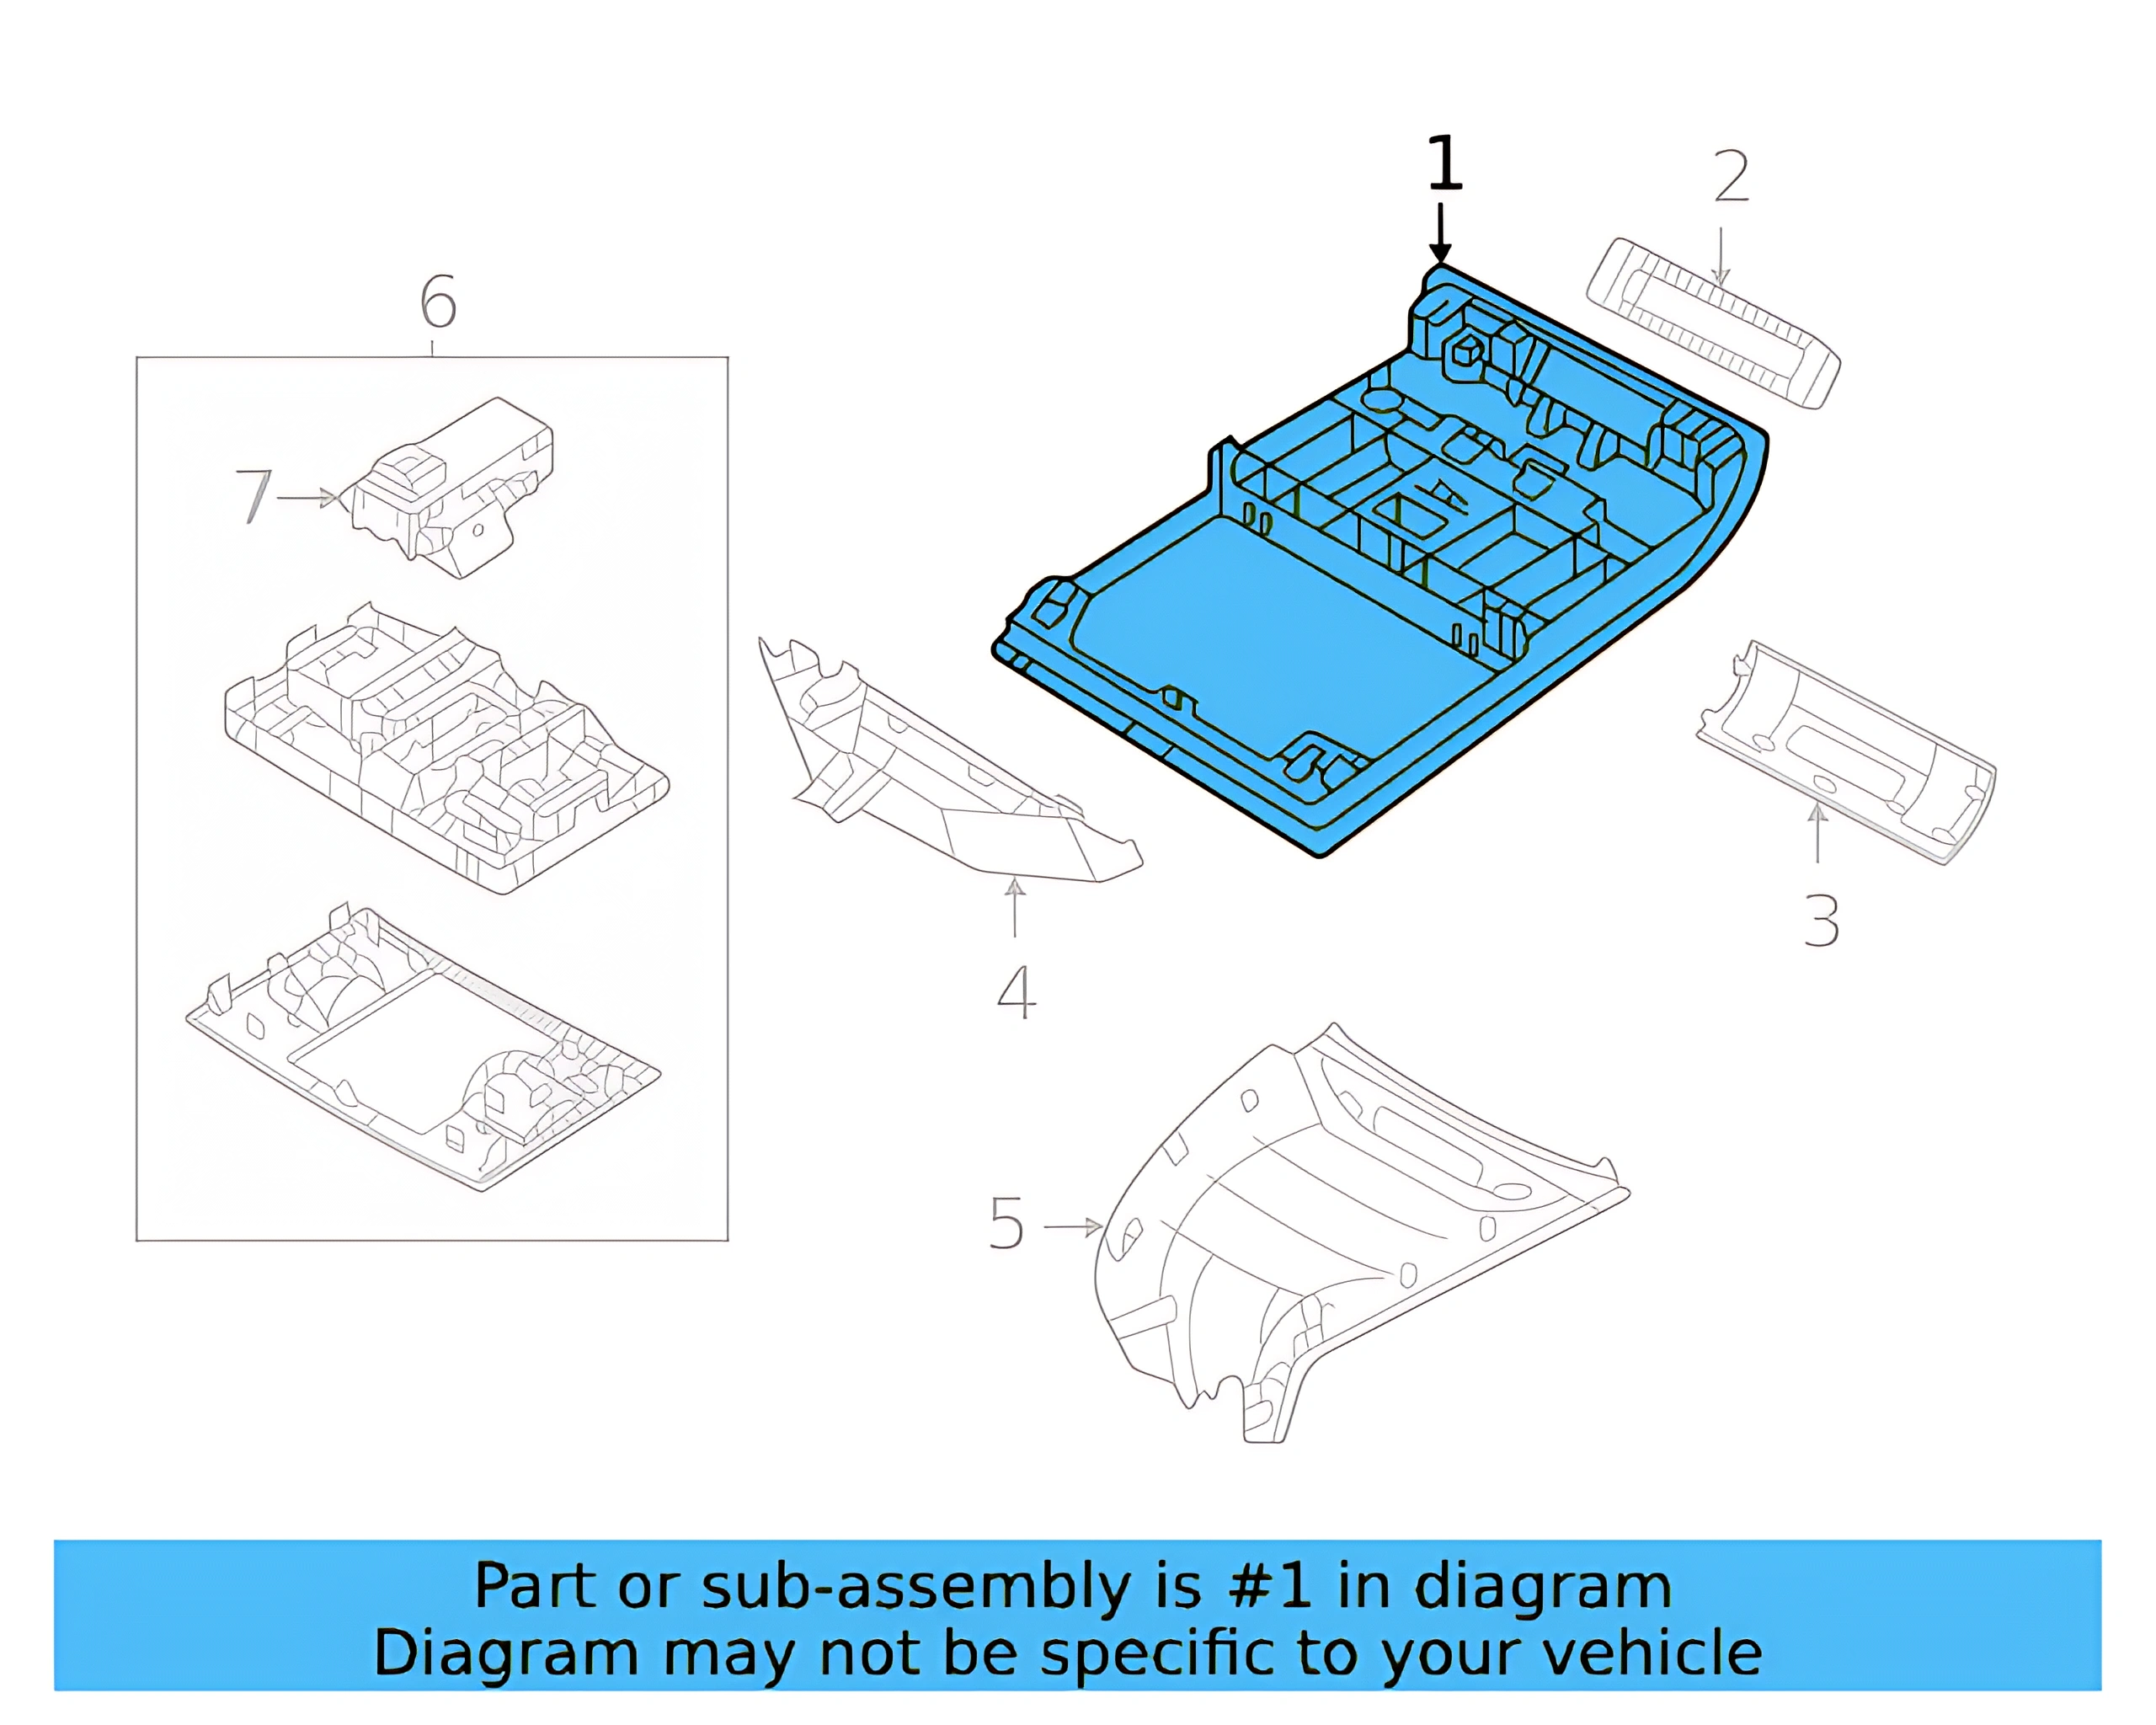
Console Assembly 5NN-868-837-RM5
Neglecting the console assembly can lead to loose parts, difficulty accessing controls, and even cosmetic damage to the interior. Signs that it needs replacement include cracks, misalignment, or if the storage compartments do not close properly.
Choosing this OEM console assembly with part number 5NN-868-837-RM5 means opting for a product that adheres to original manufacturing standards. This guarantees seamless integration with existing components, maintaining the aesthetic and functional integrity of the interior.
Dostępne w sklepach 6 ofert
Dopasowanie do pojazdu 24 pojazdy
Specyfikacja techniczna
| OEM Part Number | 5NN-868-837-RM5 |
|---|---|
| Part Category | Overhead Console Assembly (Front) |
| Material | Plastic |
| Color / Finish | Gray |
| Weight | Approximately 1.00 lb |
| Dimensions | — |
| Sunroof Compatibility | Without sunroof only |
| Compatible Engines | 1.5L 4-cyl (Taos), 2.0L 4-cyl (Tiguan) |
| Compatible Trims | S, SE, SEL (Taos); S, SE (Tiguan) |
| Compatible Model Years | Taos 2022–2024, Tiguan 2018–2024 |
Jak wymienić Console Assembly
Replacing the overhead console on a Volkswagen Taos or Tiguan is a straightforward interior trim job that typically requires basic hand tools and no specialized equipment. Work carefully around the headliner and electrical connectors to avoid damage. Always disconnect the battery before handling any electrical components integrated into the console.
-
Disconnect the Battery
Before starting, disconnect the negative terminal of the battery to prevent accidental electrical discharge while handling overhead light wiring. Wait at least 10 minutes before proceeding.
-
Remove Sunvisor and Grab Handles (if applicable)
Unscrew or unclip any sunvisors or overhead grab handles adjacent to the console to allow clear access to the console mounting points.
-
Release the Overhead Console Retaining Clips
Using a plastic trim removal tool, carefully pry around the perimeter of the overhead console to release the factory retaining clips. Work slowly to avoid cracking the headliner or the console itself.
-
Disconnect Electrical Connectors
Once the console is loosened, lower it gently and locate the wiring connectors for the overhead lights and any other integrated functions. Press the release tabs and disconnect each connector carefully.
-
Remove the Old Console
With all connectors detached, fully remove the old overhead console and set it aside. Inspect the mounting area on the headliner for any damage before installing the replacement.
-
Connect Wiring to New Console
Position the new 5NN868837RM5 console near the headliner opening and reconnect all electrical connectors until each clicks securely into place.
-
Snap Console into Position
Align the console with the headliner cutout and press firmly and evenly around the perimeter until all retaining clips engage. Do not force — reposition if resistance is felt.
-
Reconnect Battery and Test
Reconnect the negative battery terminal, then test all overhead lights and the storage compartment door to confirm full functionality before returning the vehicle to service.
Oznaki zużycia części
-
Malfunctioning or Inoperative Overhead Lights
Overhead map or dome lights fail to illuminate or operate intermittently, often caused by a broken internal switch mount or damaged wiring harness clip within the console housing.
-
Broken or Stuck Storage Compartment Door
The integrated storage compartment door will not open, close, or latch properly due to cracked hinges or a failed latch mechanism in the plastic assembly.
-
Rattling Noises from Overhead Area
A persistent rattle or creaking from the headliner area while driving, typically caused by broken retaining clips or a cracked console body vibrating against the headliner.
-
Visible Cracks or Physical Damage
Cracks, chips, or broken sections visible on the console surface, often resulting from impact or long-term UV exposure causing the plastic to become brittle.
-
Console Sagging or Detached from Headliner
The console droops or separates from the headliner, indicating that the factory retaining clips have failed or the mounting points within the console have broken.
Częstotliwość wymiany
The overhead console assembly is not part of any Volkswagen scheduled maintenance program. Replacement is condition-based only. Consult a VW technician if symptoms appear.
Najczęściej zadawane pytania
Will this part fit my Volkswagen Tiguan with a sunroof?
No. Part number 5NN868837RM5 is designed exclusively for Tiguan and Taos models WITHOUT a sunroof. The headliner cutout dimensions differ between sunroof and non-sunroof vehicles, and this console will not properly seat in a sunroof-equipped vehicle.
What color is this overhead console and will it match my interior?
This console is finished in gray. It is designed to match the factory gray interior found on compatible trim levels of the Taos (S, SE, SEL) and Tiguan (S, SE). Verify your interior color before ordering if your vehicle has a non-standard trim package.
Is this a genuine OEM Volkswagen part or an aftermarket replacement?
Yes, 5NN868837RM5 is a genuine OEM Volkswagen part. There are no widely recognized aftermarket equivalents for this specific interior trim component, making the genuine part the only recommended option for assured fitment and quality.
Which model years of the Volkswagen Taos and Tiguan is this part compatible with?
This overhead console is compatible with the Volkswagen Taos model years 2022–2024 and the Volkswagen Tiguan model years 2018–2024, on trims S, SE, and SEL (Taos) and S and SE (Tiguan), all without a sunroof.
Can I install this overhead console myself or do I need a professional?
A confident DIYer with basic hand tools can typically replace this console. The job involves releasing plastic trim clips, disconnecting a wiring harness, and reversing the process with the new unit. However, if you are uncomfortable working near the headliner or electrical components, a certified VW technician is recommended to avoid headliner damage.
Does this part include the overhead lights or just the console housing?
The listing describes this as a console assembly, which includes the housing and integrated storage compartment. Whether bulbs or light modules are included should be confirmed with the seller at time of purchase, as assembly contents can vary by sourcing channel.
Znalazłeś błąd?
Pomóż nam się rozwijać — jeśli zauważyłeś błąd na stronie lub w danych, daj nam znać, a naprawimy go jak najszybciej.