
 PL
PL
 Deutsch
 English
 русский
 українська
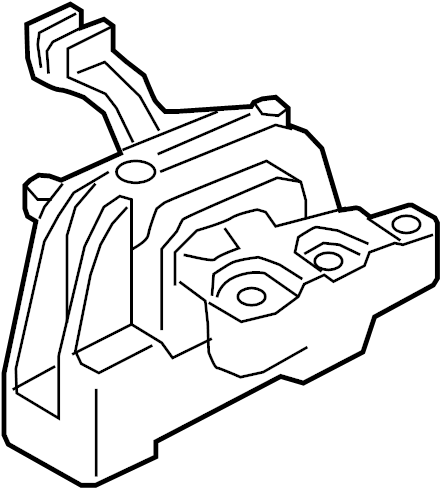
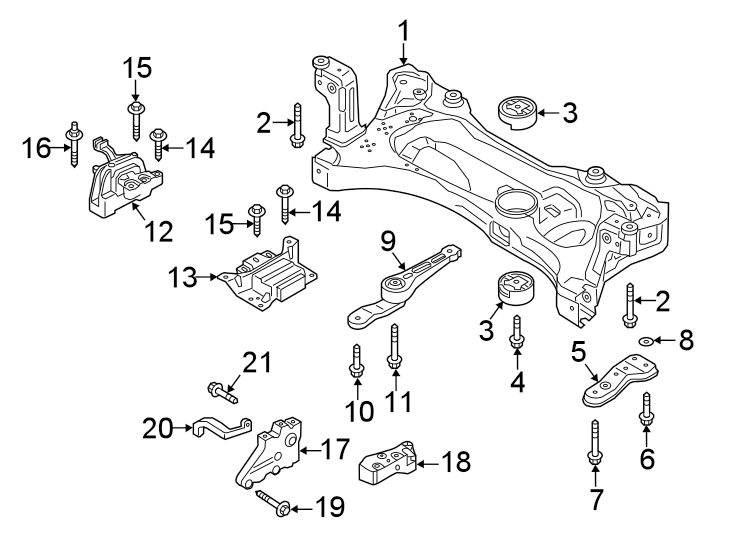
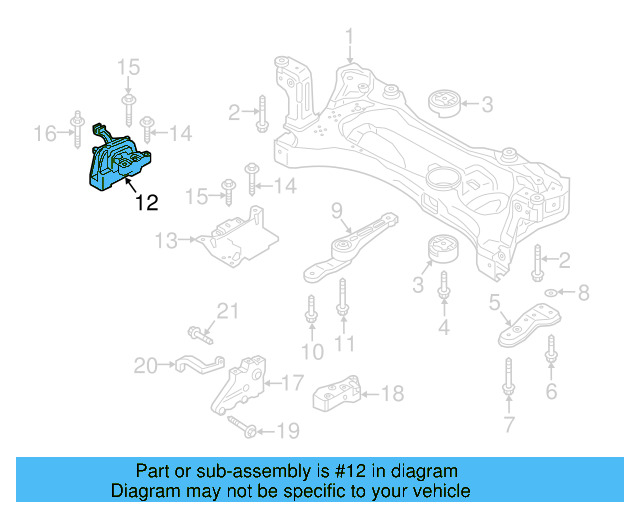
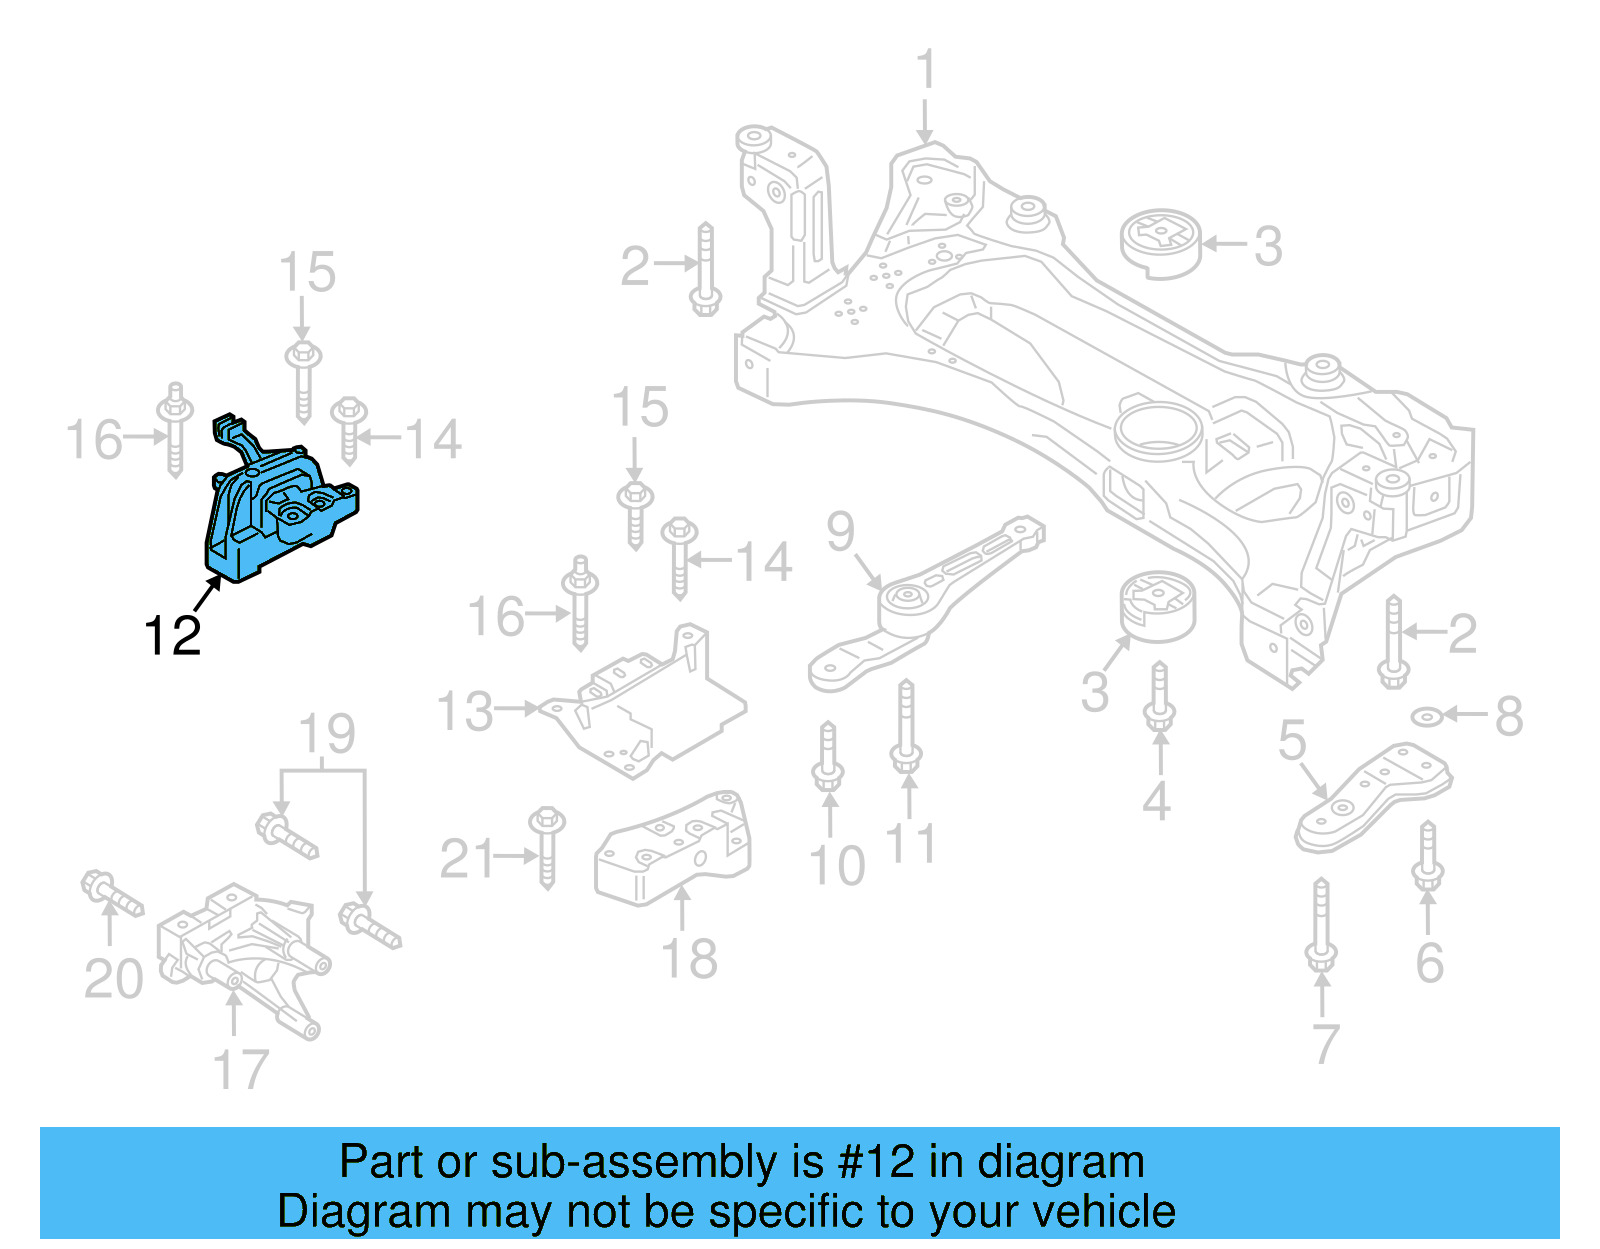
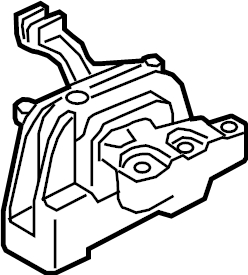
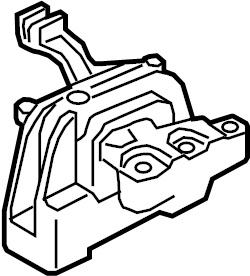
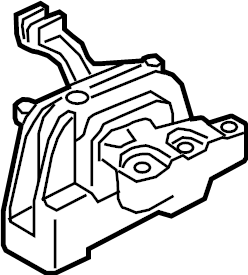
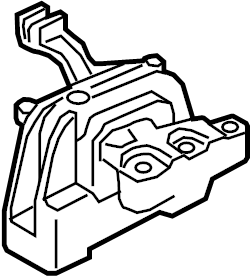
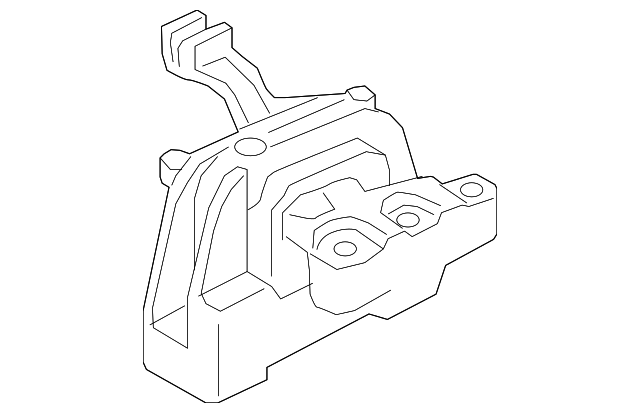
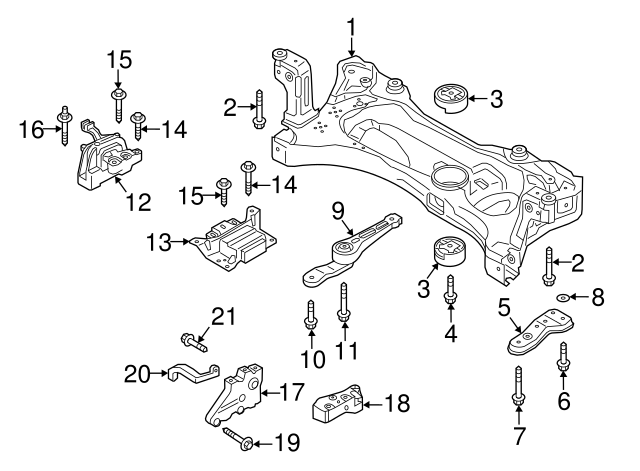
Motor Mount 5Q0-199-262-BJ
Dostępne w sklepach 8 ofert
Dopasowanie do pojazdu 15 pojazdów
Specyfikacja techniczna
| OEM Part Number | 5Q0-199-262-BJ |
|---|---|
| Position | Right-hand (passenger side) |
| Mount Type | Hydraulic rubber mount (hydro mount) |
| Material | Metal and rubber composite with hydraulic damping |
| Engine Application | Diesel engines (MQB platform) |
| Compatible Engine Codes | CRBC, CRLB, CRUA, DBGA, DCYA, DEJA, DFGA (and others) |
| Platform | Volkswagen MQB |
| Thread Size | — |
| Dimensions | — |
| Weight | — |
Jak wymienić Motor Mount
Replacing the right-hand engine mount on MQB-platform VAG vehicles requires basic mechanical tools, an engine support bar or floor jack, and attention to safety procedures. The job typically takes 1–2 hours for an experienced home mechanic. Always refer to your vehicle's official workshop manual for model-specific torque values before beginning.
-
Prepare the Vehicle
Park on a level surface, switch off the engine, engage the parking brake, and disconnect the negative battery terminal. Allow the engine to cool completely before starting work.
-
Support the Engine
Position an engine support bar across the engine bay strut towers, or use a floor jack with a wooden block under the oil pan, to take the weight of the engine before removing the mount. This prevents the engine from dropping or shifting.
-
Gain Access to the Mount
Remove the engine cover and, depending on your model, any air intake ducting, intercooler piping, or brackets obstructing access to the right-hand engine mount in the engine bay.
-
Unbolt the Engine Mount
Loosen and remove the bolts securing the engine mount to the engine bracket and the bolts securing it to the chassis subframe or body. Keep all hardware organized for reinstallation.
-
Remove the Old Mount
Carefully lower or raise engine support slightly if needed to relieve pressure on the mount, then remove the old 5Q0-199-262-BJ unit from the engine bay.
-
Install the New Mount
Position the new 5Q0199262BJ mount correctly, ensuring alignment with all bolt holes on both the engine bracket and chassis mounting points before inserting any fasteners.
-
Torque All Fasteners
Insert and hand-tighten all bolts first, then torque to the specifications listed in your vehicle's workshop manual. Do not guess torque values — consult the official VW/Audi service manual for your model year.
-
Reassemble and Test
Reinstall all removed components, reconnect the battery, start the engine, and check for unusual noises or vibrations. Visually inspect the mount area for correct seating before closing the hood.
Oznaki zużycia części
-
Excessive Cabin Vibration
A failed or worn hydro mount loses its hydraulic damping ability, allowing engine vibrations to transmit directly into the cabin — most noticeable at idle or low engine speeds.
-
Clunking or Banging Noises
A deteriorated mount allows the engine to move excessively, producing audible clunks or thuds during acceleration, gear changes, or sharp deceleration as the engine rocks against its limits.
-
Engine Movement in Bay
Visible excessive engine movement when revving the engine from idle — particularly noticeable when observing the engine bay with the hood open — indicates mount failure.
-
Visible Rubber Cracking or Separation
Physical inspection may reveal cracked, torn, or collapsed rubber in the mount body, or separation between the rubber and metal components, confirming replacement is needed.
-
Oil Contamination on Mount
Hydraulic fluid leaking from a ruptured hydro mount, or nearby oil leaks coating the mount, can accelerate rubber degradation and cause premature mount failure.
-
Drivetrain Shudder on Takeoff
A worn right-hand mount can allow engine torque to move the drivetrain excessively under load, causing a noticeable shudder or jerk during takeoff from rest or when applying throttle in low gears.
Częstotliwość wymiany
Volkswagen Group does not specify a fixed replacement interval for engine mounts — replacement is condition-based. Mounts on higher-mileage vehicles (typically 80,000–120,000+ miles) or those exposed to oil contamination or extreme temperatures may require replacement earlier. Always replace if any cracking, separation, or hydraulic fluid loss is observed.
Najczęściej zadawane pytania
Is 5Q0-199-262-BJ the right-hand or left-hand engine mount?
This part number is specifically for the right-hand (passenger side) engine mount. If you need the left-hand mount, you will require a different part number. Always confirm position against your workshop manual before ordering.
Does this mount fit both manual and automatic transmission variants?
Compatibility may vary by transmission type even within the same model. Verify your specific transmission type (manual or DSG/automatic) and cross-reference against your vehicle's VIN or engine code before purchasing to ensure correct fitment.
Is this a genuine OEM part or an aftermarket replacement?
The part number 5Q0-199-262-BJ is a Volkswagen Group OEM part number. Genuine OEM units are sourced from VAG-authorized dealerships or OEM parts suppliers. Aftermarket equivalents from brands such as Lemförder, Febi Bilstein, and Corteco are also available using this number as a reference.
How do I confirm this part is compatible with my specific vehicle?
Check your vehicle's VIN, model year, body style, and engine code against the compatibility list. Confirmed compatible platforms include MQB-based VW Golf VII, Passat B8, Arteon, T-Roc, Touran, Audi A3, SEAT Leon, Škoda Octavia III, and Superb III with diesel engine codes including CRBC, CRLB, CRUA, DBGA, DCYA, DEJA, and DFGA.
Can I replace the engine mount myself, or do I need a specialist?
A mechanically experienced home mechanic with access to an engine support bar, torque wrench, and workshop manual can complete this job. However, because incorrect torque values or improper engine support can cause damage, those without prior experience should consult a qualified VAG technician.
Should I replace all engine mounts at the same time?
It is strongly recommended to inspect all engine and transmission mounts when replacing one. If the right-hand mount has failed due to age or mileage, the remaining mounts are likely in a similar condition. Replacing them together saves labor costs and prevents near-term repeat repairs.
Znalazłeś błąd?
Pomóż nam się rozwijać — jeśli zauważyłeś błąd na stronie lub w danych, daj nam znać, a naprawimy go jak najszybciej.