
 PL
PL
 Deutsch
 English
 русский
 українська
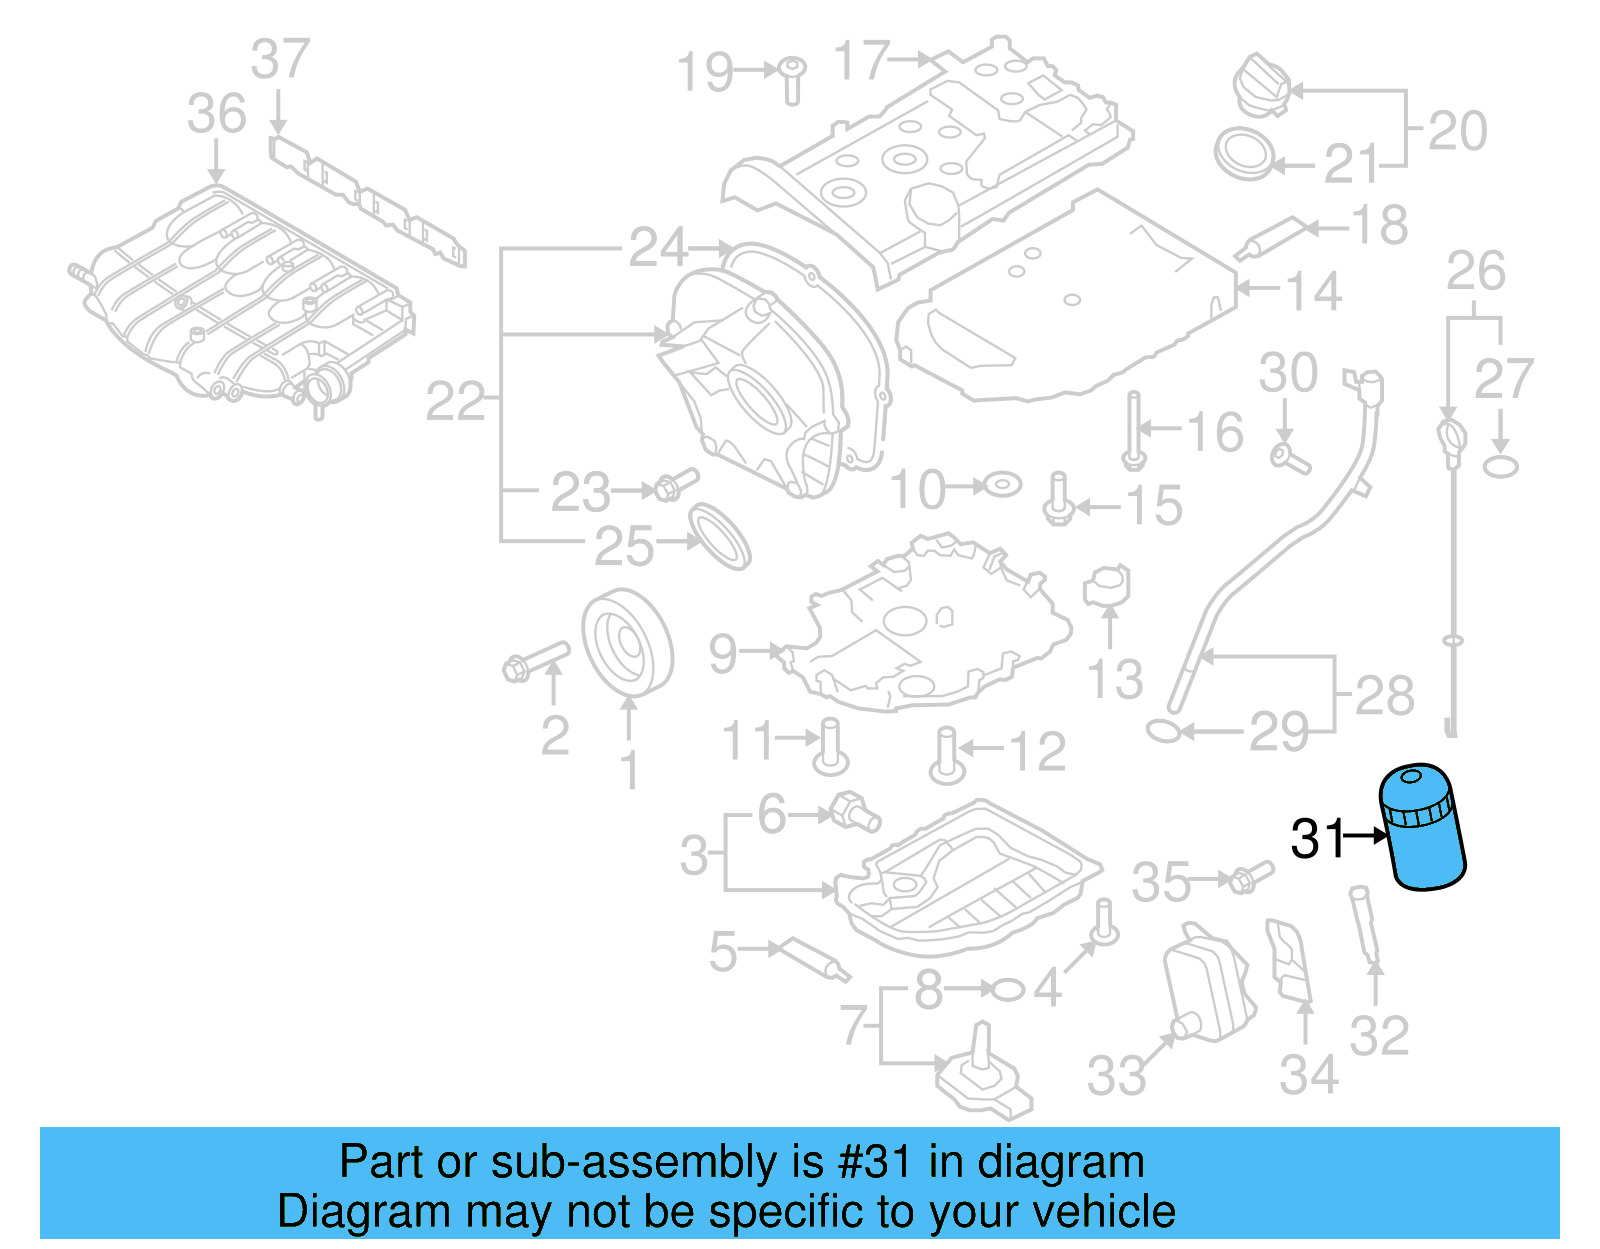
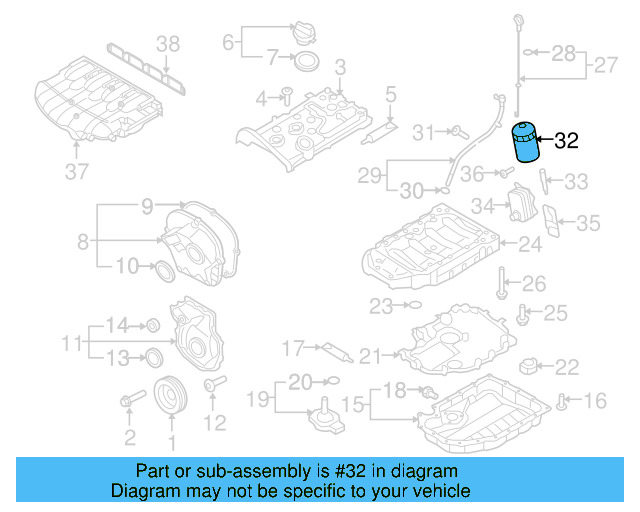
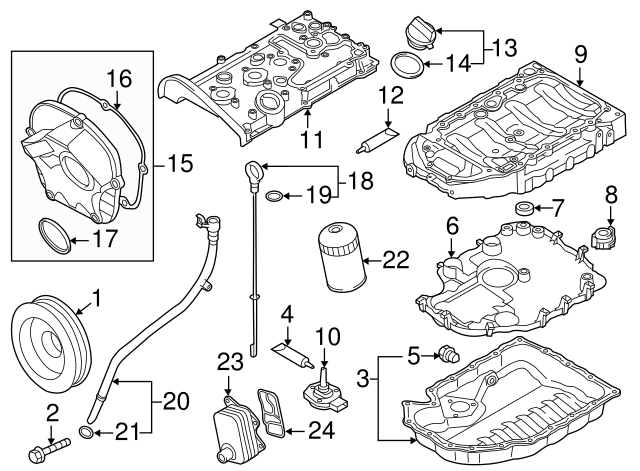
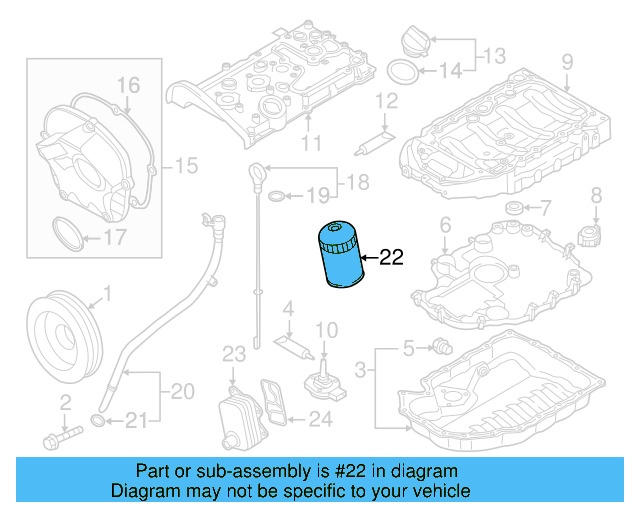
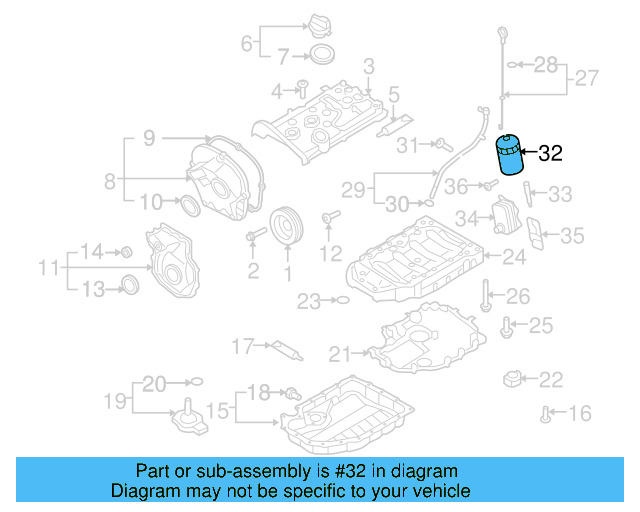
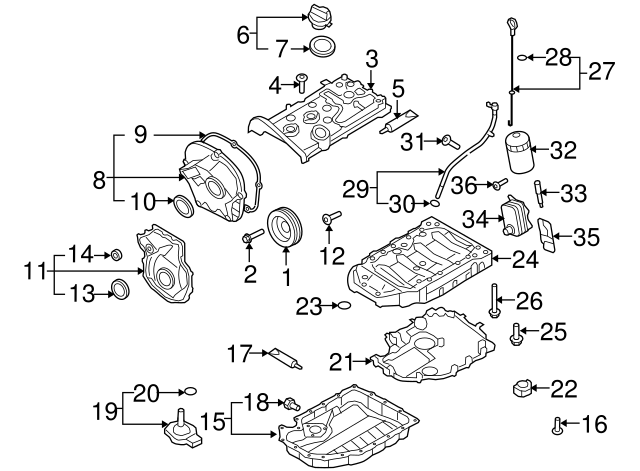
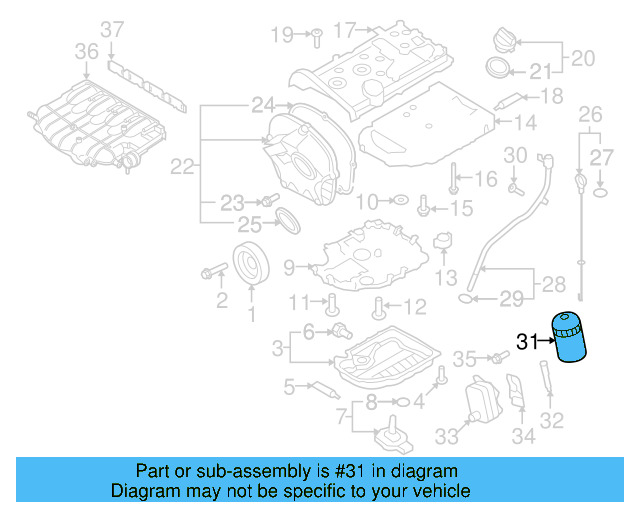
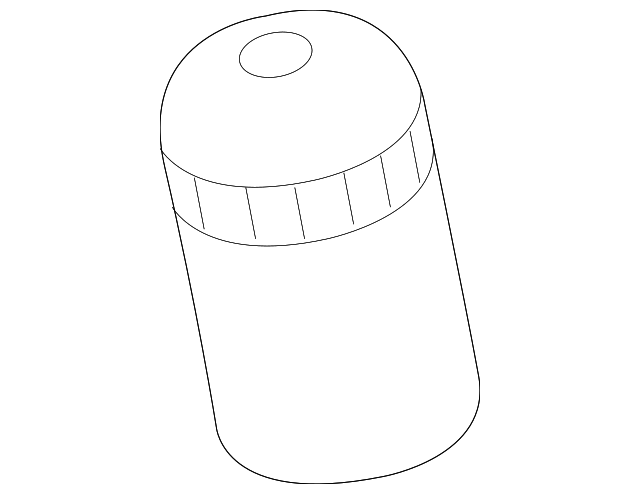
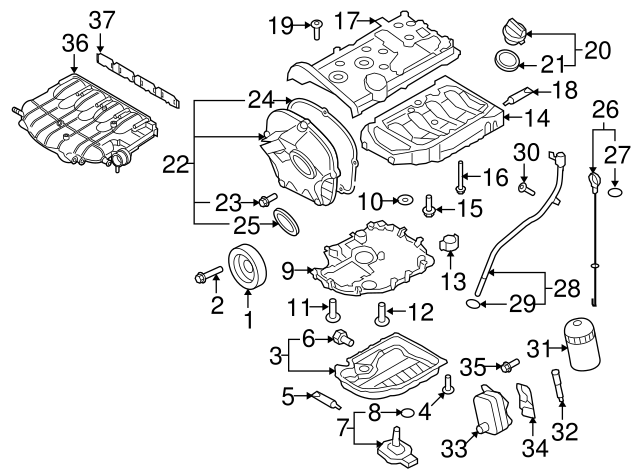
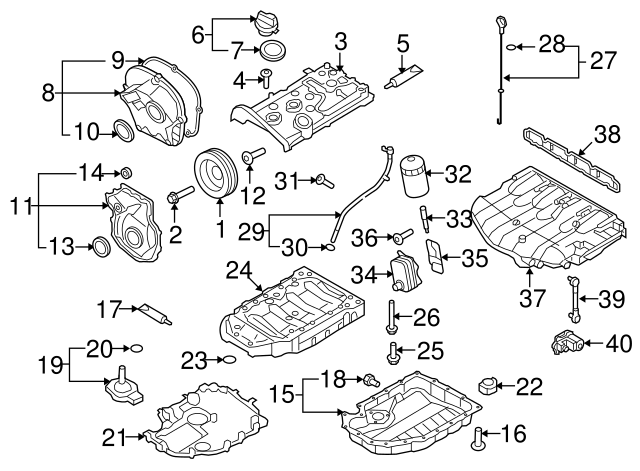
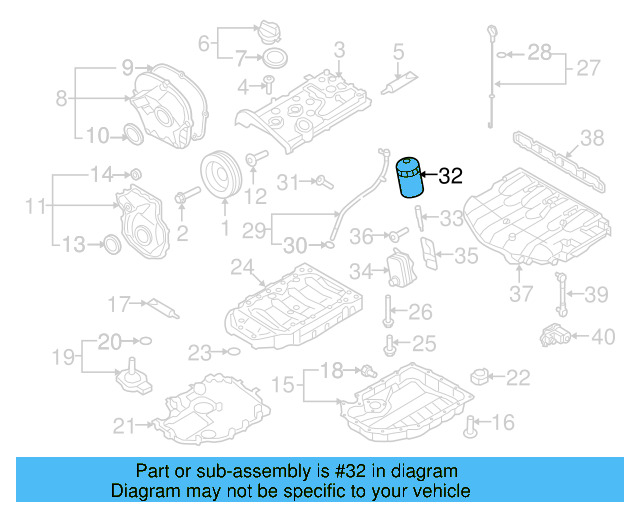
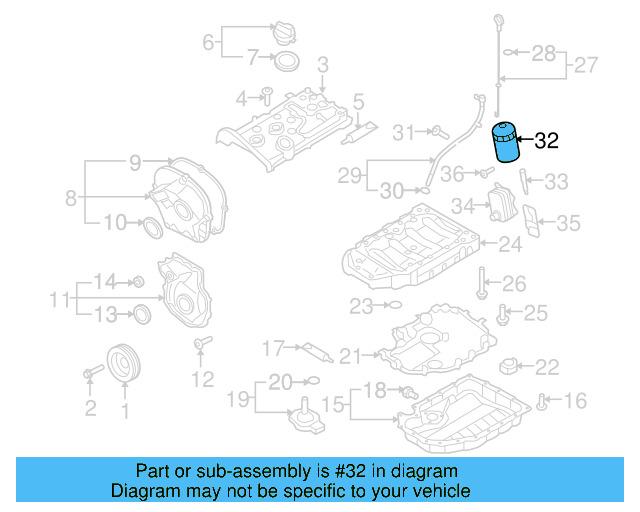
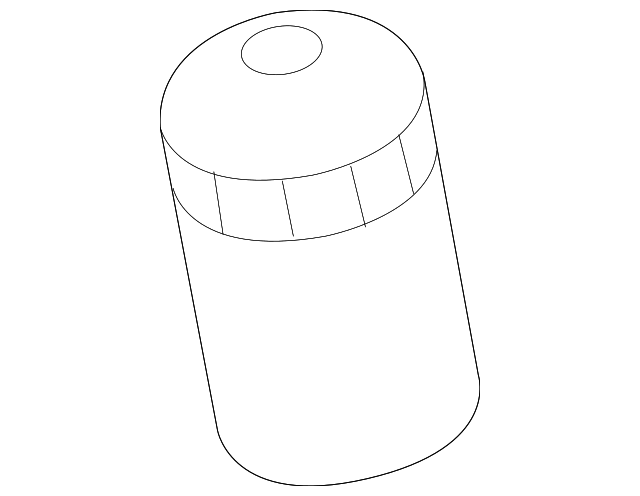
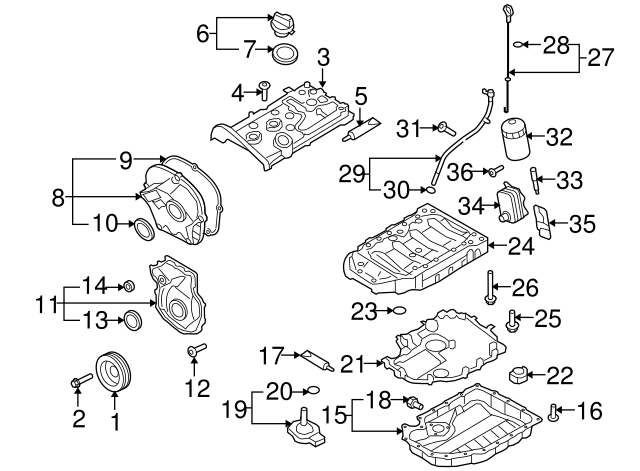

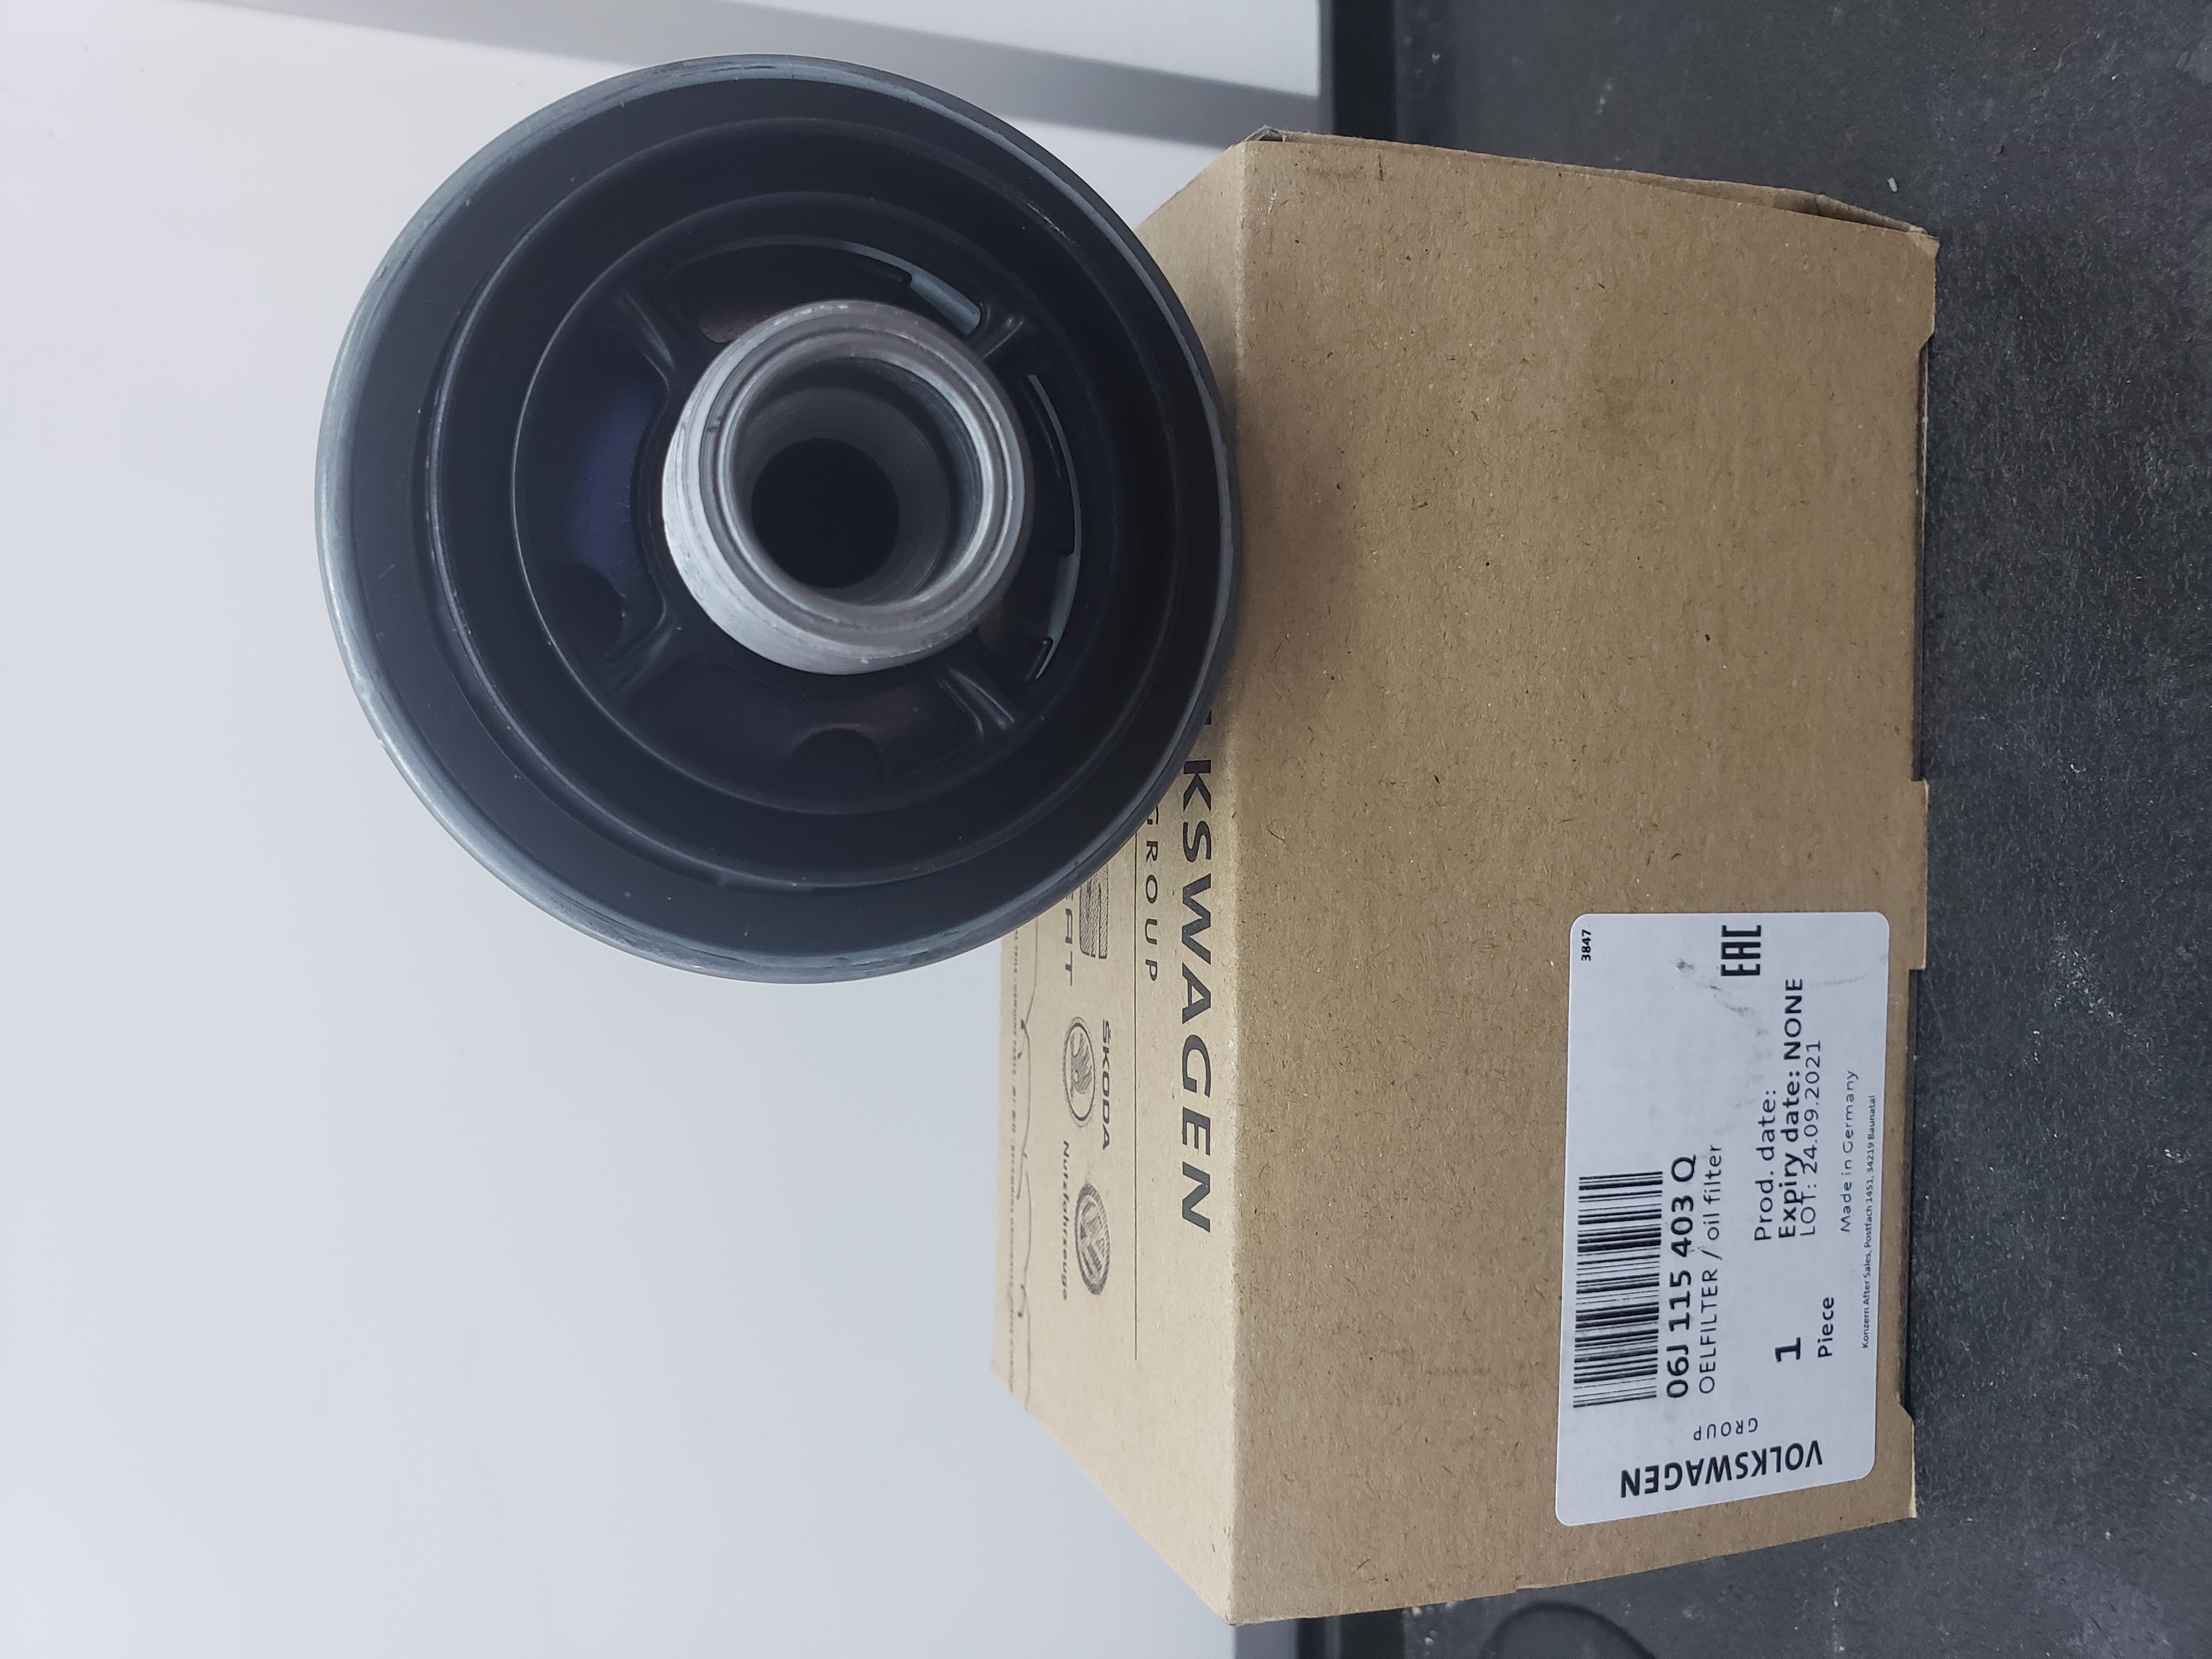
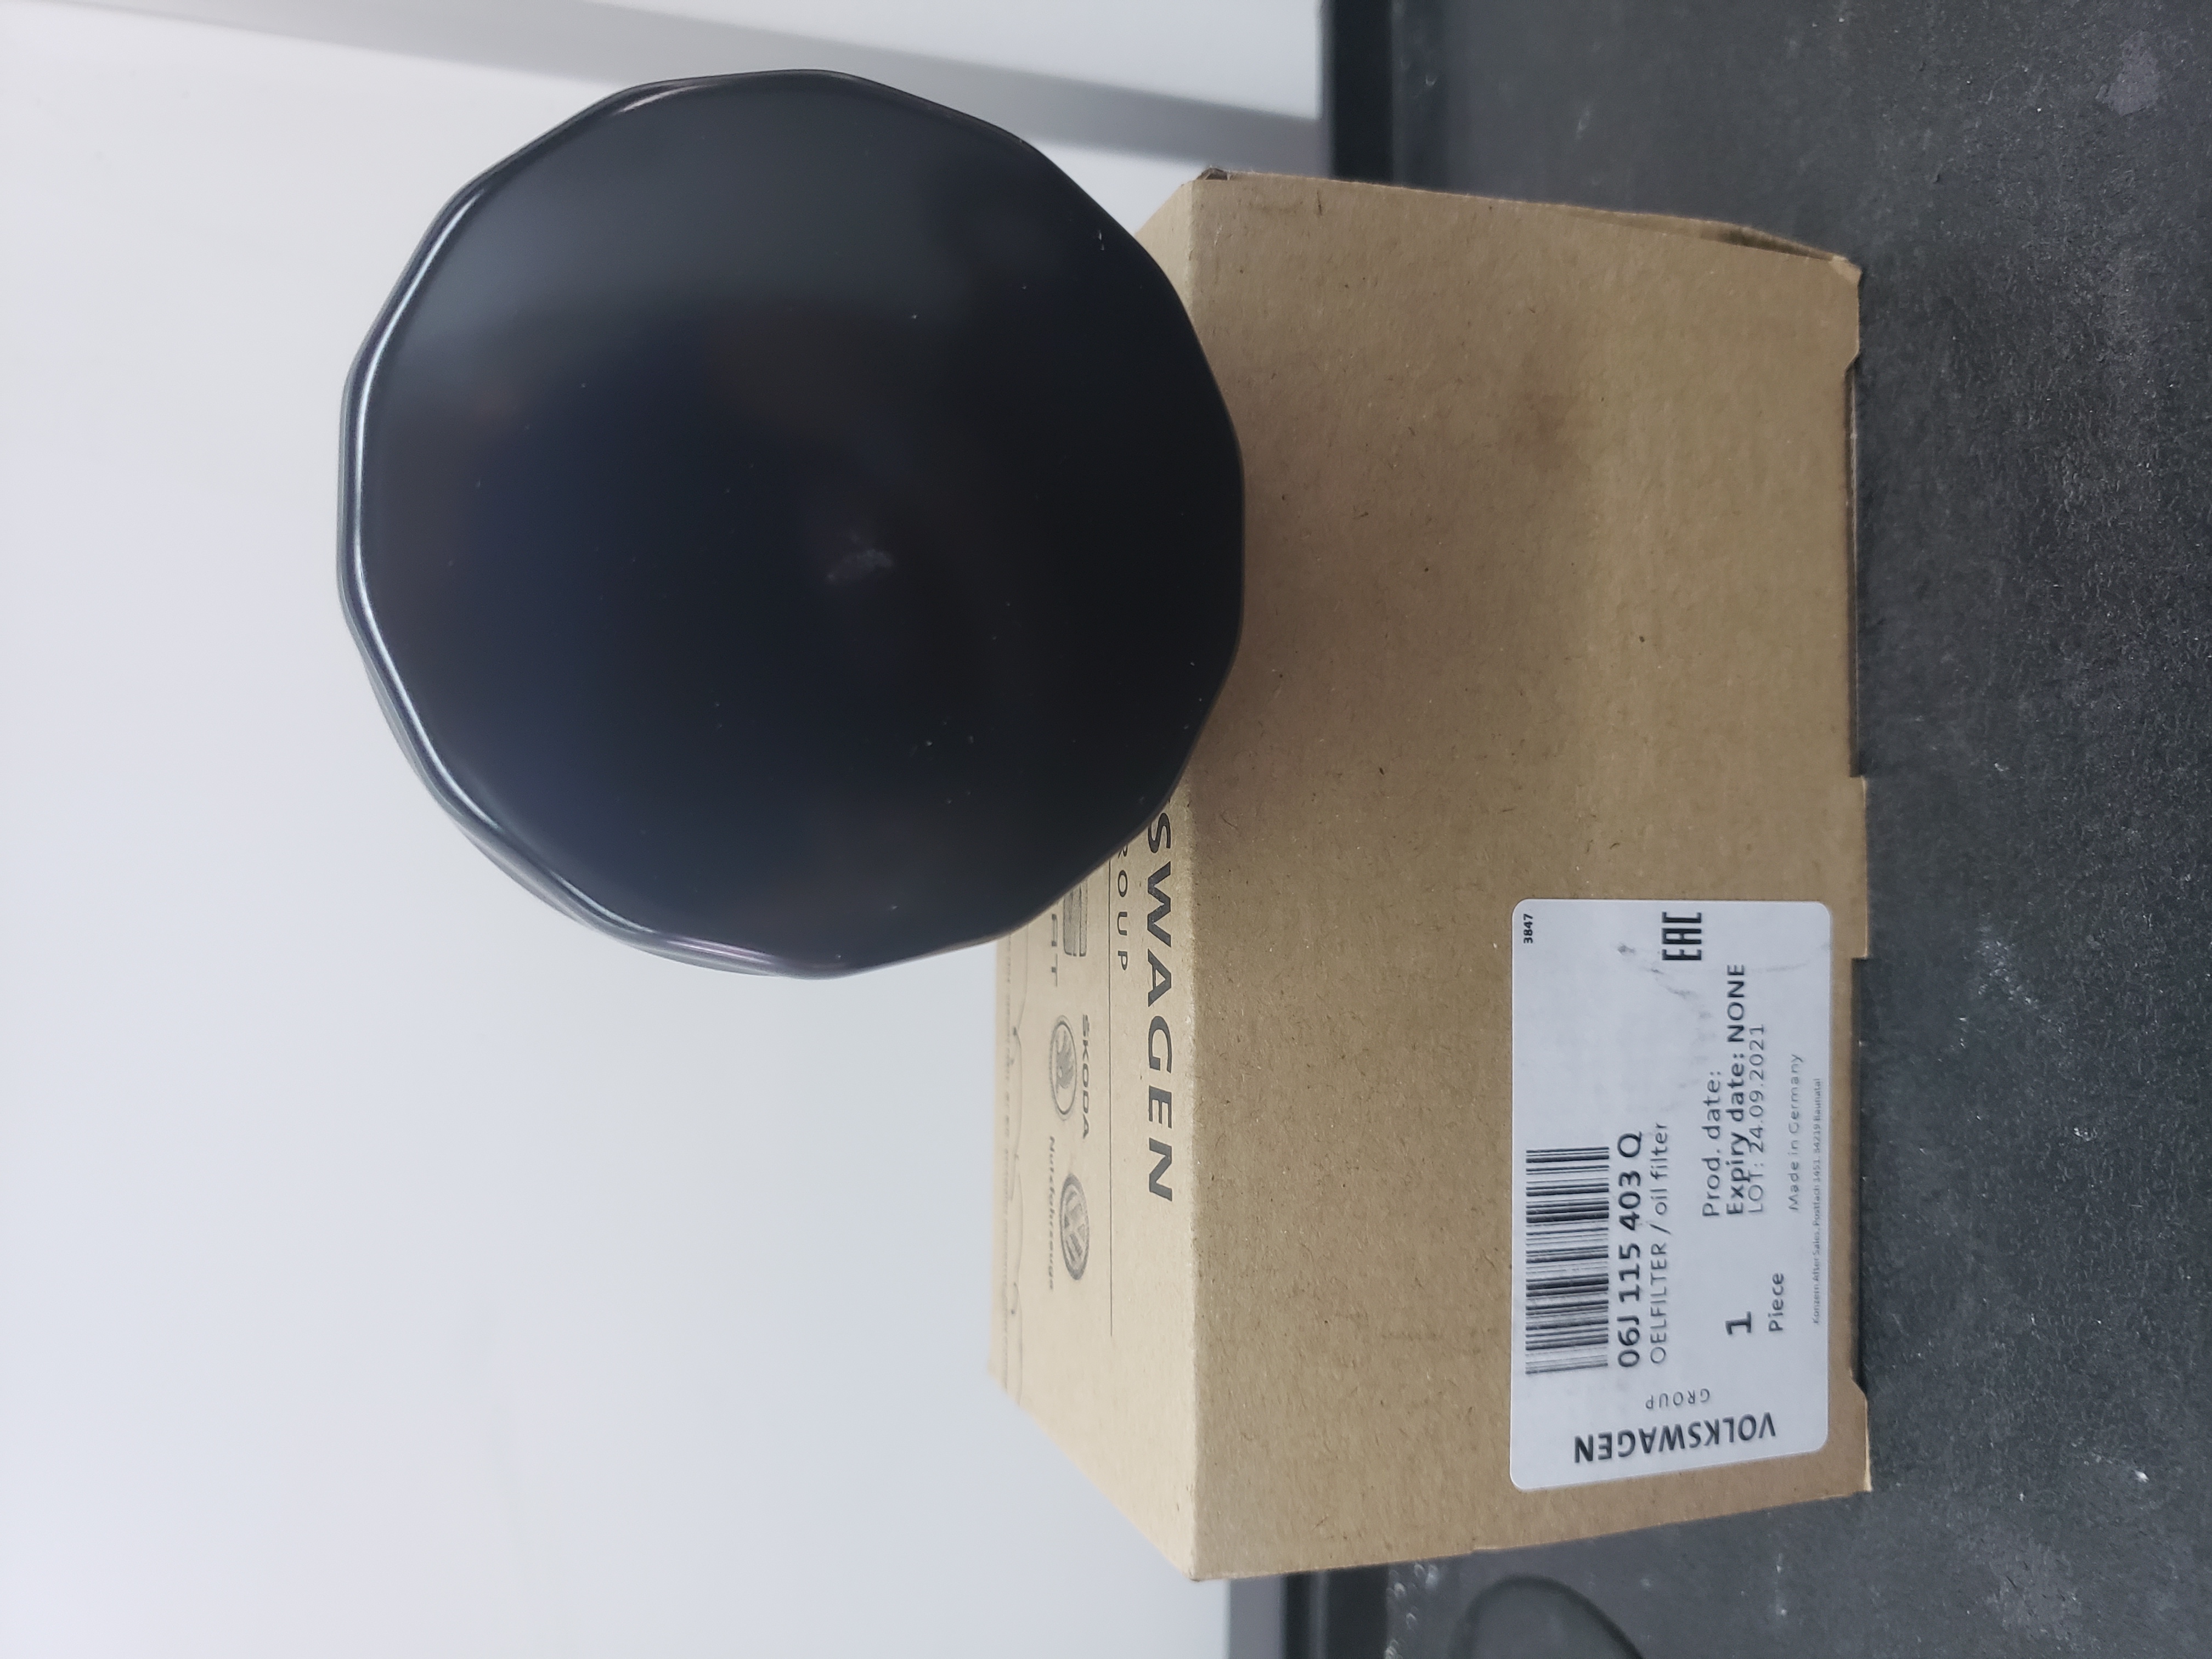
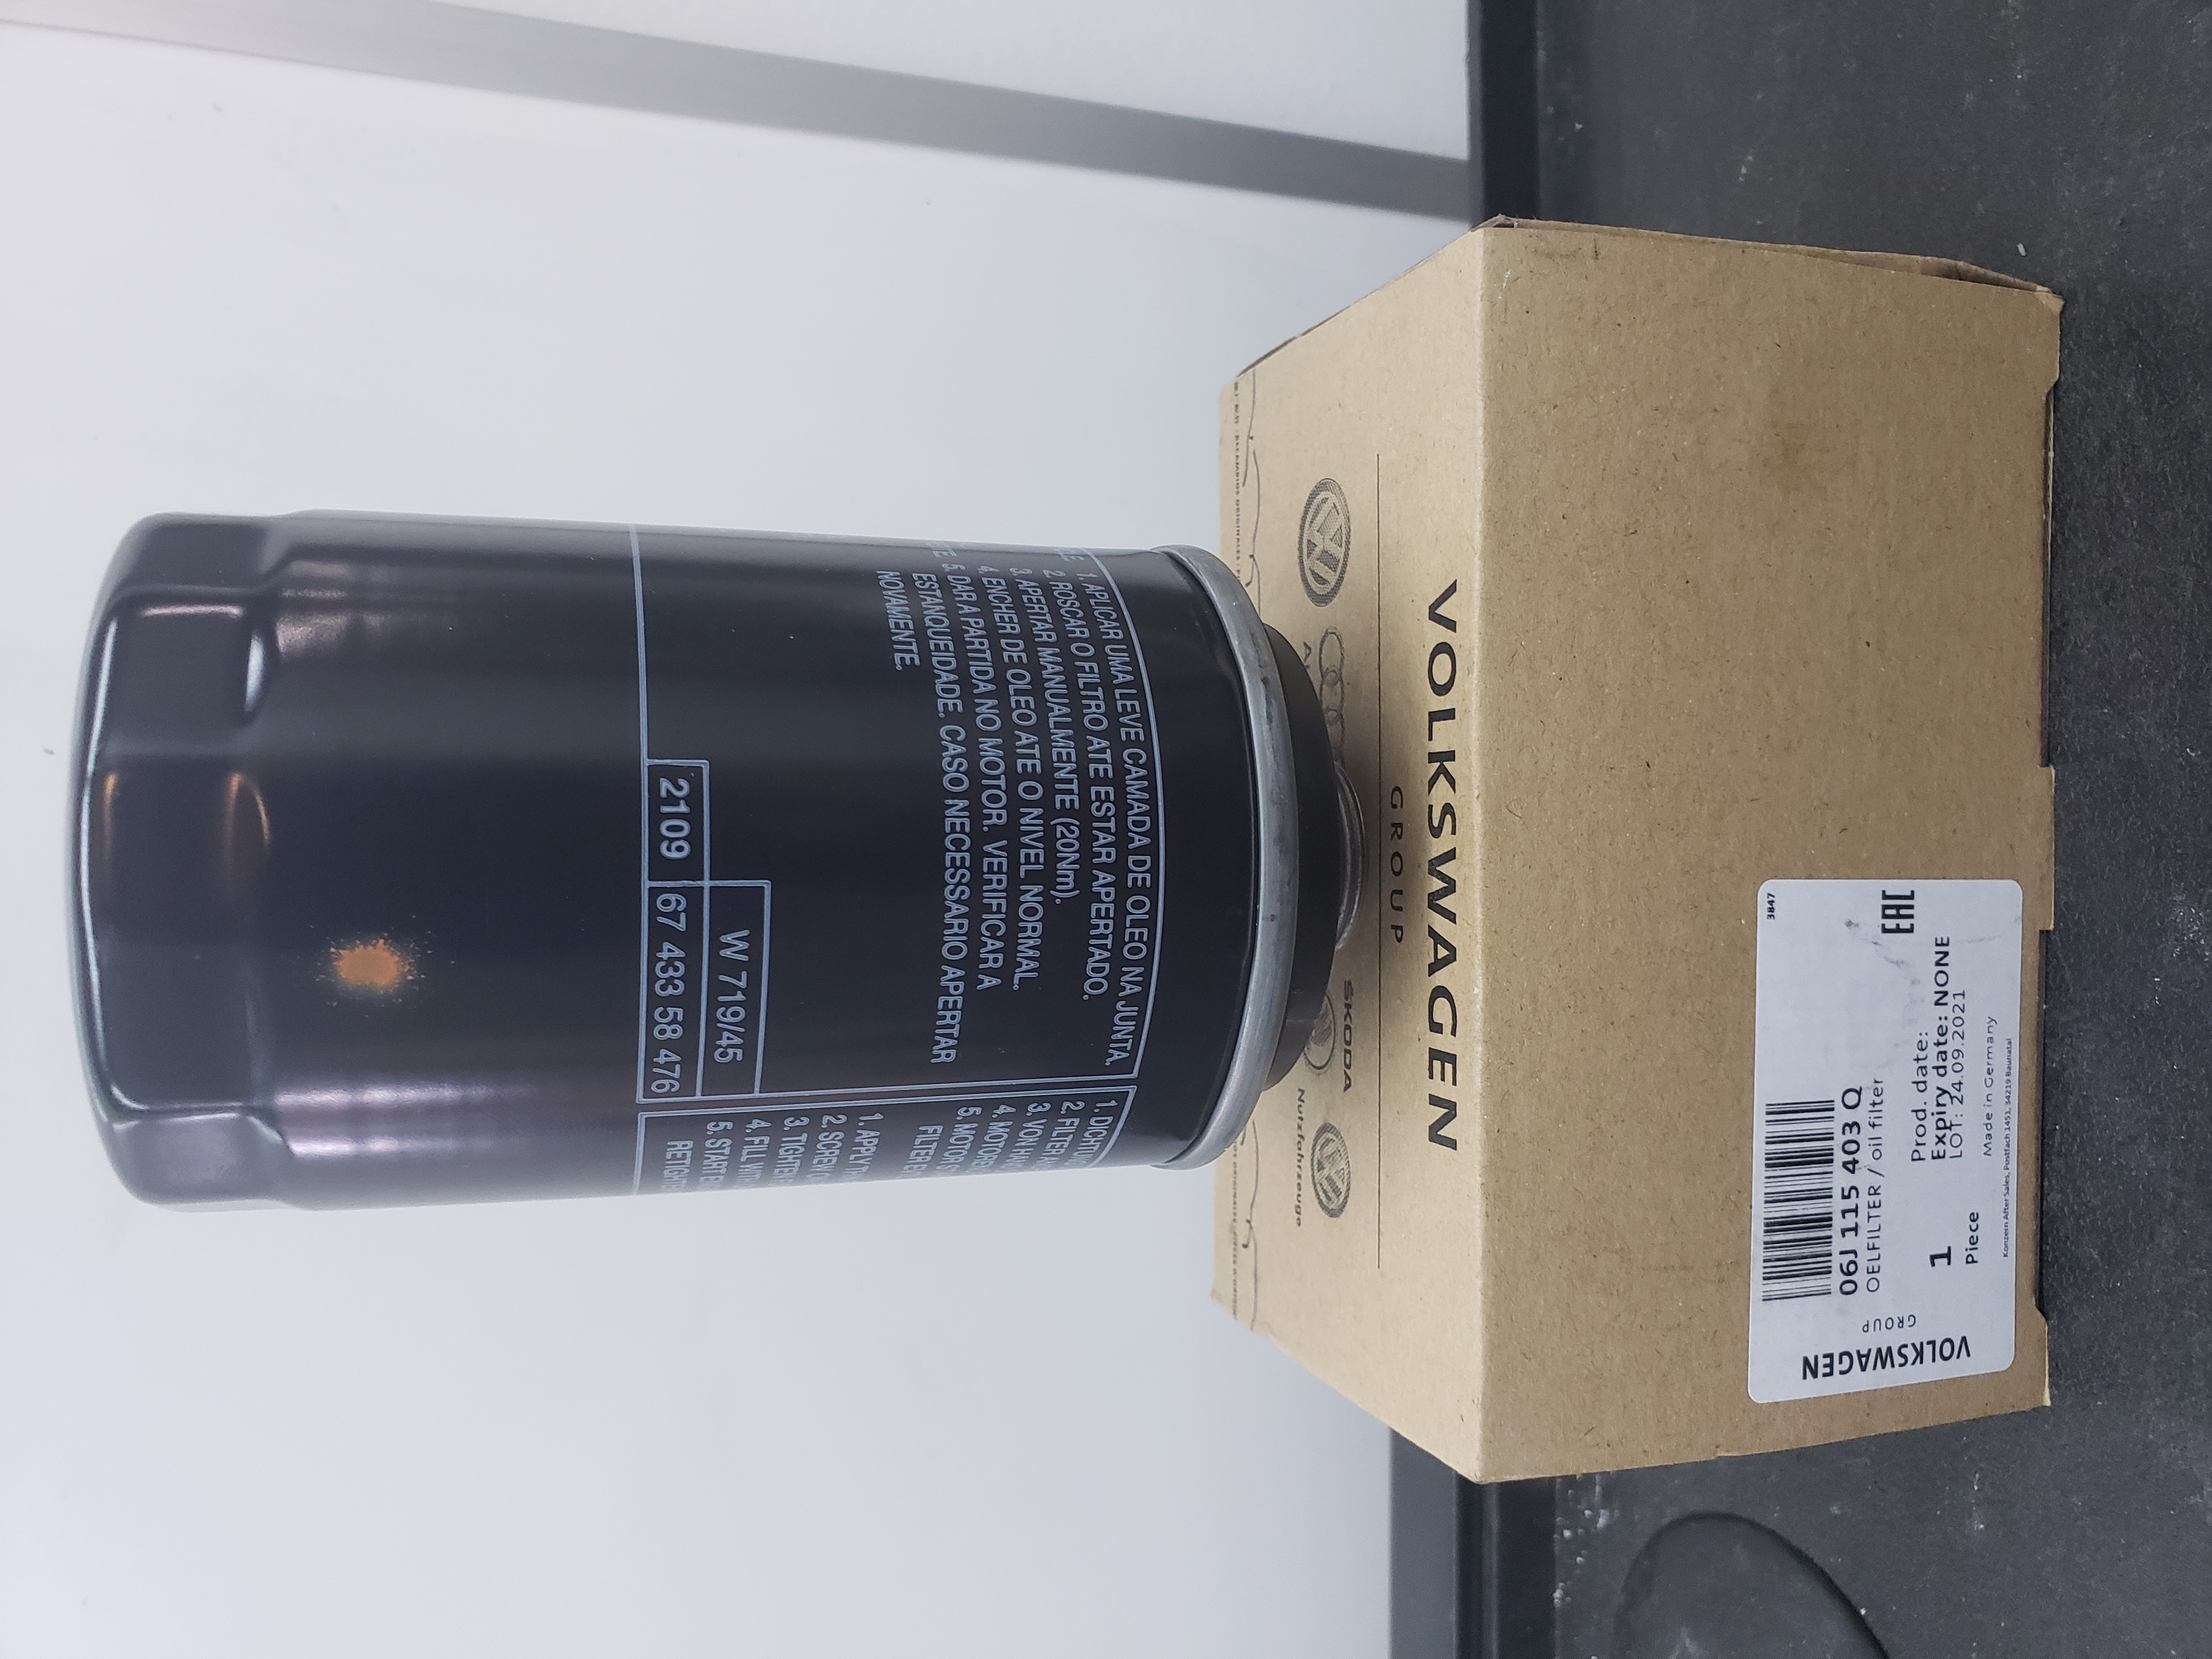
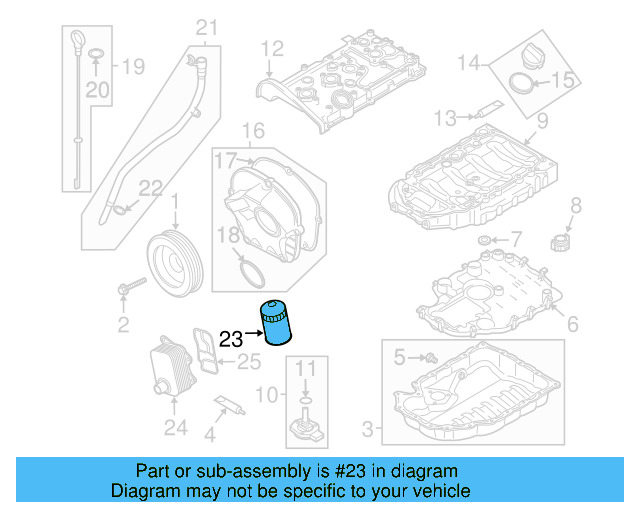
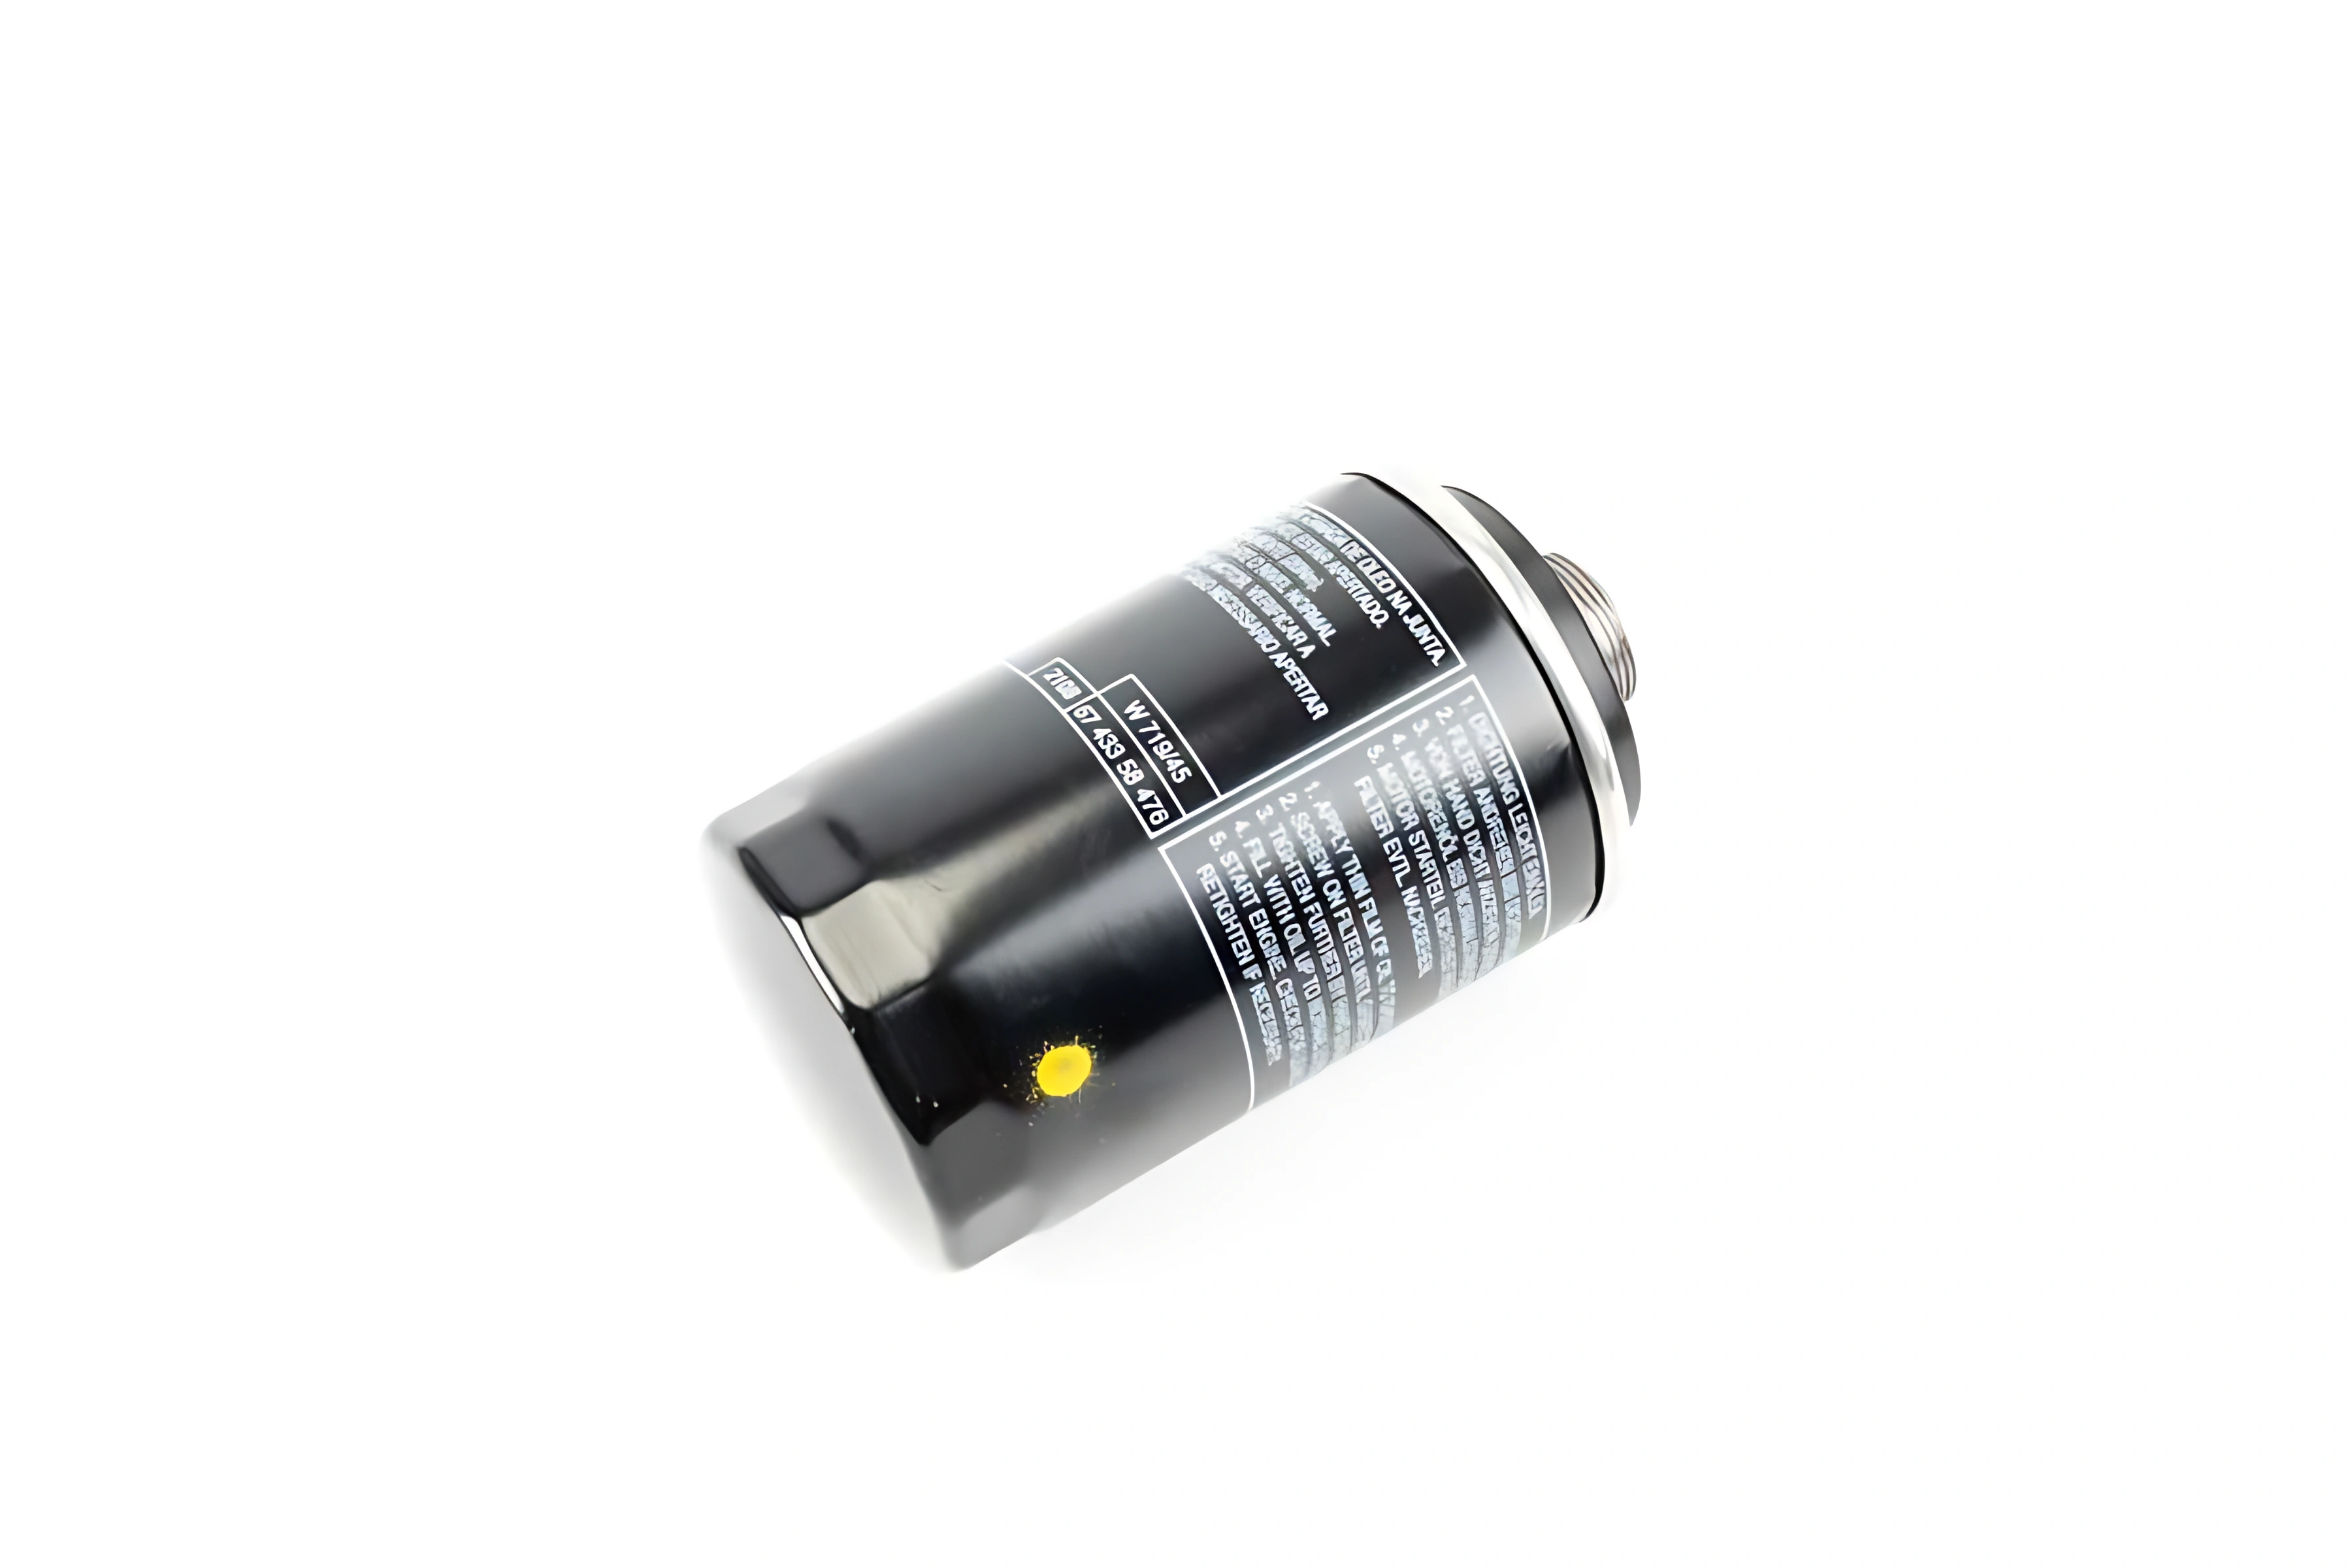
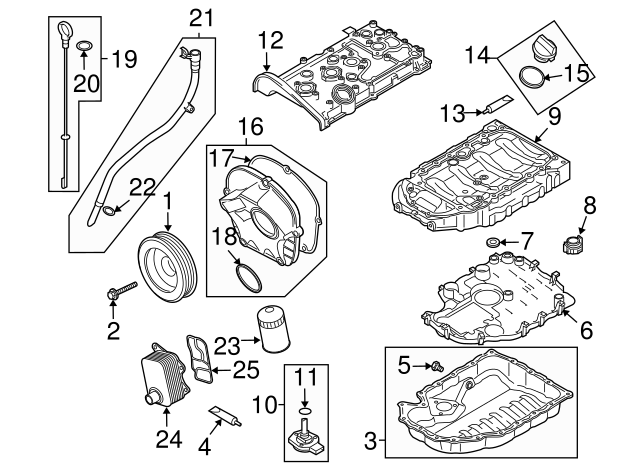
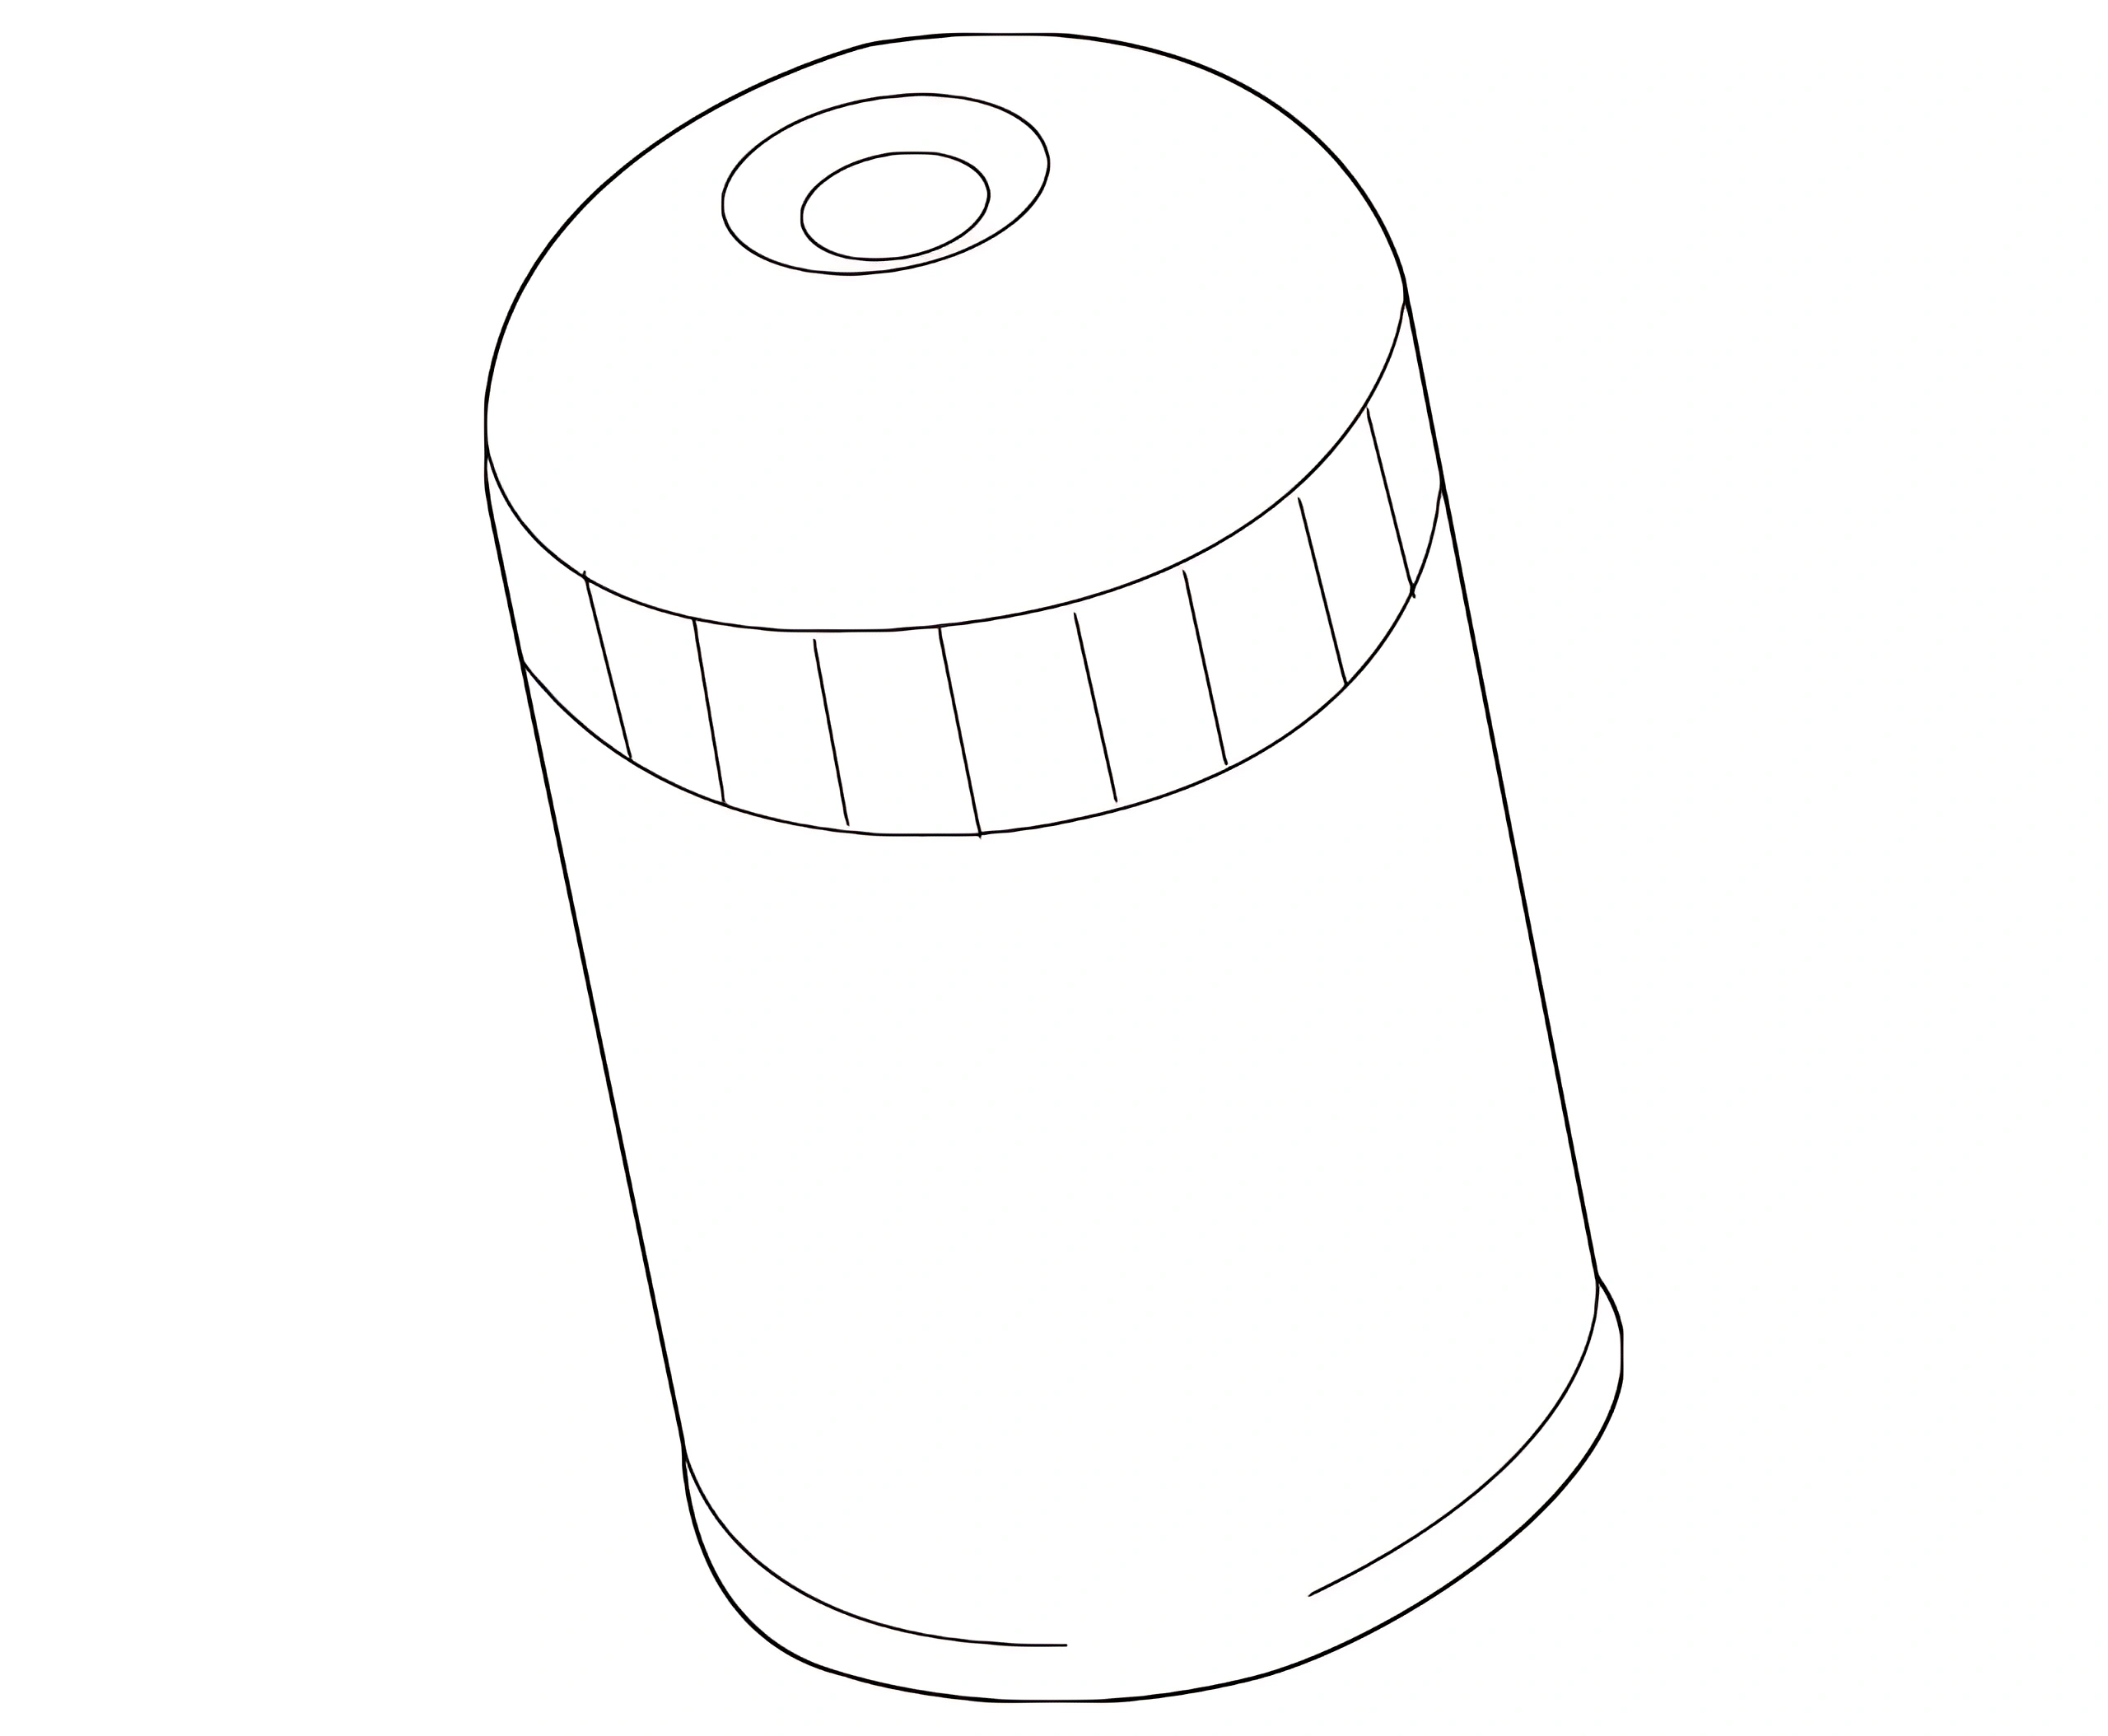
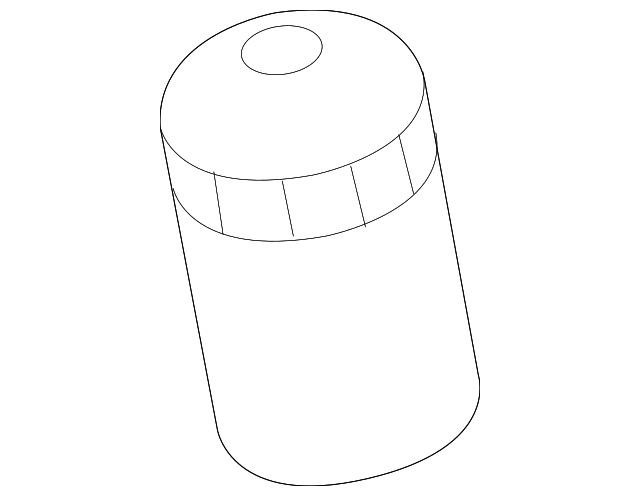
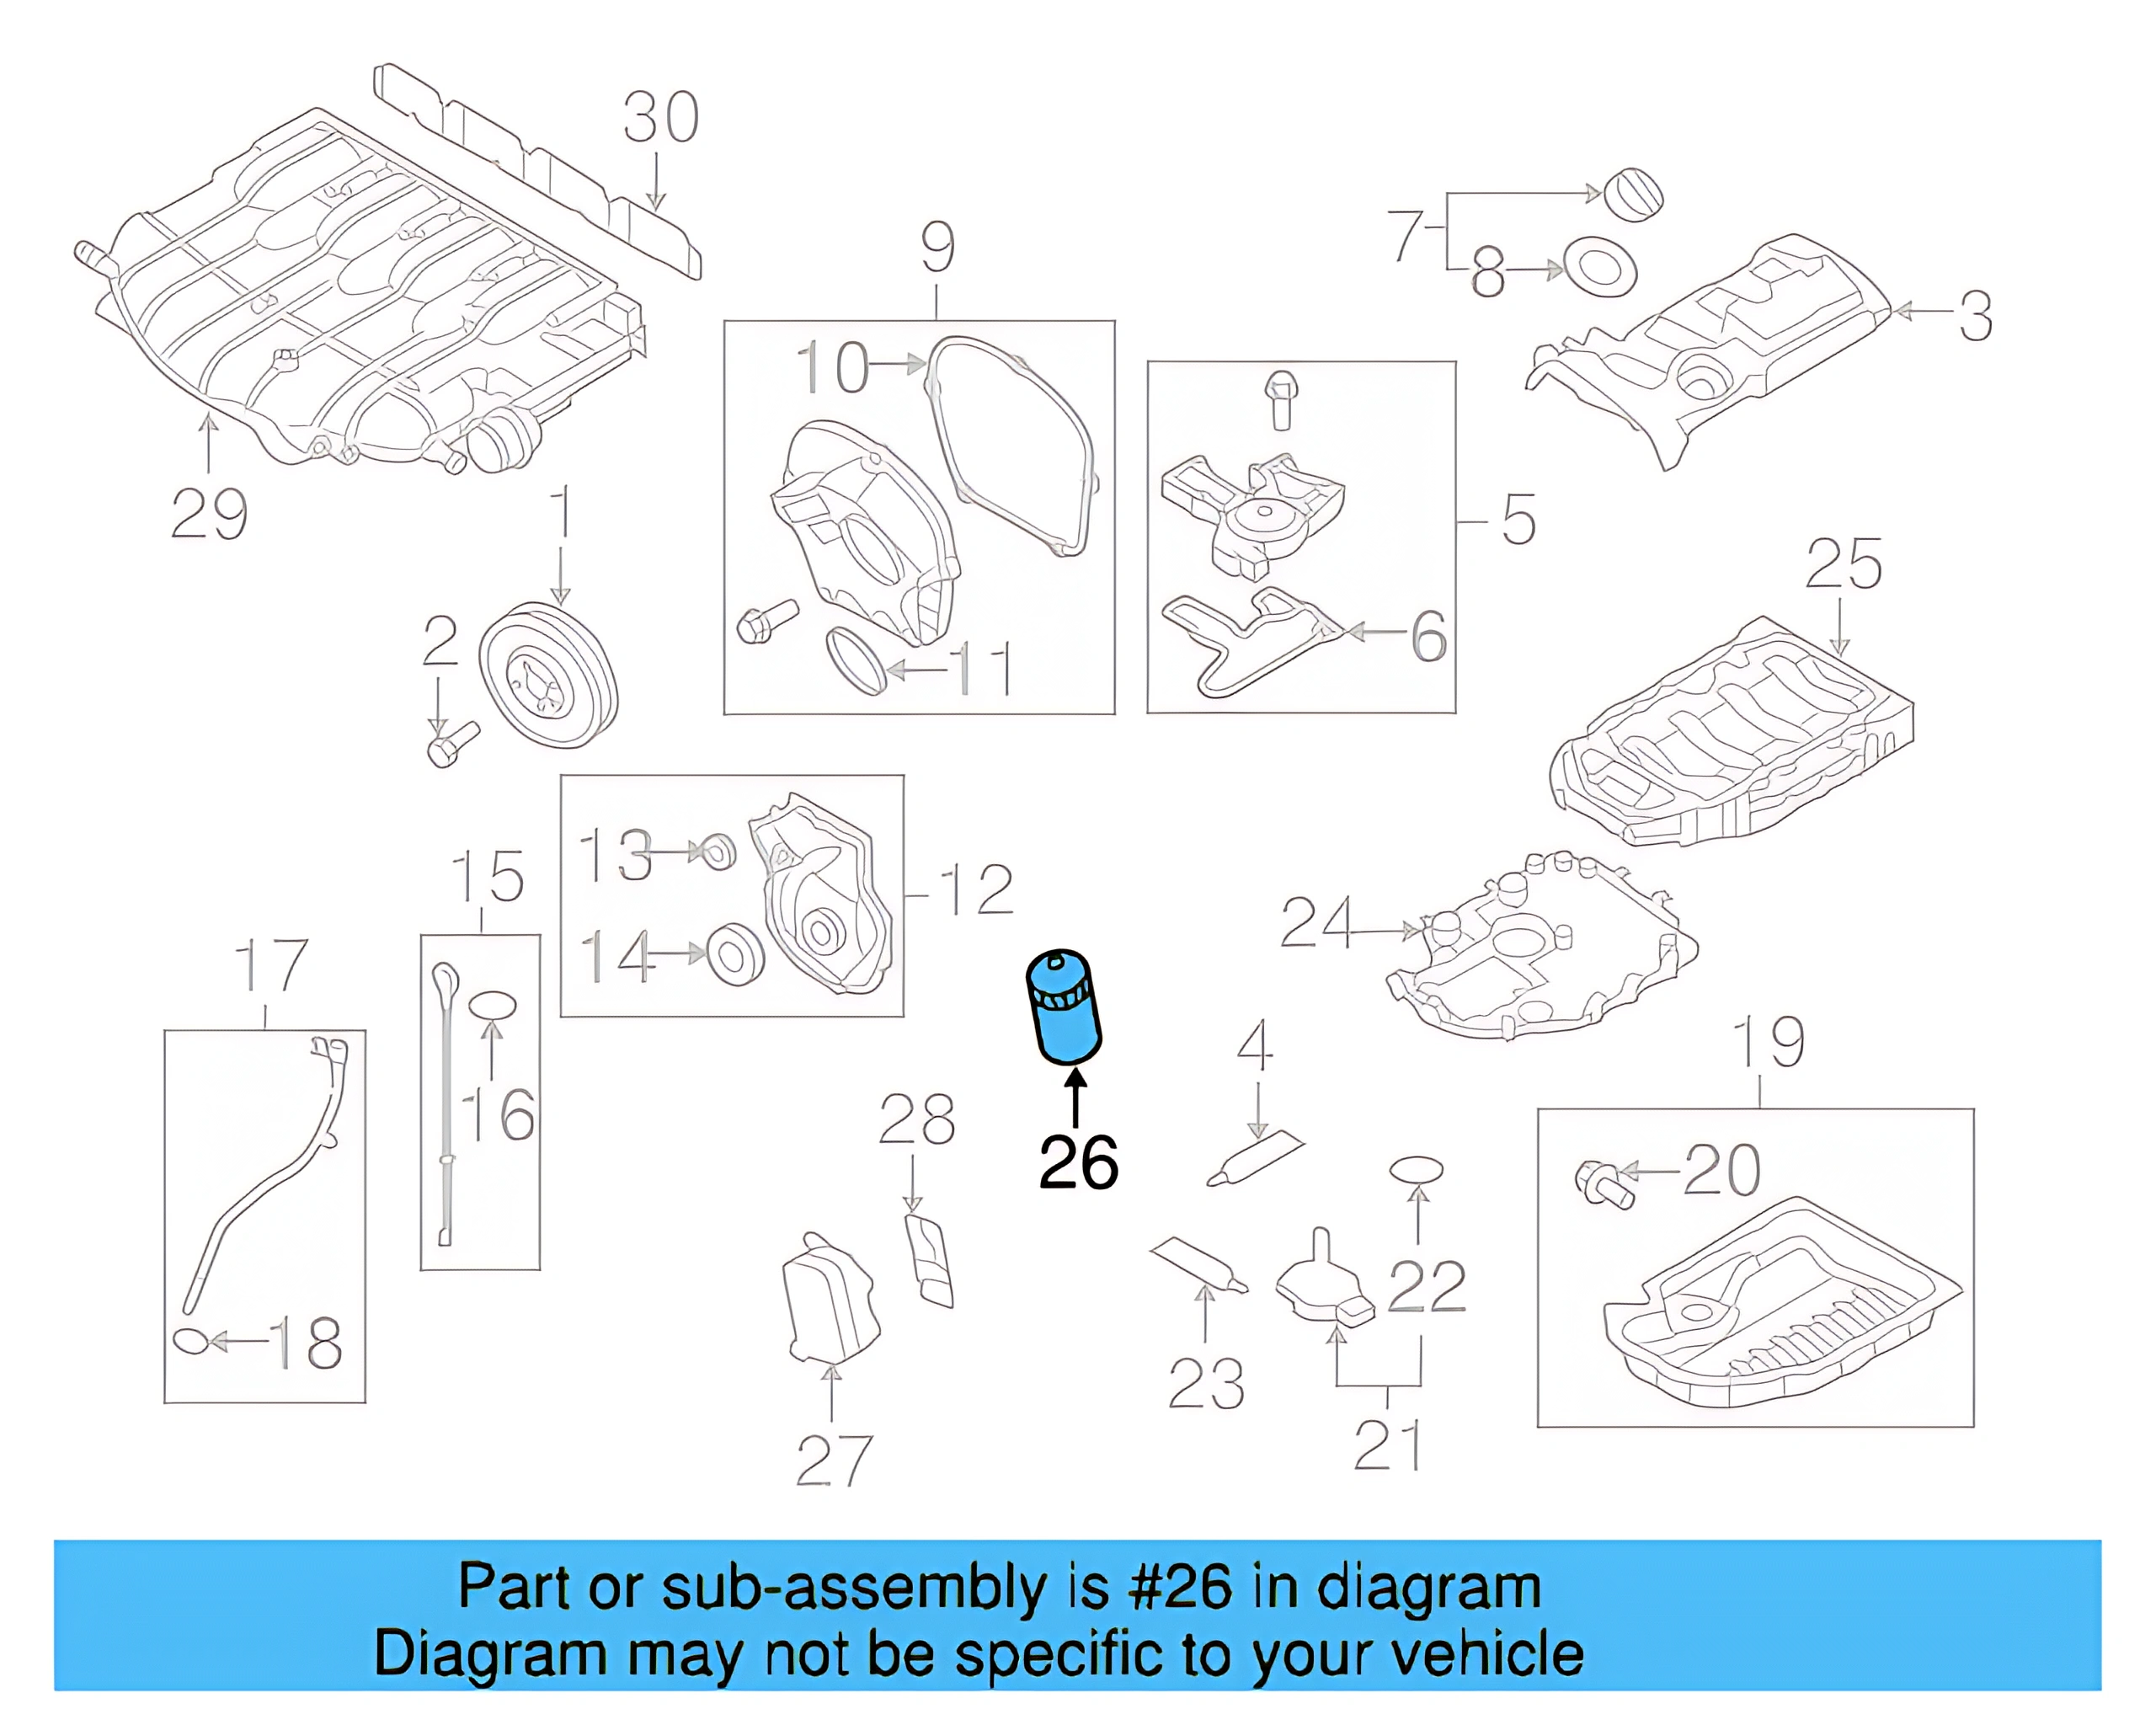
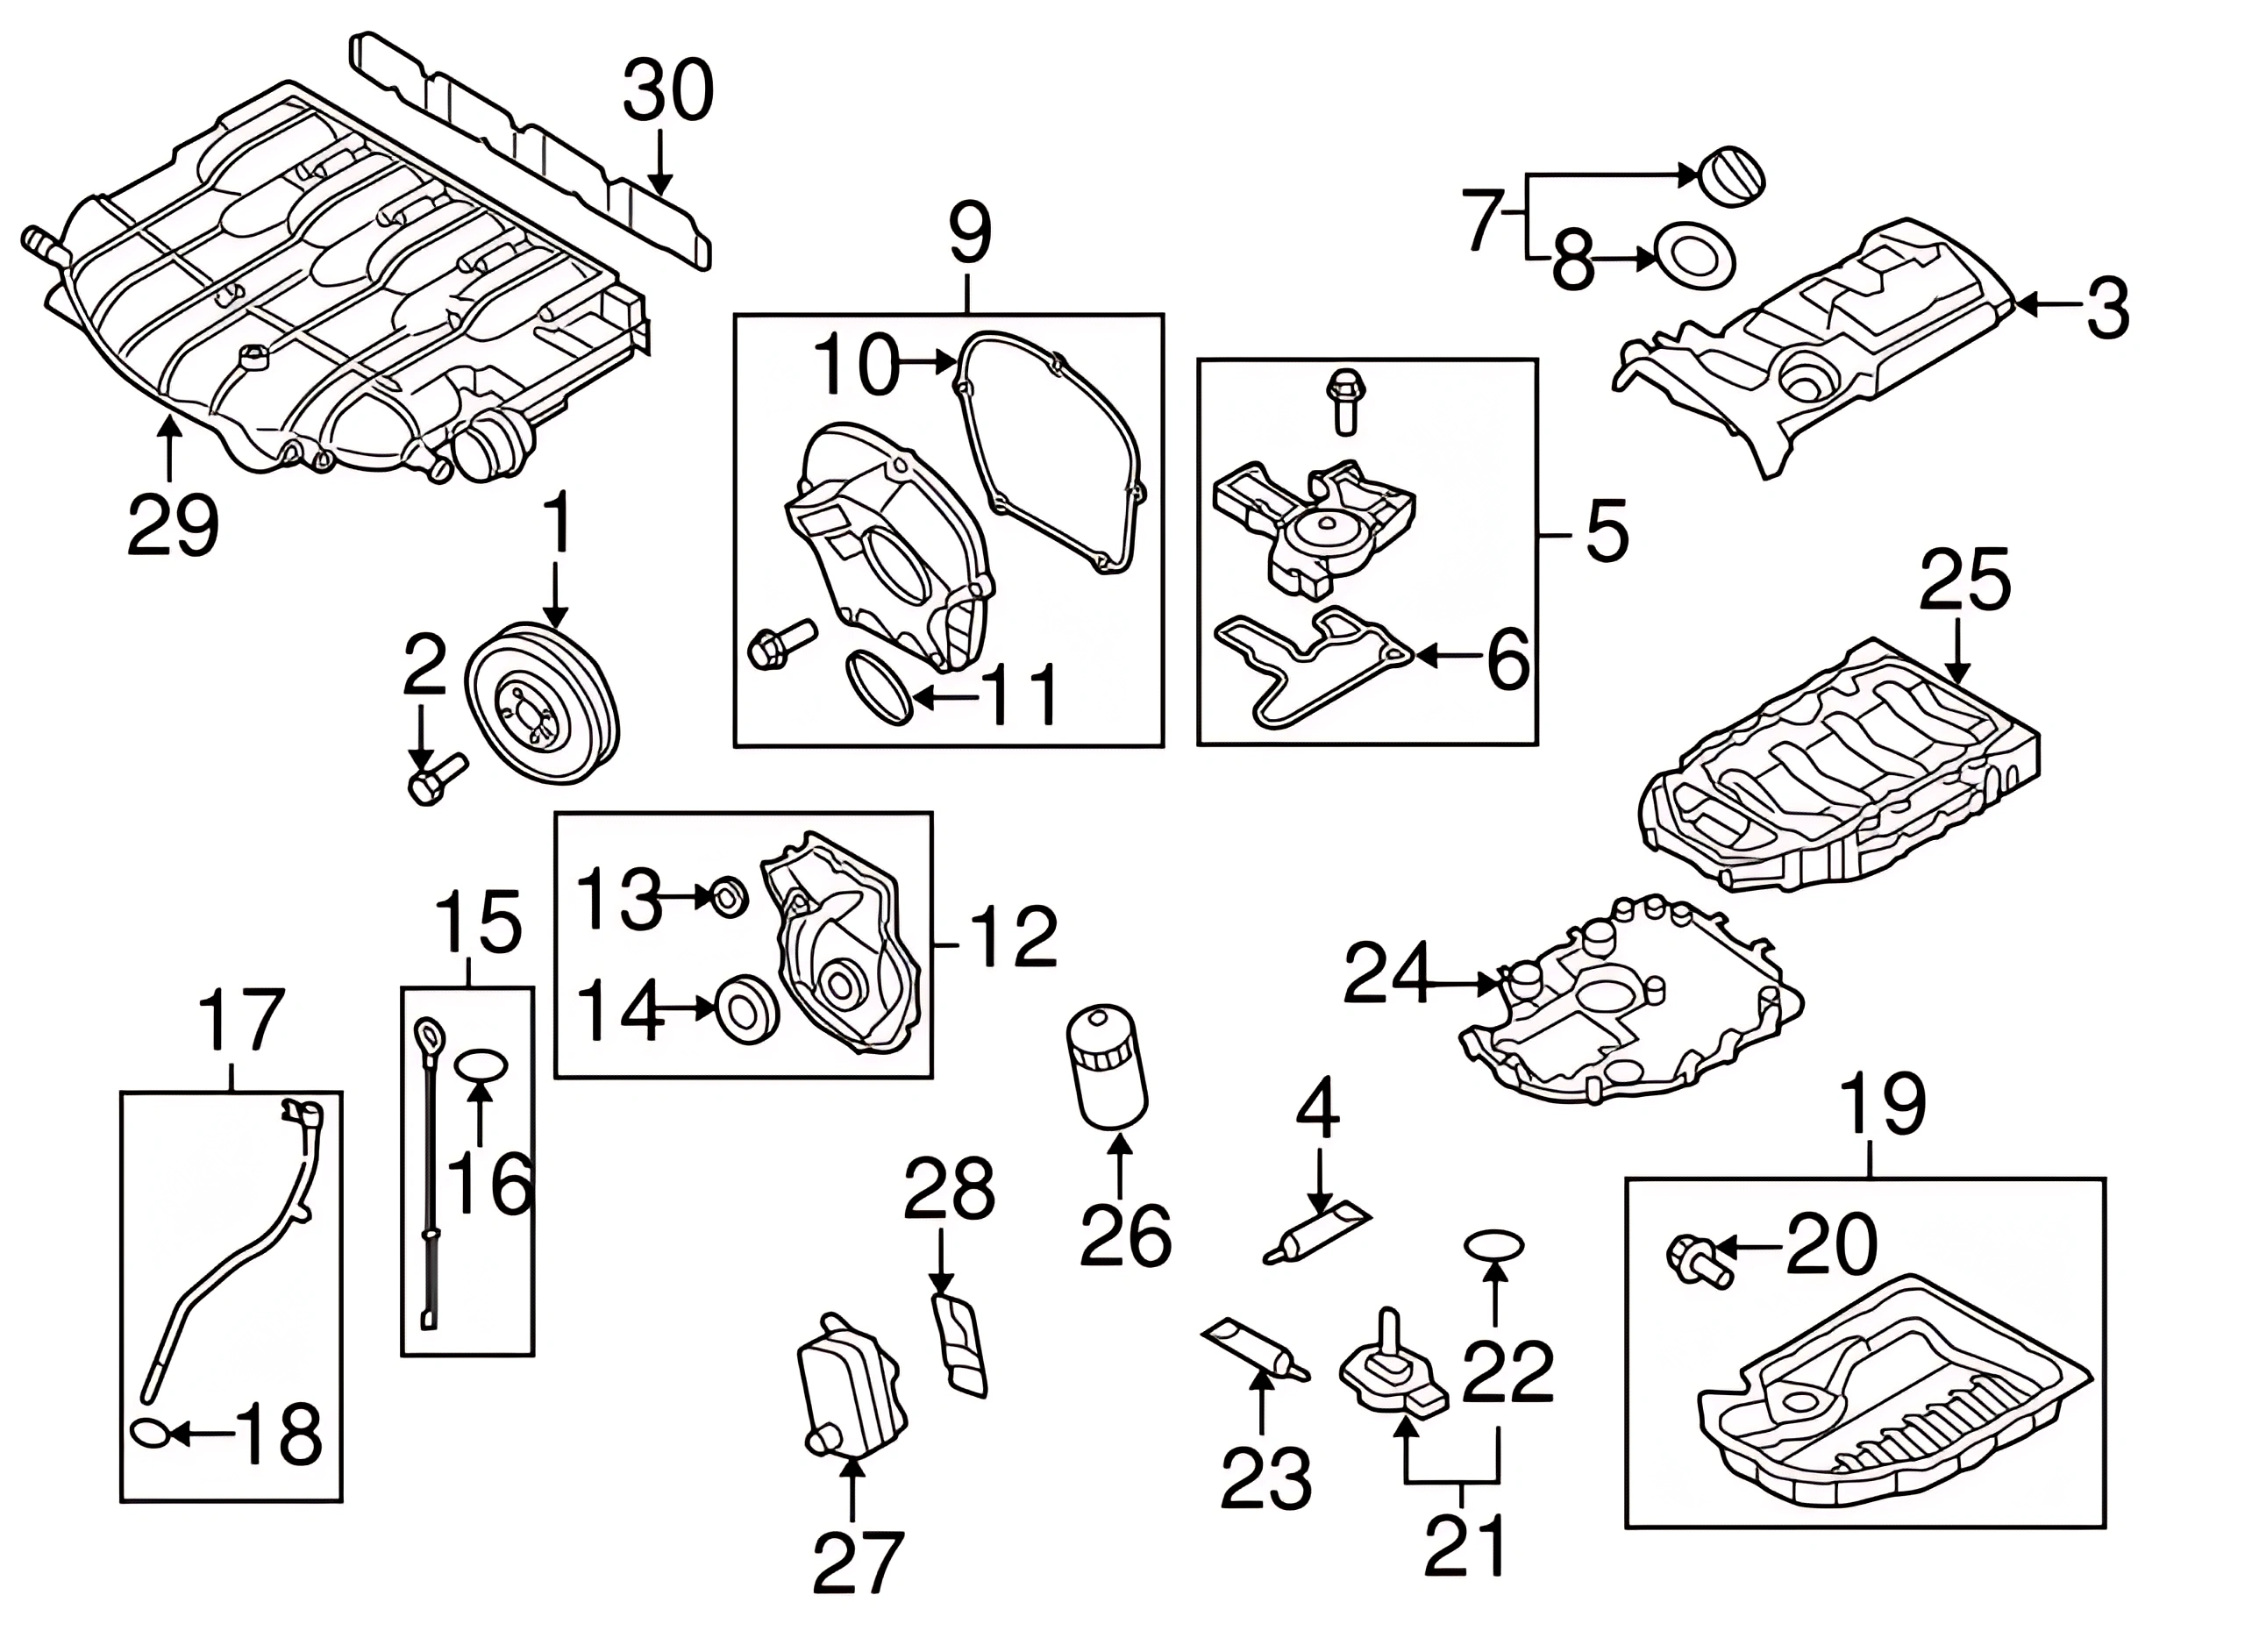
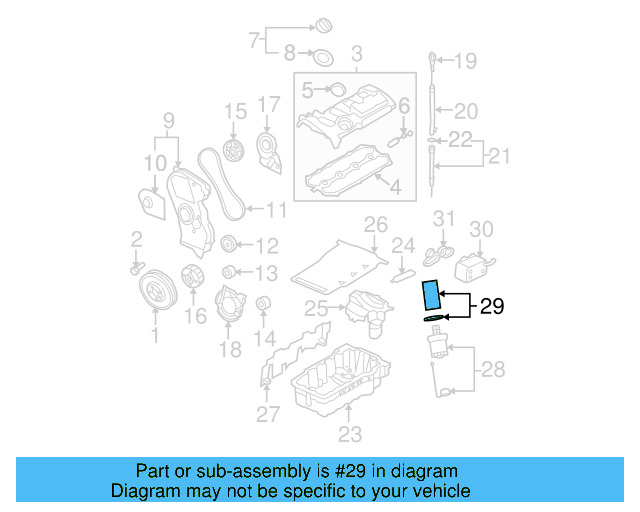
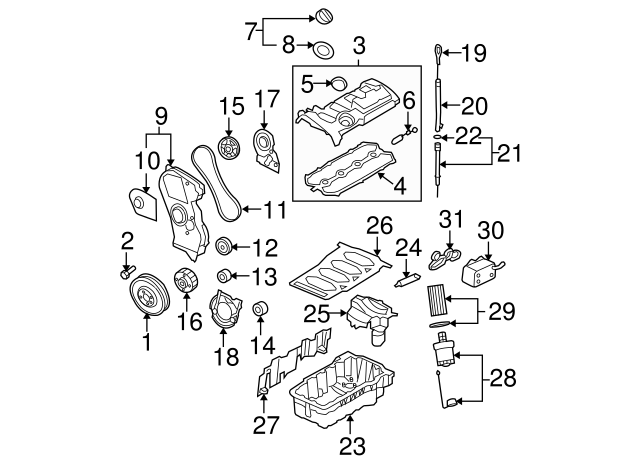
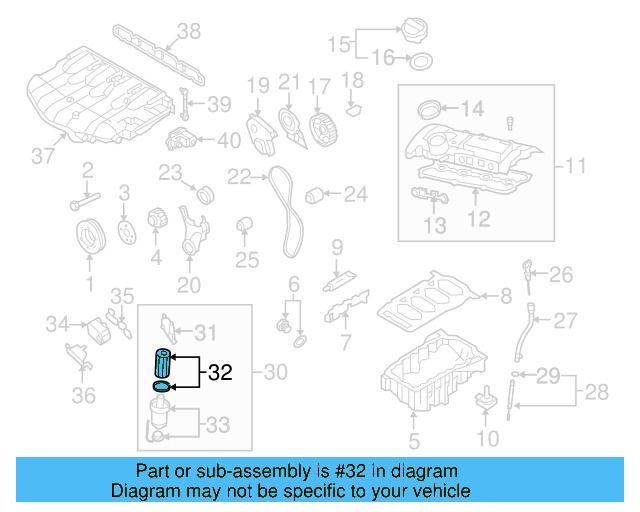
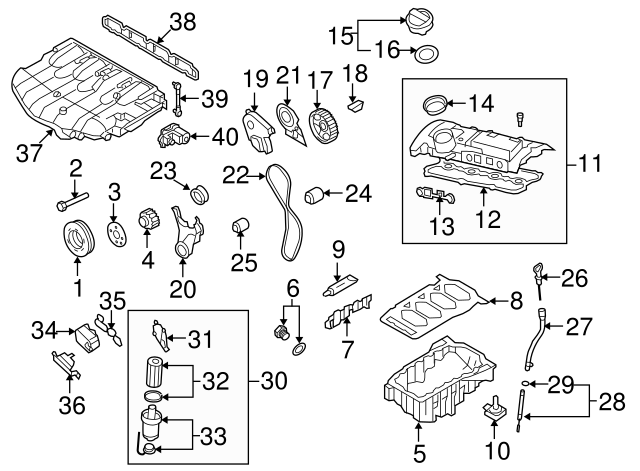
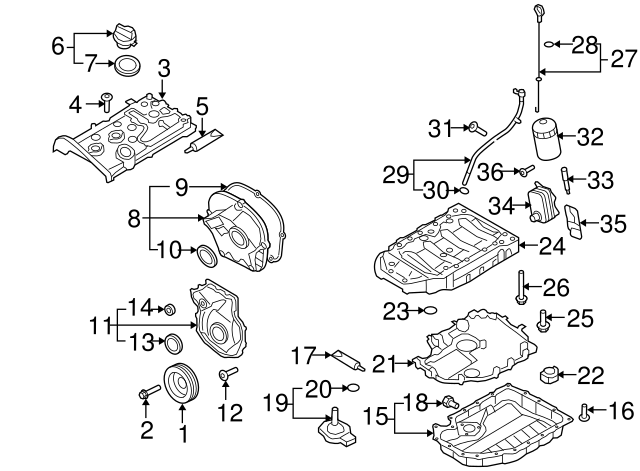
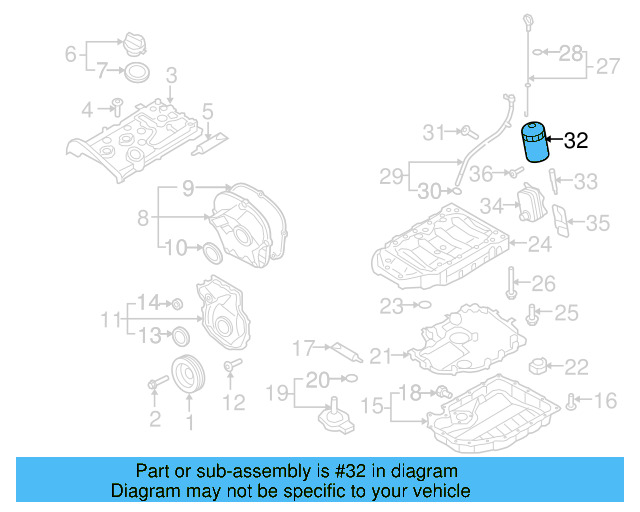
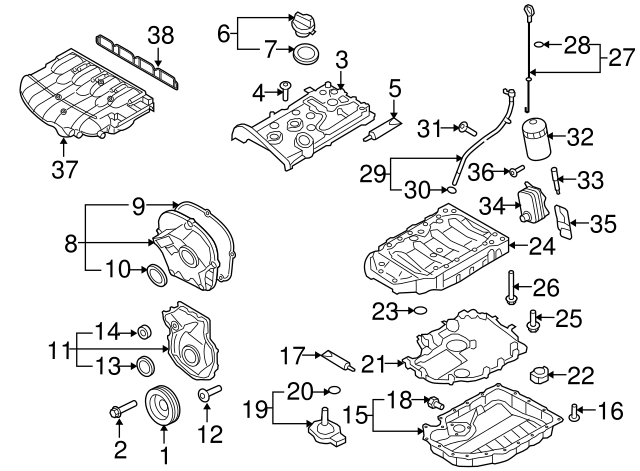
Oil Filter 06J-115-403-Q
Neglecting to replace a clogged oil filter can lead to poor oil circulation, increased engine wear, and potential damage. Signs of an overdue filter change include unusual engine noises, fluctuating oil pressure, or a warning light on the dashboard. Regular maintenance of this part is key to preventing serious engine issues.
Choosing an OEM part with the number 06J-115-403-Q guarantees proper integration with the engine system. This part is manufactured to the same high standards as the original, providing assurance of quality and reliability that aftermarket options often cannot match.
Dostępne w sklepach 162 oferty
Dopasowanie do pojazdu 172 pojazdy

Specyfikacja techniczna
| Part Number | 06J115403Q |
|---|---|
| Filter Type | Spin-on |
| Height | 140 mm |
| Outer Diameter | 76 mm |
| Thread Size | M27 x 1.5 |
| Bypass Valve Opening Pressure | 2.5 bar |
| Anti-Return Valves | 2 (dual) |
| Brand / OEM | Volkswagen Group (Genuine) |
Jak wymienić Oil Filter
Replacing the 06J115403Q oil filter is a straightforward procedure best performed during a full oil change. Always allow the engine to cool before beginning and have the correct tools and a drain pan ready. Follow these steps to ensure a clean, leak-free installation.
-
Prepare the Vehicle
Ensure the engine is cool to avoid burns from hot oil. Safely raise and support the vehicle on jack stands if underbody access is needed. Gather your oil filter wrench, drain pan, fresh engine oil, and the new 06J115403Q filter.
-
Position the Drain Pan
Place an appropriately sized oil drain pan directly beneath the oil filter location to catch residual oil that will spill during removal.
-
Remove the Old Oil Filter
Using an oil filter wrench sized for a 76 mm spin-on filter, turn the old filter counterclockwise until it breaks free, then continue by hand. Expect residual oil to drain as the filter is removed.
-
Inspect the Mounting Surface
Carefully check the engine's filter mounting surface to confirm the old rubber gasket has been fully removed. A stuck old gasket left behind will cause an oil leak with the new filter installed.
-
Prep and Install the New Filter
Apply a thin, even coat of fresh engine oil to the rubber gasket on the new 06J115403Q filter. Thread the filter clockwise by hand until the gasket makes firm contact with the mounting surface, then tighten an additional 3/4 turn by hand — do not use a wrench to final-tighten.
-
Add Engine Oil and Start
Refill the engine with the correct grade and quantity of engine oil as specified for your vehicle. Start the engine and allow it to idle for 2–3 minutes while monitoring the oil pressure warning light.
-
Check for Leaks and Verify Oil Level
With the engine running, visually inspect around the filter seating area for any signs of oil leakage. Shut off the engine, wait 2 minutes, then recheck the dipstick and top up if necessary.
Oznaki zużycia części
-
Low or Dropping Oil Pressure
A clogged or failing filter can restrict oil flow, causing the oil pressure warning light to illuminate or oil pressure to read below normal on the gauge.
-
Unusual Engine Noises
Insufficient lubrication caused by a blocked filter may produce ticking, knocking, or rattling sounds from the valvetrain or bottom end of the engine.
-
Engine Overheating
Reduced oil circulation from a severely clogged filter limits the oil's ability to carry heat away from engine components, contributing to elevated engine temperatures.
-
Oil Leaks Around the Filter
A worn, cracked, or improperly seated filter gasket can allow engine oil to seep or drip from the filter mounting area, visible as wet oil residue on the block or ground.
-
Dirty or Contaminated Oil
If the filter media is saturated and bypassing unfiltered oil, the engine oil on the dipstick may appear unusually dark, gritty, or metallic at a shorter-than-normal interval.
Częstotliwość wymiany
The oil filter should always be replaced at every oil change — never reuse an old filter with fresh oil. Always consult your specific vehicle's owner manual for the manufacturer-recommended interval, as it may differ by model year and engine variant.
Najczęściej zadawane pytania
Is the 06J115403Q a genuine OEM Volkswagen part?
Yes. Part number 06J115403Q is a genuine OEM Volkswagen Group part listed in the official VW parts catalog as the 'Engine Oil Filter' for compatible VAG vehicles. It is produced to factory specifications.
What vehicles is the 06J115403Q compatible with?
This filter fits a wide range of VAG vehicles including VW Beetle (2012–2017), CC (2009–2017), Eos (2009–2016), GTI (2008–2014), Jetta (2008–2015), Passat (2008–2010), Rabbit (2009), Tiguan (2009–2017), and Tiguan Limited (2017–2018), as well as various Audi A3, A4, A5, A6, allroad, Q3, Q5, S4, and TT models. Always verify fitment by engine code before ordering.
What part numbers does the 06J115403Q supersede?
This part supersedes and is interchangeable with earlier VAG part numbers 06J115403C, 06J115403J, and 06J115403M. If your vehicle's service history lists any of these numbers, the Q suffix is the current replacement.
Can I use an aftermarket filter instead of the OEM 06J115403Q?
Yes, provided you choose a reputable OEM-tier brand. MANN-FILTER W719/45 is the top recommended aftermarket equivalent, followed by MAHLE OC 456 and Bosch P 7080. Avoid low-cost unknown brands, as inferior bypass valve calibration or filter media quality can risk engine damage.
Do I need any special tools to install this oil filter?
You will need an oil filter wrench compatible with a 76 mm spin-on filter to break the old filter loose. Final installation of the new filter is done by hand only — no wrench is used to tighten. A drain pan and jack stands are also recommended.
How do I know if my oil filter needs to be replaced before the scheduled interval?
Warning signs that may indicate early filter failure include the oil pressure warning light illuminating, unusual engine noises (ticking or knocking), visible oil leaks around the filter area, engine overheating, or engine oil that appears excessively dirty on the dipstick well before the scheduled change interval.
Znalazłeś błąd?
Pomóż nam się rozwijać — jeśli zauważyłeś błąd na stronie lub w danych, daj nam znać, a naprawimy go jak najszybciej.