
 RU
RU
 Deutsch
 English
 polski
 українська
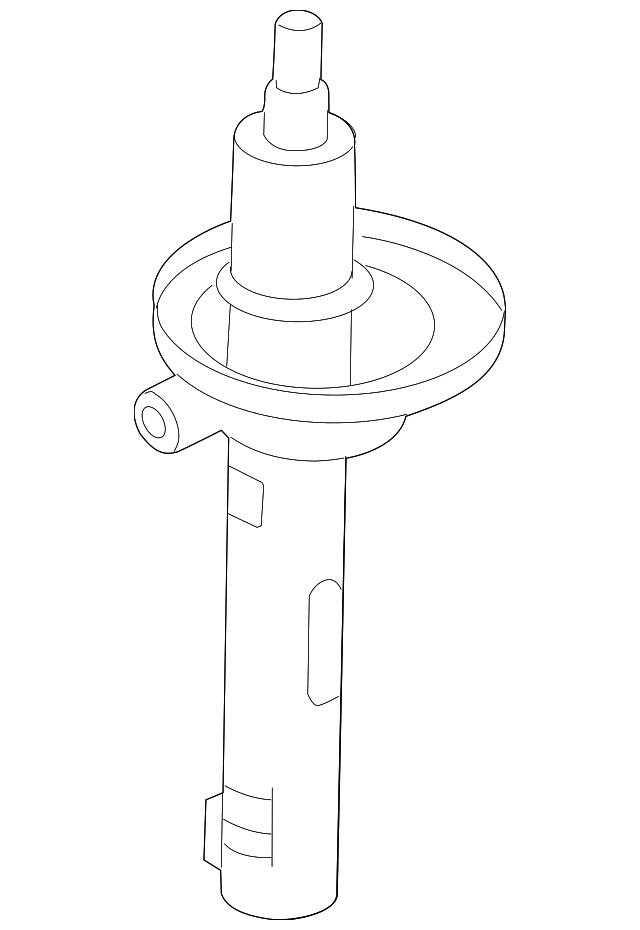
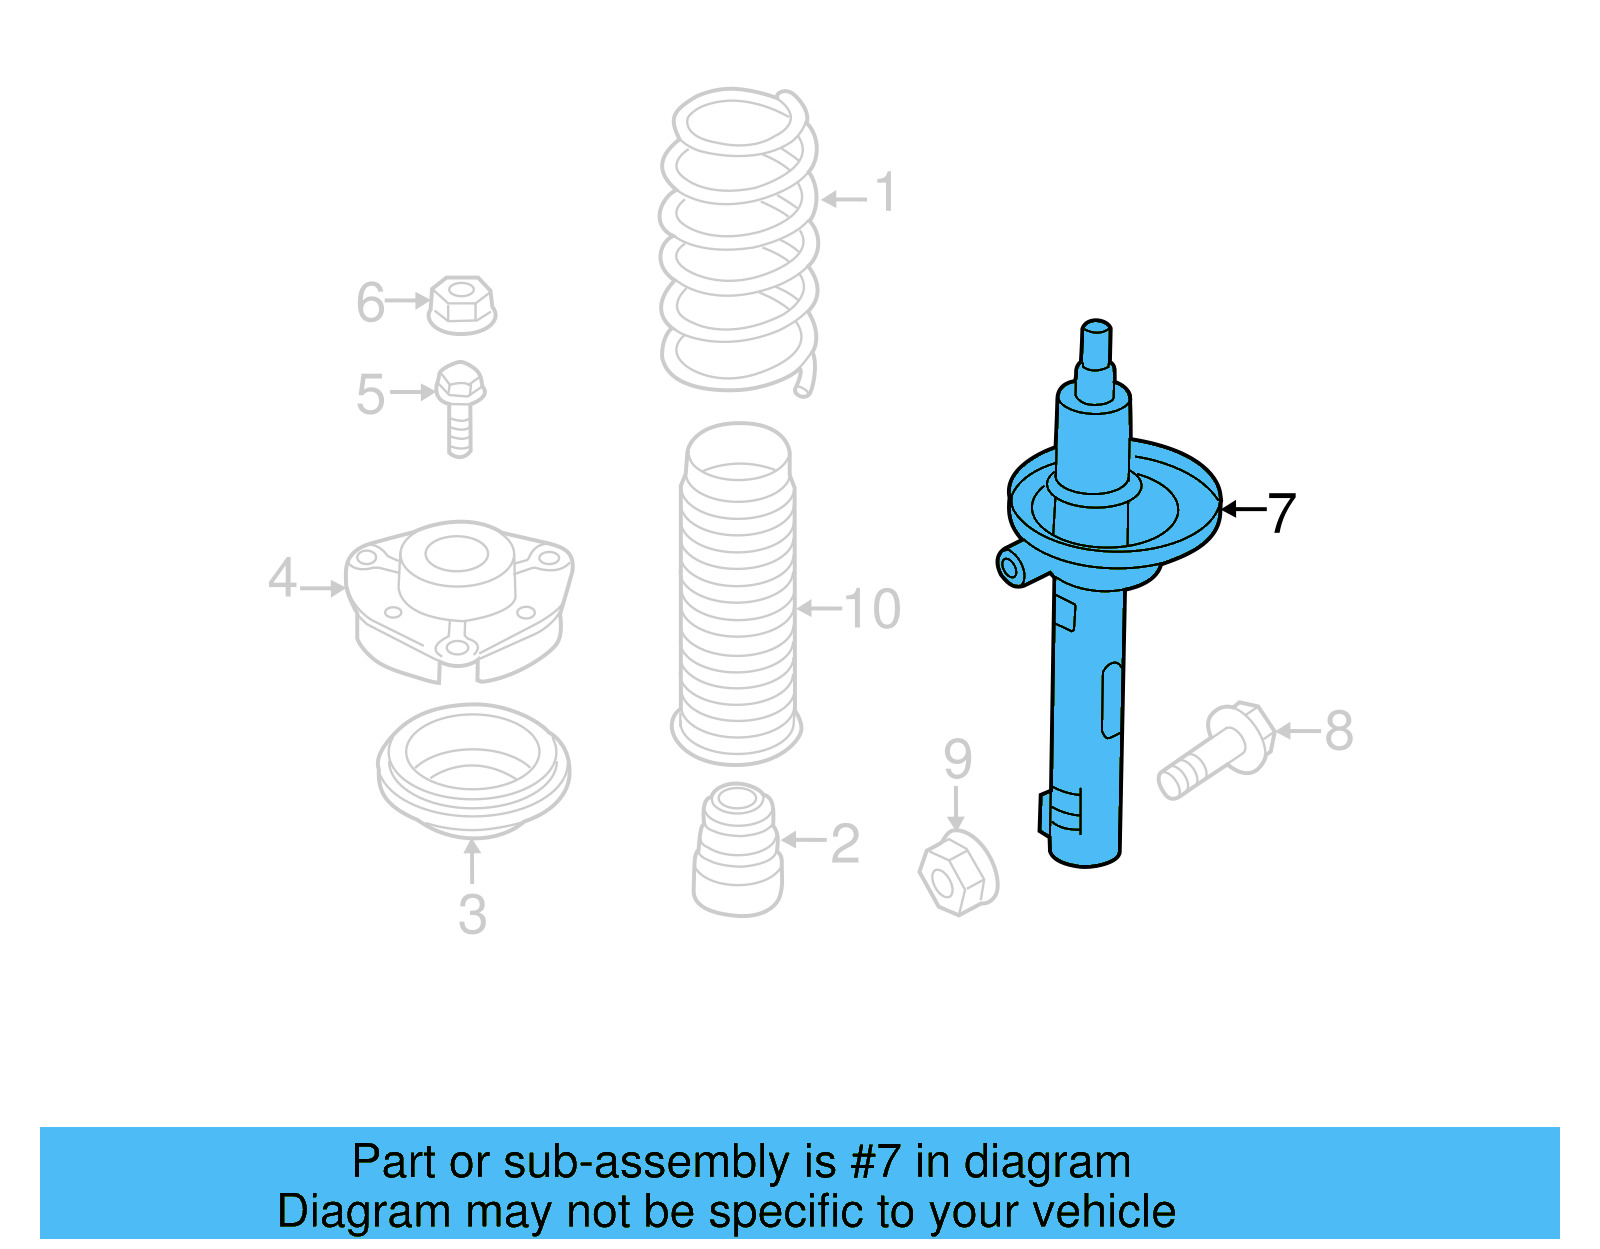
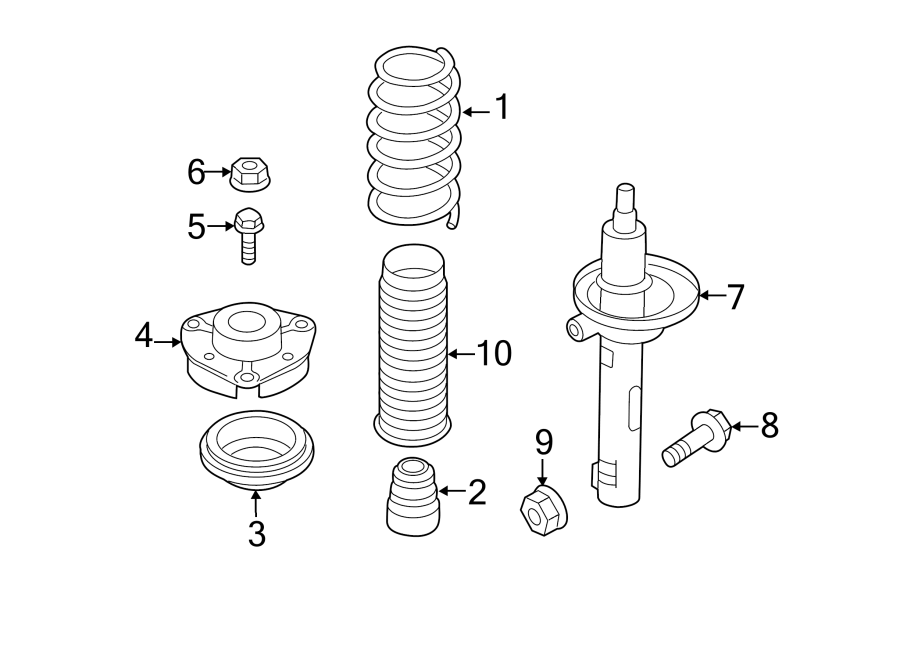
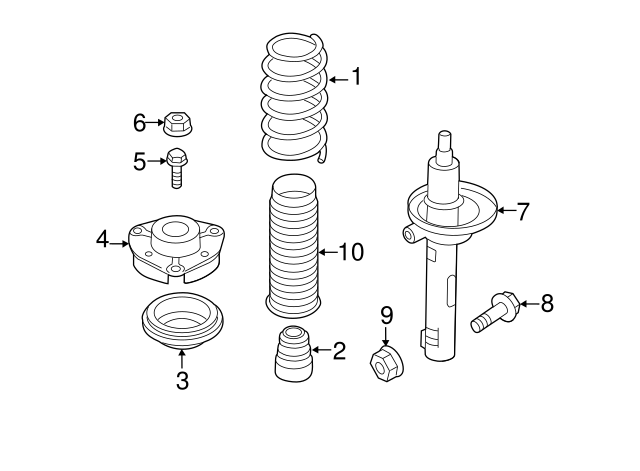
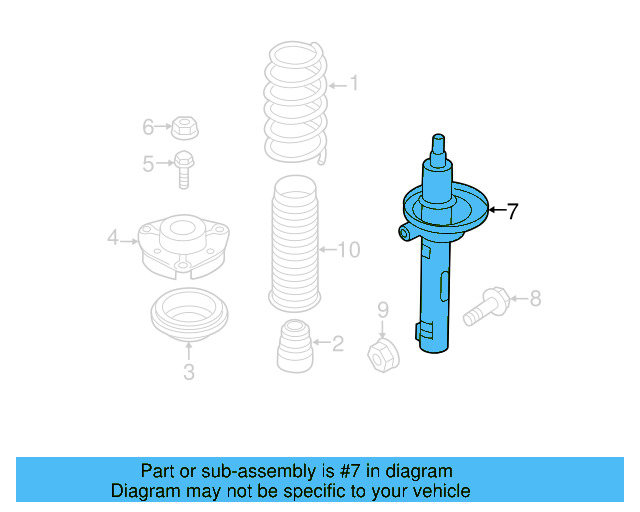
Strut 5C0-413-031-BN
Доступно в магазинах 4 предложения
Совместимость с автомобилями 14 автомобилей
Технические характеристики
| OEM Part Number | 5C0-413-031-BN |
|---|---|
| Part Type | Gas-Pressure, Twin-Tube Suspension Strut |
| Axle Position | Front |
| Suspension Type | Sport Suspension |
| Material | High-Strength Steel |
| Compatible Makes | Volkswagen (Beetle, Jetta); also recognized across Audi, SEAT, Škoda group |
| Compatible Years | Beetle 2012–2017 / Jetta 2011–2014 (sport suspension variants) |
| Supersedes | 5C0-413-031-AE, 5C0-413-031-BL |
Как заменить Strut
Replacing the front strut on a VW Beetle or Jetta is an intermediate-level job requiring a spring compressor, torque wrench, and basic hand tools. Always work on a flat, stable surface with the vehicle properly supported on jack stands or a lift. Consult your factory service manual for model-specific torque values before beginning.
-
Secure the Vehicle
Lift the front of the vehicle with a floor jack and support it securely on jack stands. Never work under a vehicle supported only by a floor jack. Chock the rear wheels and engage the parking brake.
-
Remove the Front Wheel
Loosen the lug bolts before raising the vehicle, then fully remove them once the wheel is off the ground. Pull the wheel clear and set it aside.
-
Disconnect Ancillary Components
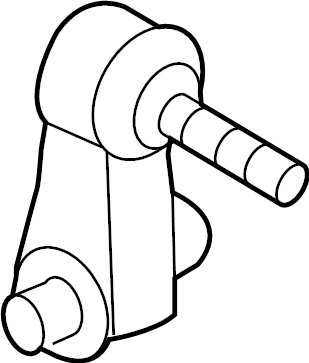
Remove the brake caliper and hang it from the vehicle frame using a hook or wire — do not let it hang by the brake line. Detach the sway bar end link from the strut, and disconnect the ABS sensor wiring bracket if present.
-
Unbolt the Strut from the Steering Knuckle
Remove the pinch bolts securing the bottom of the strut to the steering knuckle. Depending on the revision, this may require pressing or tapping the knuckle loose from the strut. Avoid hammering directly on the strut body.
-
Remove the Upper Strut Mount Bolts
Access the top of the strut tower from the engine bay. Remove the three upper mount nuts securing the strut assembly to the body. Have an assistant support the strut from below as the final nut is removed.
-
Extract the Old Strut Assembly
Carefully lower and remove the complete strut assembly from the wheel well. If transferring the spring and upper mount to the new strut, use a proper spring compressor tool to safely compress and remove the coil spring.
-
Install the New Strut
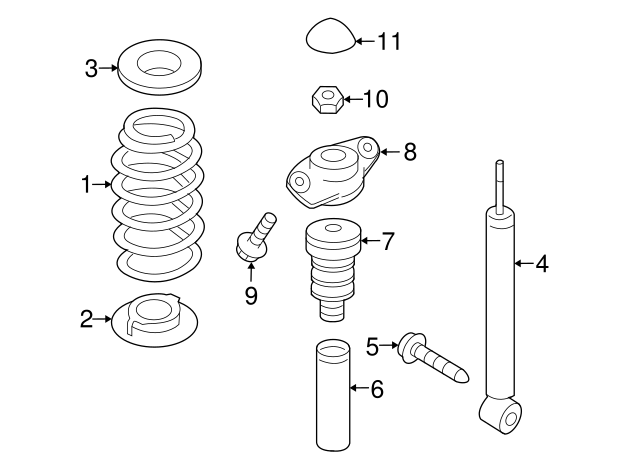
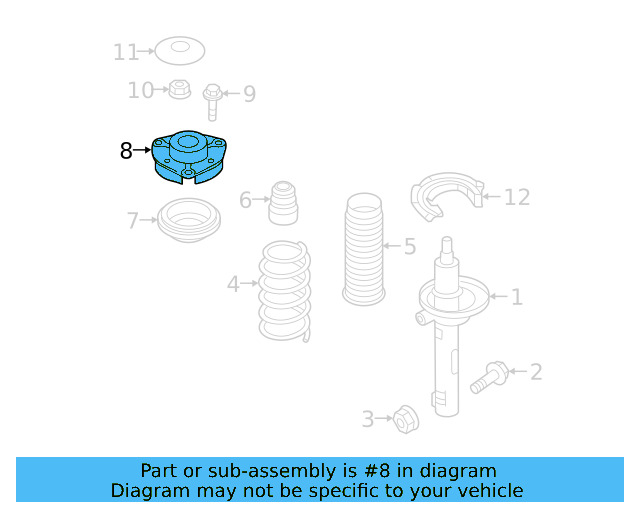
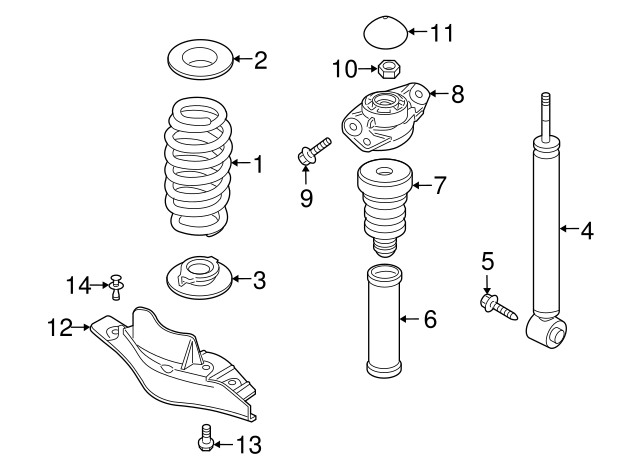
If applicable, assemble the spring, bump stop, dust boot, and upper mount onto the new 5C0413031BN strut. Guide the new assembly into the strut tower, align the upper mount studs with the tower holes, and hand-tighten the upper nuts.
-
Reassemble and Torque All Fasteners
Reconnect the steering knuckle pinch bolts, sway bar end link, ABS sensor bracket, and brake caliper. Reinstall the wheel. Torque all fasteners to the values specified in the VW factory service manual. After completing the repair, have the front wheel alignment checked and adjusted by a qualified shop.
Признаки износа детали
-
Excessive Bouncing After Bumps
A worn strut loses its ability to control spring oscillation. If the vehicle continues to bounce two or more times after hitting a bump or dip, the strut's damping capacity is likely depleted.
-
Uneven or Accelerated Tire Wear
Failed damping allows the tire to lose consistent road contact, producing cupping, scalloping, or irregular wear patterns visible on the tread surface — inspect tires closely if strut wear is suspected.
-
Poor Handling and Body Roll
Degraded struts reduce vehicle stability during cornering, lane changes, and emergency maneuvers. Drivers may notice increased body lean and a vague, disconnected steering feel.
-
Clunking or Knocking Noises
Worn internal valving, a collapsed bump stop, or a failed upper strut mount can produce clunking, rattling, or knocking sounds from the front suspension — particularly noticeable over rough or uneven pavement.
-
Visible Oil Leakage on Strut Body
A thin film or streak of hydraulic fluid along the outside of the strut tube indicates internal seal failure. While some minor moisture is normal, heavy seepage confirms the strut has lost its gas-pressure charge and must be replaced.
Периодичность замены
Volkswagen does not mandate a fixed mileage interval for strut replacement. Replacement should be driven by a qualified inspection assessing damping performance, physical condition of the strut body, and any symptoms reported by the driver. Always replace in axle pairs.
Часто задаваемые вопросы
Is 5C0413031BN compatible with standard (non-sport) suspension VW Beetle or Jetta models?
No. This strut is designed exclusively for vehicles equipped with the factory sport suspension package. Installing it on a standard suspension vehicle will result in incorrect ride height and handling characteristics. Check your vehicle's build sheet or window sticker to confirm your suspension trim before ordering.
What OEM part numbers does 5C0413031BN supersede?
The BN revision directly supersedes 5C0-413-031-AE and 5C0-413-031-BL. If your vehicle currently carries either of those numbers, 5C0413031BN is the current correct replacement and a direct swap.
Do I need to replace struts in pairs, or can I replace just one side?
It is strongly recommended to replace both front struts at the same time. Replacing only one side creates an imbalance in damping rates between left and right, which can cause the vehicle to pull, handle unpredictably under braking, and wear tires unevenly.
Will I need a wheel alignment after replacing this strut?
Yes. Any time a front strut is replaced, the front wheel alignment must be checked and adjusted by a qualified alignment shop. Even minor changes in strut geometry affect camber, caster, and toe settings, and driving on an out-of-alignment vehicle will cause rapid tire wear and imprecise steering.
Can I reuse my existing coil spring, upper mount, and dust boot with the new strut?
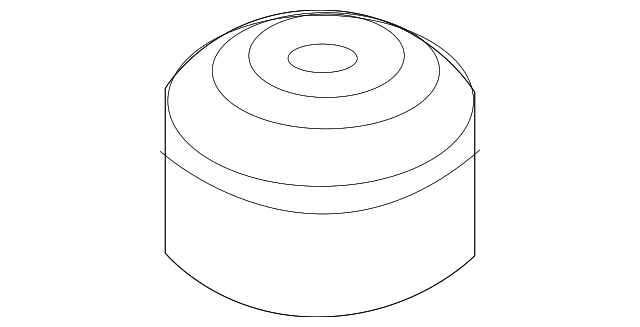
The coil spring can typically be reused if it is not cracked or sagging. However, it is best practice to inspect and replace the upper strut mount, dust boot, and bump stop at the same time, as these components wear alongside the strut. Reusing failed ancillary parts on a new strut often leads to premature noise and repeat labor.
Is the RIDEX 854S1731 a reliable aftermarket alternative to the OEM strut?
RIDEX 854S1731 is a confirmed direct-fit aftermarket equivalent with published dimensions of 540 x 358 mm and a gas-pressure twin-tube construction matching the OEM specification. For those seeking a quality alternative at a lower price point, it is the best-documented aftermarket option for this application. FEBI BILSTEIN also produces an equivalent part and is an OE-tier supplier known for VW Group fitment quality.
Нашли ошибку?
Помогите нам стать лучше — если вы заметили ошибку на сайте или в данных, сообщите нам, и мы исправим её как можно скорее.